1110
Setting Favorites
Setting Favorites (cont.)
Note: If you can’t find a sticker for one of your
favorites, go to www.wikipedia.org to find labels for
your favorites. Do a search by using the key words
television logos. Find the logo you need. Right-click the
logo and save this logo somewhere on your computer.
Print the logo. If the logo needs adjustment, you can
use Microsoft Paint, etc. Cut out the logo and paste it
next to your FAVORITE button.
Adjusting the Delay Between Digits
You might need to adjust the time between digits sent
for a favorite channel. If the delay is too long you might
point the remote away from your device before all the
digits have been sent. If the delay is too short your
device might not respond.
1. Press and hold SETUP until the indicator remains
on, then release SETUP.
2. Press and release PLAY. The indicator blinks, then
stays on.
3. Press and release a number from 0 to 9. 0 is no delay
and 9 is the longest delay.
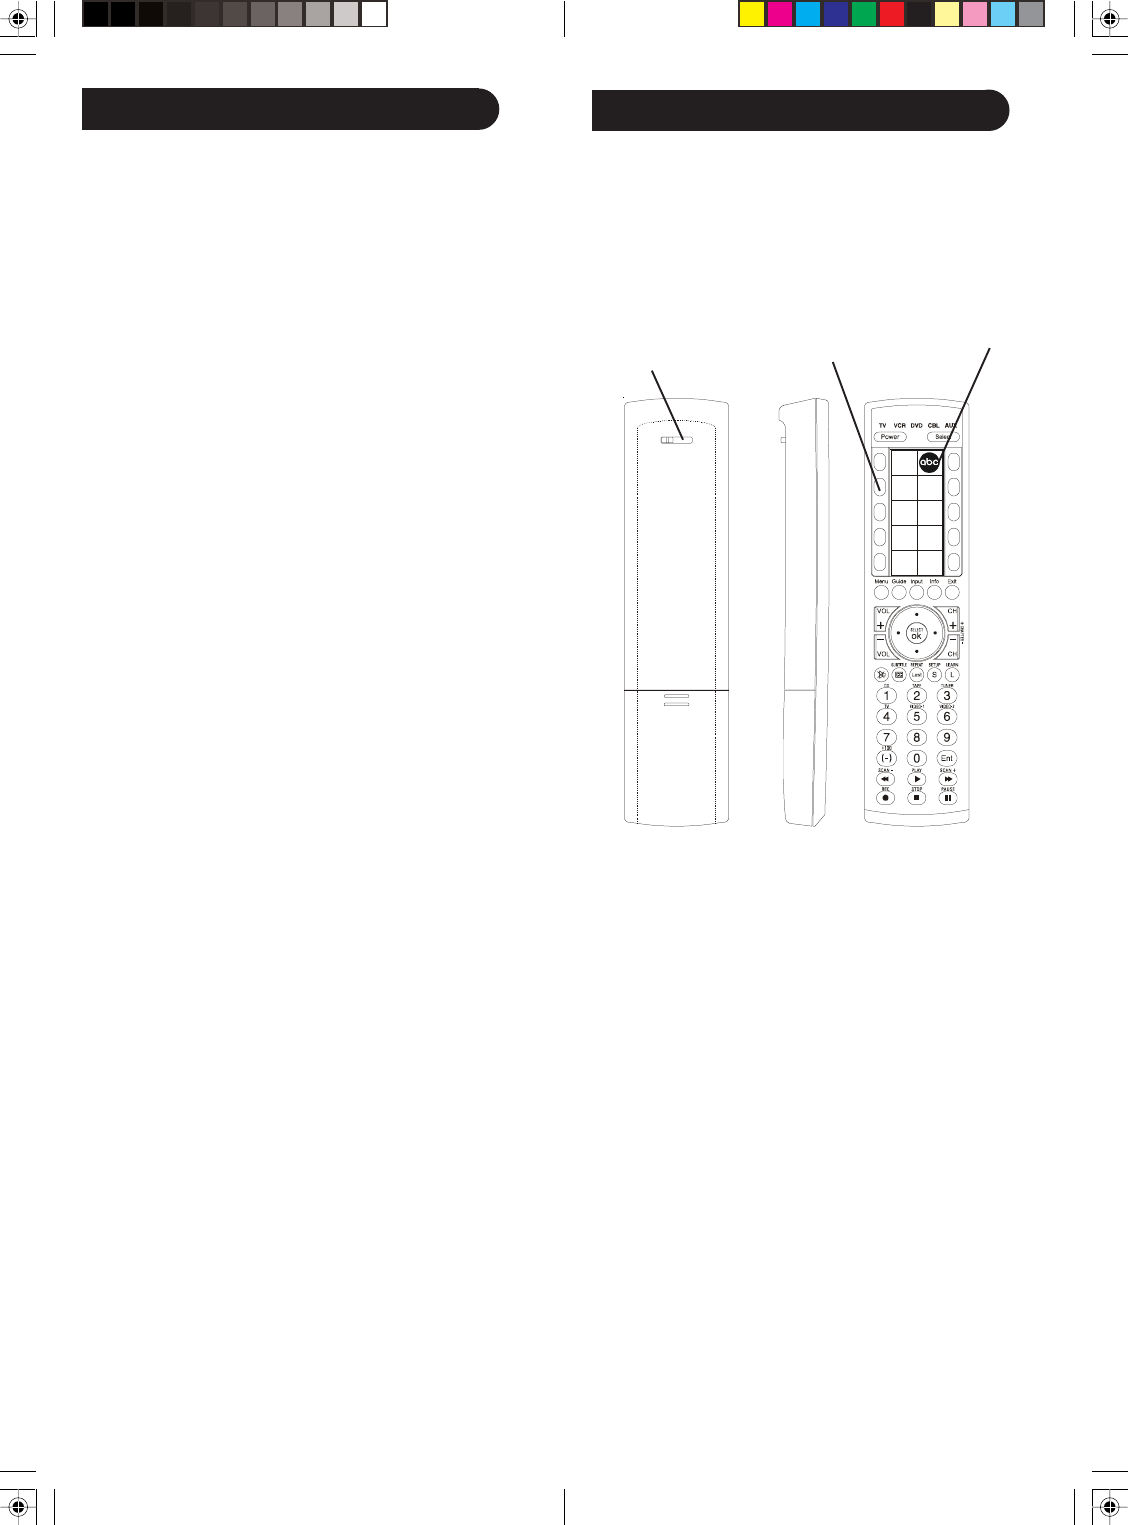
The Favorites feature is what really sets this remote
apart from other remotes. It lets you go to your favorite
channel(s) by simply pressing a button next to a sticker
(or label) that represents that favorite channel.
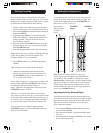
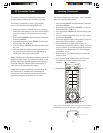
1. Flip the switch on the back of the remote to either
position (in this case, we’ll call this position User 1).
2. Press and hold SETUP until the indicator remains on,
then release SETUP.
3. Repeatedly press SELECT to select the desired
mode (TV, VCR, etc.), unless the desired device is
already selected. This sets the device that this
favorite button controls.
4. Press one of the 10 FAVORITE buttons to set up a
favorite channel. Let’s say we select the top right-
hand FAVORITE button.
5. Enter the channel number for this favorite channel.
Note: You can use up to 5 buttons, including 0 through
9, OK, and - to enter your favorite channel: 550,
472Enter, 162OK, 5-7, etc., are examples.
6. Press SETUP when you’ve finished entering the
channel.
After setting up your favorite, do the following.
7. Attach the sticker that represents the favorite
channel you set up above to the location next to
that FAVORITE button. (In the example on p. 11,
we’ve used an ABC sticker.)
Follow Steps 1 through 7 to set up more favorites, each
time selecting a different FAVORITE button in Step 4,
and entering a different channel number in
Step 5. Then place the appropriate sticker next to the
FAVORITE button, as in Step 7.
After you’ve set up all 10 favorites (or fewer if you
don’t want to set all of them up), you can set the switch
on the back of the remote to the other position (e.g., or
for instance, User 2) and then repeat Steps 1 through 7
to set up another group of favorites for another user.
To go to your favorite channel, simply press the
FAVORITE button next to the sticker that represents
the icon for that channel.
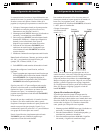
To switch from User 1 to User 2 or vice versa, move the
switch on the back of the remote. Doing so “flips” the
stickers for the appropriate set of 10 FAVORITES, for
either User 1 or User 2, into view.
FAVORITE
buttons
Flip switch in
either direction
for User 1 or
User 2
FAVORITE
icons


