


●
Timer Recording
Using On-Screen Display
1
2
3
11 12
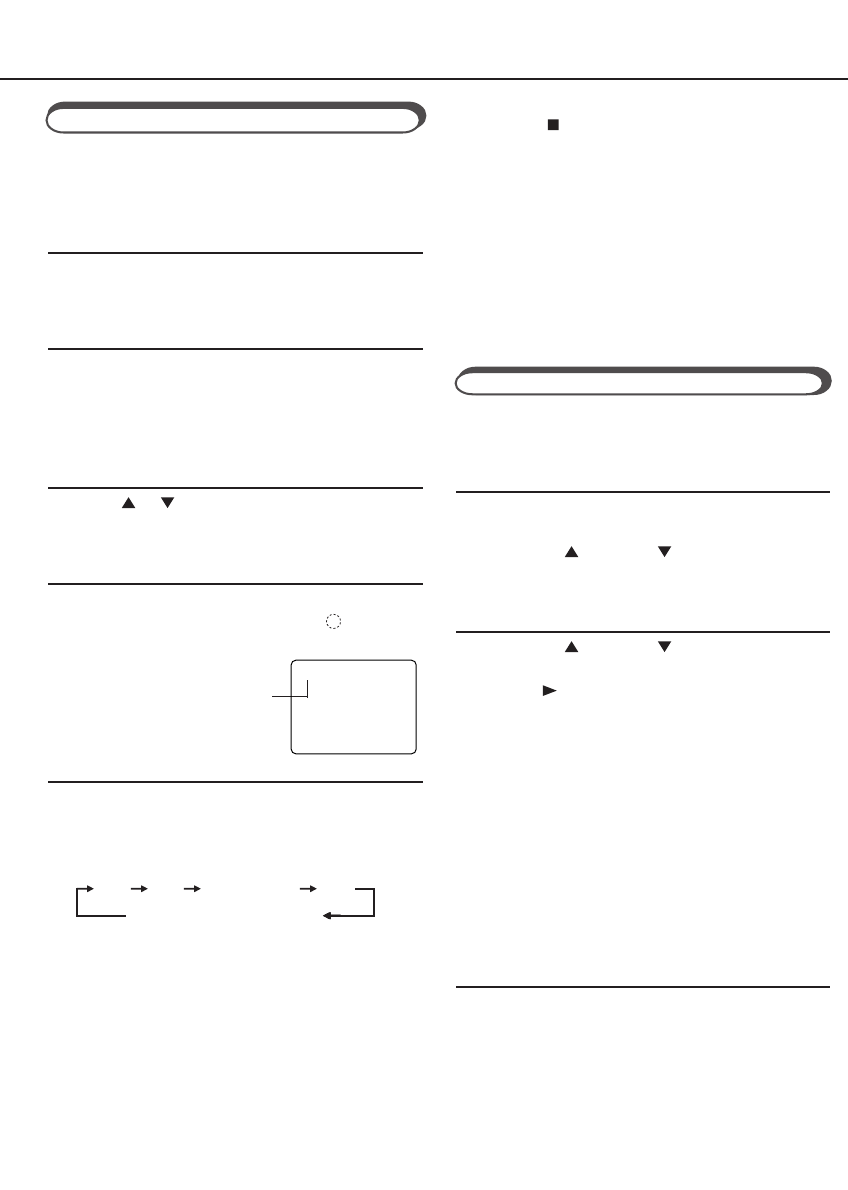
You can display the VCR operating status on the
TV screen.
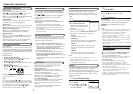
❍ Select VCR Set Up Mode
1 Press VCR.
2 Press MENU.
3 Press PLAY or STOP to select“VCR SET
UP” then press OK/STATUS.
❍ Select On-Screen Mode
1 Press PLAY or STOP to select “ON
SCREEN MODE”.
2 Press FF . Each time you press the button, the
setting changes.
ON:
When you press a tape running button (Stop,
Play, etc.), the VCR status appears for 5
seconds.
COUNTER:
When you press a tape running button, the VCR
operating status appears for 5 seconds.
After 5 seconds, the VCR status disappears
except the time counter.
OFF:
The VCR operating status does not appear even
if you press a tape running button.
❍ Finish Setting
Press MENU.
To display the VCR status on the TV screen
manually, press OK/STATUS. The VCR status
appears for about 5 seconds.
• If “ON SCREEN MODE” is set to “OFF,” no
VCR status appears though you press OK/
STATUS.
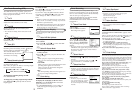
One Touch Recording (OTR)
The OTR function lets you quickly specify how
long you want a recording to continue. You do not
have to programme the timer.
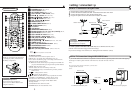
❍ On TV
1 Turn on the TV.
2 Select the video channel (or AV mode).
❍ On VCR
Insert a cassette with the record tab in place.
The VCR turns on.
• If a cassette is already in the VCR, turn on the
VCR.
❍ Select Channel
Press CH or or Number buttons to select the
channel to record.
❍ Start OTR
Press REC/OTR ● twice.
Recording starts immediately, and the
(Record)
indicator lights up and blinks on the display.
This indicates that the VCR
will automatically shut off after
30 minutes of recording.
❍ Select Recording Length
Press REC/OTR ● repeatedly until the desired
recording length appears.
Each time you press the button, recording length
increases in 30-minute intervals.
0:30 1:00 1:30 5:30 6:00
REC (Normal recording)
To check time remaining during an OTR
Press OK/STATUS.
To change the recording length during an OTR
Press REC/OTR ● repeatedly until the desired
length appears.
1
2
3
4
5
OTR(0:30)
CH12
SP
To record while you’re away, follow step 1 — 9
below. For each programme you set, the VCR will
turn on, start recording, and turn off automatically.
You can store up to 8 programmes.
FOR EACH STEP BELOW, YOU NEED TO FINISH
WITHIN 60 SECONDS; OTHERWISE,
PROGRAMMING WILL HAVE TO BE RESTARTED
FROM STEP 1.
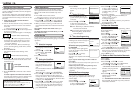
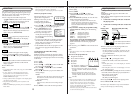
❍ Select Timer Mode
1 Press VCR.
2 Press TIMER. The Timer
Recording menu appears.
❍ Select Programme mode
Press PLAY or STOP to
select “QUICK PROGRAMM-
ING”, then press OK/STATUS.
The Quick Programming menu
appears.
• If you have already set 8 programmes, “ALL PRO-
GRAMS IN USE” appears and goes back to the Timer
Recording menu. If this happens, delete unwanted
programmes. (✈P.14)
❍ Select Channel
Press CH or to enter the TV channel.
• Holding down CH or rapidly scans through the
channels.
• To record from external line input, press CH or
until “A/V REAR” or “A/V FRONT” appears.
❍ Select Start Time
Press START + or – (Number button 1 or 4).
• Each time you press the button, the set time changes by
1-minute intervals. If you hold the button, the set time
changes by 30-minute intervals.
❍ Select Stop Time
Press STOP + or – (Number
button 2 or 5).
• Each time you press the button,
the set time changes by 1-minute
intervals. If you hold the button,
the set time changes by 30-minute
intervals.
1
2
3
4
5
❍ Select Tape Speed
Press ALT/SPEED.
• Each time you press the button, the tape speed
alternates between SP, LP and SLP.
SP, LP: For PAL signal.
SP, SLP: For NTSC signal.
❍ Select Start Date
Press DATE + or – (Number button 3 or 6).
• The year and day of the week are displayed
automatically.
❍ Confirm Programme
Press TIMER or OK/STATUS.
“PROGRAM WAS COMPLETED” appears on the
TV screen.
After 5 seconds, the above message disappears, and
the normal TV picture resumes. The
(Timer)
indicator lights up on the display.
• If “PROGRAM NOT COMPLETED” appears,
try again from step 1.
• If “PROGRAM NOT COMPLETED/PRO-
GRAM OVERLAP”
appears on the TV screen, the
timer recording you just programmed overlaps another
timer recording. (✈P.13)
If you want to store other programmes, repeat steps
1 to 8.
❍ Finish Settings
Press POWER to turn off the VCR.
The VCR must be turned off for a timer recording to take
place. If you forget to turn off the VCR, PLEASE TURN
OFF VCR FOR TIMER RECORDING flashes on your TV
screen two minutes before a timer recording starts. To
remove the message, press the CLEAR button.
If you want to record the same programme daily, press
DAILY (Number button 8) during step 3 through 7.
(Press the button again to cancel.)
The VCR will record a TV programme every day
(Monday through Friday) at the same time and length.
(Daily Recording)
If you want to record the same programme weekly,
press WEEKLY (Number button 9) during step 3 through
7. (Press the button again to cancel.)
The VCR will record a TV programme once a week at the
same day, time and length. (Weekly Recording)
If you want to cancel the currently set programme,
press CLEAR.
After a timer recording has taken place
Press POWER to turn on the VCR. You can operate your
VCR normally.
To stop a started timer recording
Press POWER.
Recording stops and the VCR turns off.
If it is a Daily or Weekly Recording, future recordings
will be carried out as programmed.
9
7
8
6
.....
To cancel an OTR
Press STOP to stop recording before the preset
recording length is reached.
If you want to cancel the OTR mode but continue
recording, press REC/OTR ● several times until
“OTR” changes to “REC” on the TV screen.
Notes:
• During recording, the displayed time counts down.
When “0:00” is reached, recording stops and the
VCR turns off automatically.
• If an OTR is engaged during pause, the displayed
time counts down normally, but recording does
not begin until you cancel the pause.
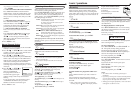
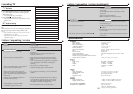
QUICK PROGRAMMING
PROGRAM REVIEW
SELECT: CONFIRM: OK
END: TIMER
ONE TIME PROGRAM
PROGRAM 1
CHANNEL+/–
START +/– – –:– –
STOP +/– – –:– –
REC SPEED SP
DATE +/– – –/– –/– –
DAILY: 8 WEEKLY: 9
CONFIRM: OK END: TIMER
– –
ONE TIME PROGRAM
PROGRAM 1
CHANNEL+/–
START +/– 20 : 00
STOP +/– 22 : 00
REC SPEED SP
DATE +/– – –/– –/– –
DAILY: 8 WEEKLY: 9
CONFIRM: OK END: TIMER
12