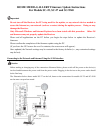
Connect the LAN terminal on the Receiver to the LAN terminal on your router (with or without
the built-in DHCP server function) with a straight LAN cable CAT5 or higher.
Checking the Firmware
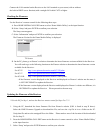
Use the Receiver’s remote control for the following three steps:
A. Press HOME MEDIA GALLERY button to select ‘Home Media Gallery’ as the input function.
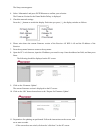
B. Select ‘Setup’ and press ENTER to confirm your selection.
The Setup screen appears.
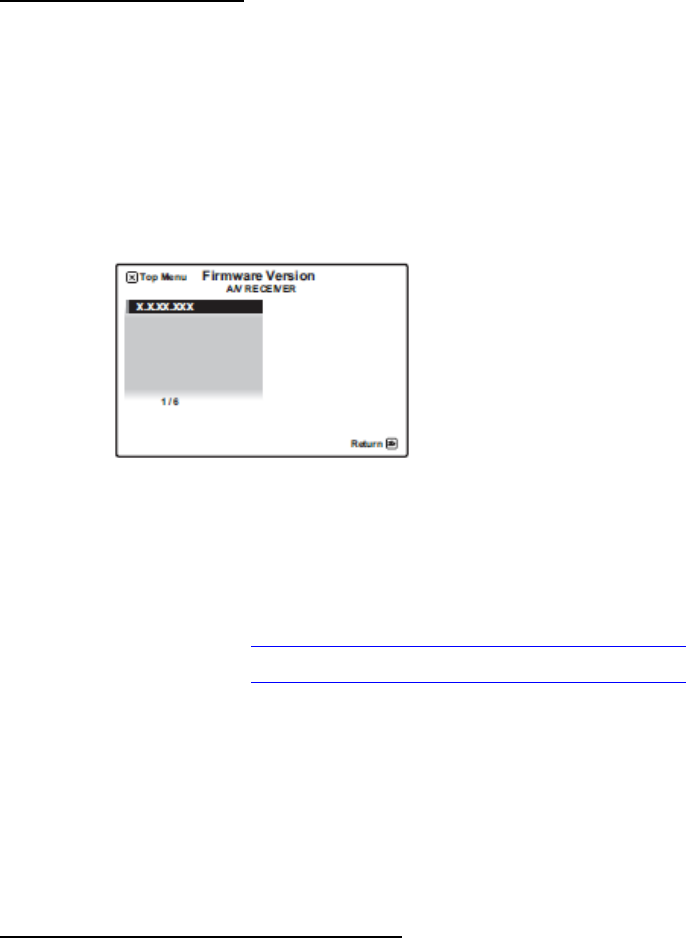
C. Select ‘Information’ and press ENTER to confirm your selection.
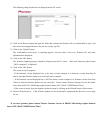
The Firmware Version for the Home Media Gallery is displayed.
TV Screen
D. On the PC, please go to Pioneer’s website to determine the latest firmware version available for the Receiver.
You will need to go to the following location on the Pioneer website to determine the latest firmware version
available for the Receiver:
For SC-25 http://www.pioneerelectronics.com/SC-25Update
For SC-27 http://www.pioneerelectronics.com/SC-27Update
For SC-9540 http://www.pioneerelectronics.com/SC-9540Update
--If the firmware version displayed on the Receiver and displayed on Pioneer’s website are the same, it
is NOT NECESSARY to update the Receiver.
--If the firmware version displayed on the Receiver and displayed on Pioneer’s website are different, it is
NECESSARY to update the Receiver. Please proceed to the next step.
Updating the Firmware of the Receiver
**Use the PC for Step 1, and use the Receiver remote control for Steps 2 to 7.**
1. Using the PC, download the latest firmware file from Pioneer's website (URL is listed in step D above).
Select the HMG Firmware Upgrade to download the file, and save the .zip file in it to a folder on the PC.
Unzip that file and save the unzipped file to the folder. Please make a note of the location of the downloaded
file for Step 12.
2. Press the HOME MEDIA GALLERY button on the Receiver’s remote control to select ‘Home Media Gallery’
as the input function.
3. Select ‘Setup’ and press the ENTER button to confirm your selection.


