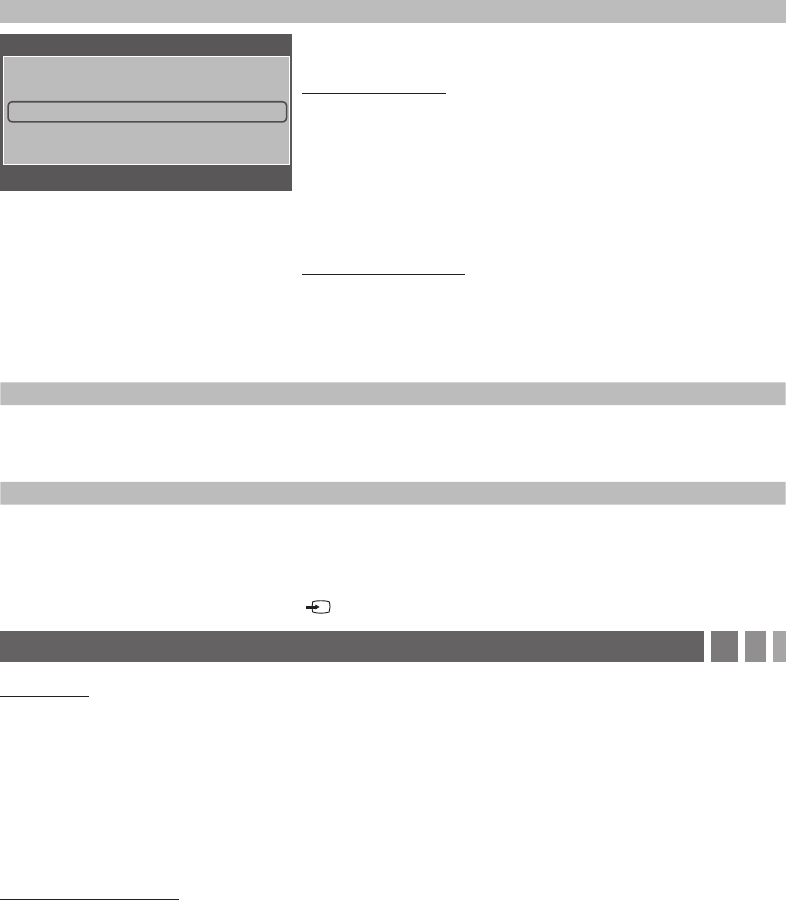
5. Set the Clock Mode
Set the Clock Mode.
Clock Mode : Auto
Plug & Play
E
Enter
m
Skip
Press ENTER
E
and select Auto or Manual, and then press ENTER
E
again.
If you selected Auto:
The TV will automatically download the correct time from a digital channel.
The DST (Daylight Savings Time) screen will appear. Press ENTER
E
.
Select On if you want to turn the DST adjustment on and off manually.
Select Off to turn off the DST adjustment. Select Auto if you want the TV
to adjust to DST automatically. Press ENTER
E
when done.
The Time Zone screen will appear. Use the▲/▼ button to select your
Time Zone, and then press ENTER
E
.
If you selected Manual:
The Clock Set screen appears. Use the ▲/▼ buttons to change the
values in each field or use the number buttons to enter the values directly.
Use the ◄/►/ buttons to move from field to field. When done with all the
fields, press ENTER
E
.
6. View the HD Connection Guide
See the best way to connect a cable or satellite box for the highest quality HD pictures. Press the ENTER
E
button to
close the guide.
7. Enjoy your TV.
Press the ENTER
E
button.
✎ To set or unset Store Demo mode outside of Plug & Play, press and release the Controller when the power is
on. The Function menu screen appears. Push the Controller to the left (to MENU (
m
)) and hold for more than 5
seconds. The Store Demo mode is set. To cancel Store Demo, bring up the Function menu using the Controller,
push the Controller to the right (to Source( )) and hold for more than 5 seconds.
6. Changing the Input Source
Source List
When you are watching TV and you want to watch a movie on your DVD player or Blu-ray player or switch to your cable
box or STB satellite receiver, you need to change the Source.
1. Press the SOURCE button on your remote.
2. Use the ▲/▼ buttons to select an external input source.
■■
TV / AV / Component / HDMI1/DVI / HDMI2
✎ You can only choose external devices that are connected to the TV. In the Source List, connected inputs are
highlighted.
How to Use Edit Name
Edit Name lets you associate a device name to an input source. To access Edit Name, press the TOOLS button when
the Source List is displayed The following selections appear under Edit Name:
■■
VCR / DVD / Cable STB / Satellite STB / PVR STB / AV Receiver / Game / Camcorder / PC / DVI PC / DVI / TV /
IPTV / Blu-ray / HD DVD / DMA: Select the name of the device connected to specific input jacks to make your input
source selection easier.
✎ If you connect a PC to the HDMI IN 1 (DVI) port with an HDMI cable, assign PC to HDMI 1 in Edit Name.
✎ If you connect a PC to the HDMI IN 1 (DVI) port with an HDMI to DVI cable, assign DVI PC to HDMI 1 in Edit
Name.
✎ If you connect an AV device to the HDMI IN 1 (DVI) port with an HDMI to DVI cable, assign DVI to HDMI 1 in Edit
Name.
