ENG-27ENG-26
1.
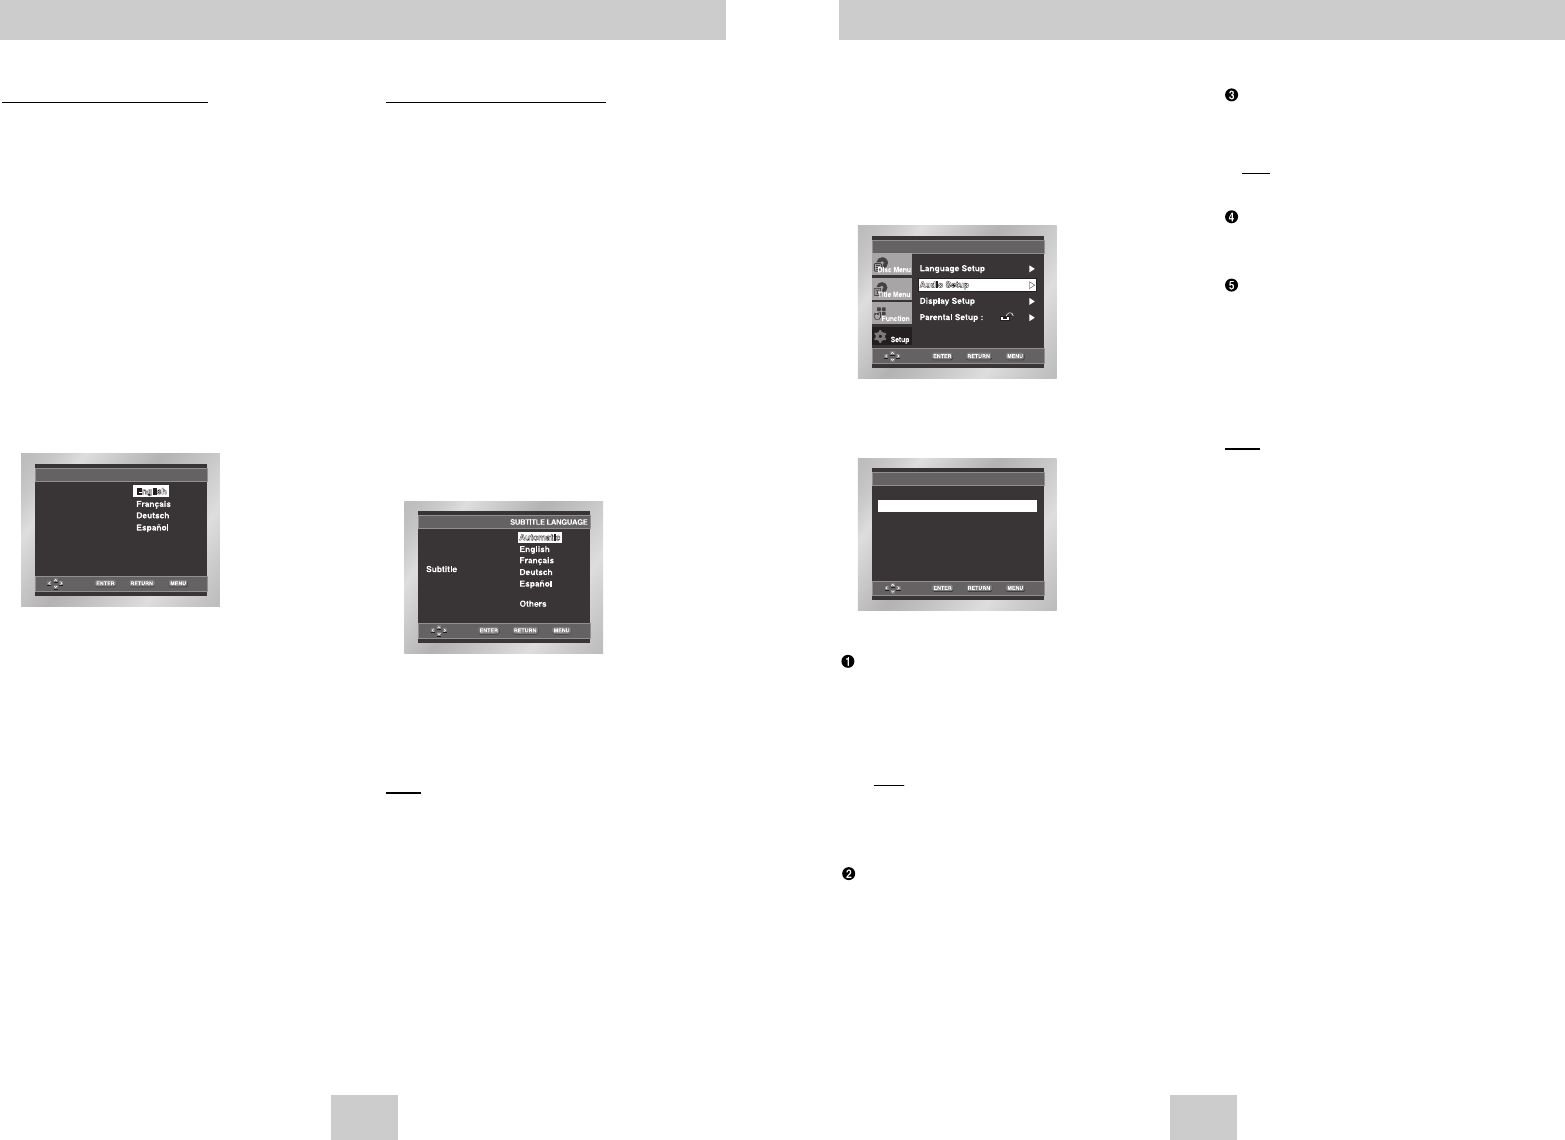
With the unit in Stop mode, press the MENU button.
2. Select Setup using UP/DOWN buttons, then
RIGHT or ENTER button.
3. Select Audio Setup using UP/DOWN buttons,
then press the RIGHT or ENTER button.
4. Use the UP/DOWN buttons to select the desired
item. Then press the RIGHT or ENTER button.
Dolby Digital Output
1. PCM : Converts to PCM(2CH) 48kHz audio. Select
PCM when using the Analog Audio Outputs.
2. Bitstream : Converts to Dolby Digital Bitstream
(5.1CH). Select Bitstream when using the
Digital Audio Output.
Note
Note
• Be sure to select the correct Digital Output or
no audio will be heard.
• When Multi Channel Output select Digital.
Dolby & MPEG-2 Digital Out works.
MPEG-2 Digital Out
1. PCM : Converts to PCM(2CH) audio. Select PCM
when using the Analog Audio Outputs.
2. Bitstream : Converts to MPEG-2 Digital Bitstream
(5.1CH or 7.1CH). Select Bitstream when
using the Digital Audio Output.
Setting Up the Audio Options
AUDIO SETUP
DTS : Off
MPEG-2 Digital Out : PCM
Dynamic Compression : On
PCM Down Sampling : On
Dolby Digital Output : PCM
DTS
1. Off : Doesn’t output digital signal.
2. On : Outputs DTS Bitstream via digital output only.
Select DTS when connecting to a DTS Decoder.
Note
There is no analog audio output when you play
DTS sound disc.
Dynamic Compression
1. On : To select dynamic compression.
2. Off : To select the standard range.
PCM Down Sampling
1. On : Select this when the amplifier connected to the
player is not 96KHz compatible. In this case, the
96KHz signals will be down converted to 48KHZ.
2. Off : Select this when the amplifier connected to the
player is 96KHz compatible. In this case, all
signals will be output without any changes.
Note
Note
• How to make the SETUP menu disappear or
return to menu screen during set up;
Press RETURN or LEFT button.
• Manufactured under license from Dolby
Laboratories. “Dolby” and the double-D symbol are
trademarks of Dolby Laboratories.
• “DTS” and “DTS Digital Out” are trademarks of
Digital Theater Systems, Inc.
Setting Up the Language Features
Using the Audio Language
1. With the unit in Stop mode, press the MENU
button.
2. Select Setup using UP/DOWN buttons, then
RIGHT or ENTER button.
3. Select Language Setup using UP/DOWN
buttons, then press the RIGHT or ENTER button.
4. Select Audio using UP/DOWN buttons, then
press the RIGHT or ENTER button.
5. Press the UP/DOWN buttons to select the
desired language.
- Select “Original” if you want the default soundtrack
language to be the original language the disc is
recorded in.
- Select “Others” if the language you want is not listed.
6. Press the ENTER button.
- The language is selected and the screen returns to
SETUP menu.
Using the Subtitle Language
1. With the unit in Stop mode, press the MENU
button.
2. Select Setup using UP/DOWN buttons, then
RIGHT or ENTER button.
3. Select Language Setup using UP/DOWN
buttons, then press the RIGHT or ENTER button.
4. Select Subtitle using UP/DOWN buttons, then
press the RIGHT or ENTER button.
5. Use the UP/DOWN buttons to select the desired
language.
- Select “Automatic” if you want the subtitle language to
be the same as the language selected as the audio
preference.
- Select “Others” if the language you want is not listed.
Some discs may not contain the language you select
as your initial language; in that case the disc will use its
original language setting.
6. Press the ENTER button.
- The language is selected and the screen returns to
SETUP menu.
Note
Note
• If the selected language is not recorded on the
disc, the original pre-recorded language is
selected.
• How to make the SETUP menu disappear or
return to menu screen during set up;
Press RETURN or LEFT button.
AUDIO LANGUAGE
Original
Others
Audio
Arabic
P346-XSG(00440H)GB 5/25/04 8:33 AM Page 26


