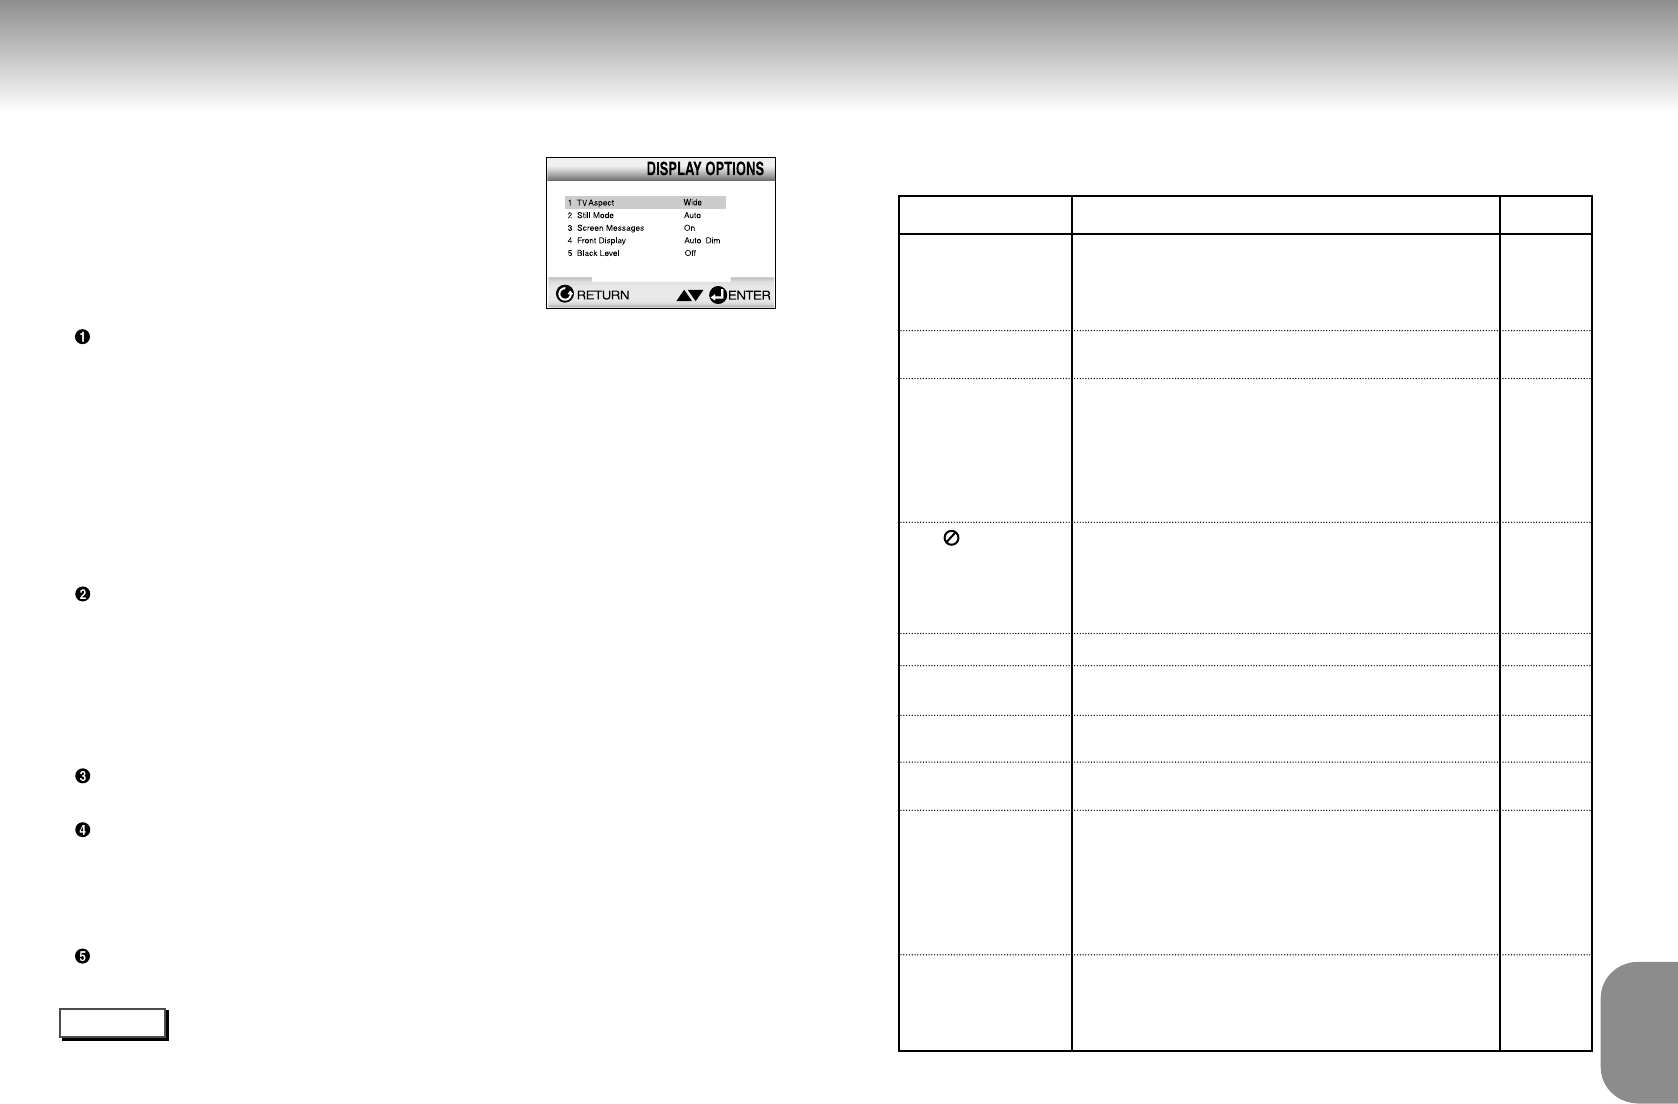
Setting Up the Display Options
1
1
With the unit in Stop mode, press the SETUP button.
2
2
Use the UP/DOWN buttons to select DISPLAY
OPTIONS. Then press the ENTER button.
3
3
Use the UP/DOWN buttons to select the desired item.
Then press the LEFT/RIGHT buttons.
TV Aspect
Depending on the type of television you have, you may want to
adjust the screen setting (aspect ratio).
1. 4:3 Letter Box :
Select when you want to see the total 16:9 ratio screen DVD
supplies, even though you have a TV with a 4:3 ratio screen.
Black bars will appear at the top and bottom of the screen.
2. 4:3 Pan-Scan :
Select this for conventional size TVs when you want to see the
central portion of the 16:9 screen. (Extreme left and right side of
movie picture will be cut off.)
3. 16:9 Wide :
You can view the full 16:9 picture on your widescreen TV.
Still Mode
These options will help prevent picture shake in still mode and
display small text clearer.
1. Field : Select this feature when the screen shakes in the Auto
mode.
2. Frame : Select this feature when you want to see small letters
more clearly in the Auto mode.
3. Auto : When selecting Auto, Field/Frame mode will be
automatically converted.
Screen Messages
Use to turn on-screen messages On or Off.
Front Display
Adjust the brightness of the unit’s front panel display.
1. Bright : Makes the Front Panel Display bright.
2. Dim : Makes the Front Panel Display dim.
3. Auto Dim : Makes the Front Panel Display dim automatically
when playing a DVD.
Black Level
Adjusts the brightness of the screen.(On/Off)
NOTE
•
How to make the SETUP MENU disappear or return to menu screen during set up;
Press RETURN button.
34 35
Troubleshooting
REFERENCE
Before requesting service (troubleshooting), please check the following.
No operations can be
performed with remote.
The screen ratio cannot be
changed.
No audio.
Play mode differs from the
Setup Menu selection.
Disc Menu doesn’t appear.
The icon appears on
screen.
Forgot password
If you experience other
problems.
5.1 channel sound is not
being reproduced.
Disc does not play.
• Check the batteries in the remote. May need replacing.
• Operate the remote control at a distance of no more than 20 feet.
• Remove batteries and hold down one or more buttons for several
minutes to drain the microprocessor inside the remote to reset it.
Reinstall batteries and try remote again.
• Ensure that the disc is installed with the label side facing up.
• Check the region number of the DVD.
• 5.1 channel sound is reproduced only when the following conditions
are met. :
1) The DVD player is connected with the proper amplifier
2) The disc is recorded with 5.1 channel sound.
• Check whether the disc being played has the “Dolby 5.1 ch” mark on
the outside.
• Check if your audio system is connected and working properly.
• In a SETUP Menu, is the Audio Output set to Bitstream?
• The features or action cannot be completed at this time because:
1. The DVD’s software restricts it.
2. The DVD’s software doesn’t support the feature (e.g., angles).
3. The feature is not available at the moment.
4. You’ve requested a title or chapter number or search time that is
out of range.
• Check if the disc has a Menu.
• Some of the functions selected in the Setup Menu may not work
properly if the disc is not encoded with the corresponding function.
• The Screen Ratio is fixed on your DVDs.
• Make sure you have selected the correct Digital Output in the Audio
Options Menu.
• Press power on from a cold start with no disc in the unit. Press the STOP
and PLAY buttons simultaneously on the front panel for three seconds. The
Select Menu Language display will appear. Select the desired language
button. Press the SETUP button on the remote control to select the Parental
Mode. The Parental Mode is now unlocked as indicated on the display.
Press the DOWN button to select Parental. Press ENTER and the Create
Password display will appear. You can now set your rating level and
change your password to a new number.
• Go to the contents and find the section of the instruction book that
contains the explanations regarding the current problem, and follow
the procedure once again.
• If the problem still cannot be solved, please contact your nearest
authorized service center.
Action
Problem Page
P4
P7
P12
P15
P29~30
P29~34
P34
P33
P32


