


ENGLISH
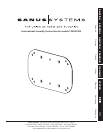
Assembly Instructions for Vision Mount™ VM100/200 Adapter
Parts:
1 VM100/200 Adapter - a
4 M5 Flat Head Machine Screws - b
4 Nuts - c
6 M4 x 10mm Phillips Pan Head Machine Screws (not shown) - For use with televisions not compatible
with the wall mounts supplied hardware.
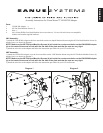
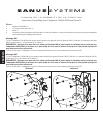
VM1 Assembly:
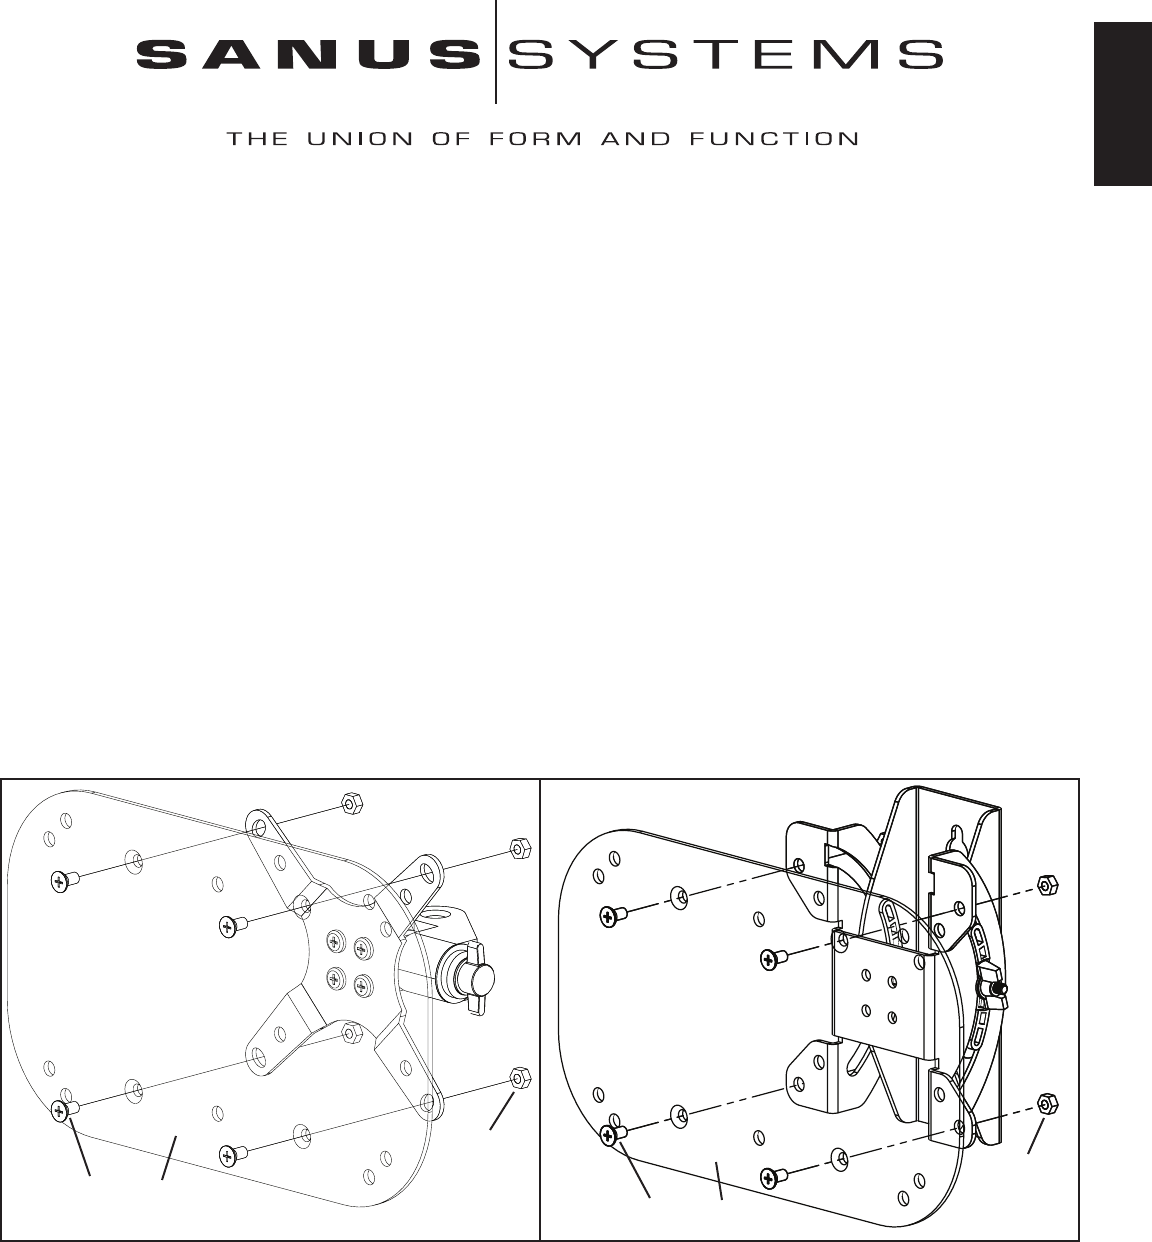
1] Attach the VM100/200 Adapter to the four outer holes on the star shaped Monitor Mount using the M5 Flat Head Machine Screws (b)
and the Nuts (c) as shown in diagram 1.
NOTE: Make sure the M5 Flat Head Machine Screws (b) sit inside the countersunk holes on the VM100/200 Adapter
(a) so the head of the screw is ush with the at side of the plate and that the nuts are very tight.
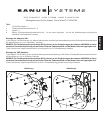
2] Attach the television to the adapter and follow the instructions provided with your LCD wall mount.
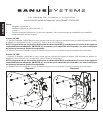
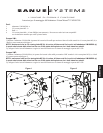
VMF Assembly:
1] Attach the VM100/200 Adapter (a) to the four outer holes on the VMF Monitor Mount using the M5 Flat Head Machine Screws (b)
and the Nuts (c) as shown in diagram 2.
NOTE: Make sure the M5 Flat Head Machine Screws (b) sit inside the countersunk holes on the VM100/200 Adapter
(a) so the head of the screw is ush with the at side of the plate and that the nuts are very tight.
2] Attach the television to the adapter and follow the instructions provided with your LCD wall mount.
Diagram 1 Diagram 2
c
c
b a
b a