


English - 29 -
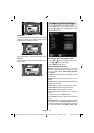
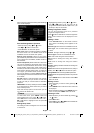
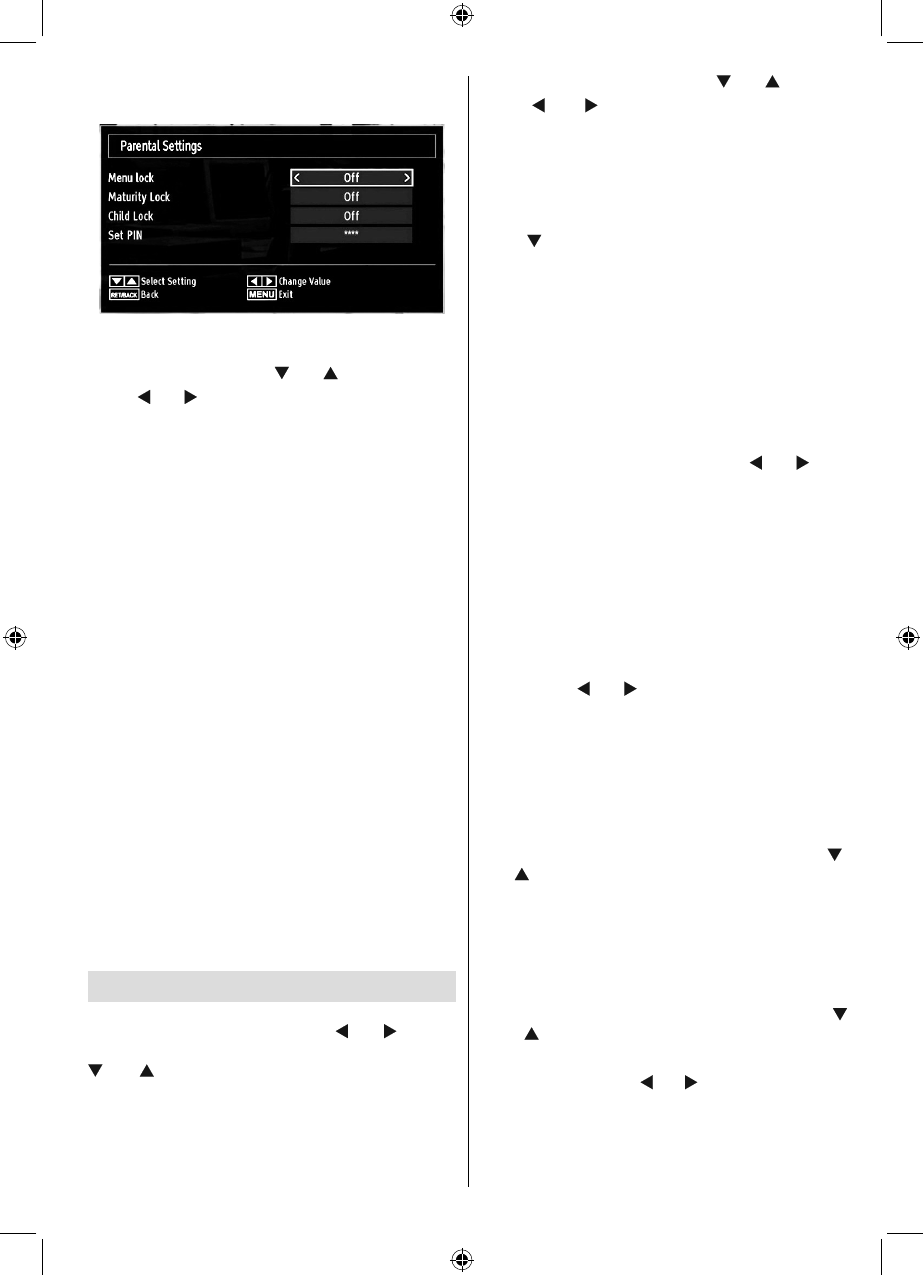
After coding the correct PIN number, parental settings
menu will be displayed:
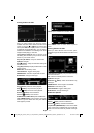
Parental Settings Menu Operation
Select an item by using “• ” or “ ” button.
Use “•
” or “ ” button to set an item.
Press• OK button to view more options.
Menu Lock: Menu lock setting enables or disables
the menu access. You can disable access to the
installation menu or the whole menu system.
Maturity Lock (optional): When set, this option
gets the maturity information from the broadcast and
if this maturity level is disabled, disables access to
the broadcast.
Child Lock (optional): When Child Lock is set, the TV
can only be controlled by the remote control. In this
case the control panel buttons will not work, except
for the Standby Off/On button. When Child Lock is
activated you are able to switch the TV into Standby
mode with the Standby Off/On button. To switch the
TV on again, you need the remote control. Hence, if
one of those buttons is pressed, Child Lock Is On
will be displayed on the screen when the menu screen
is not visible.
Set PIN: Defi nes a new PIN number. Use numeric
buttons to enter a new pin number. You will need
to code your new pin a second time for verifi cation
purposes.
IMPORTANT: The factory default pin number is 0000,
if you change the pin number make sure you write it
down and keep it safe.
Note: If the Country option is set to France, you can
use 4725 as the default code.
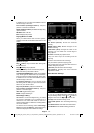
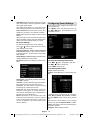
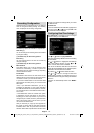
Timers
To view Timers menu, press “MENU” button and
select Channel List icon by using “ ” or “ ” button.
Press OK button to view Channel List menu. Use “
” or “ ” button to highlight Timers and press OK
to continue:
Setting Sleep Timer
This setting is used for setting the TV to turn off after
a certain time.
Highlight Sleep Timer by using “•
” or “ ” button.
Use “•
” or “ ” button to set. The timer can be
programmed between Off and 2.00 hours (120
minutes) in steps of 30 minutes.
Setting Programme Timers
You can set programme timers for a particular
programme using this feature.
Press “
” button to set timers on an event. Programme
timer function buttons will be displayed on the
screen.
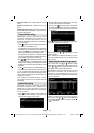
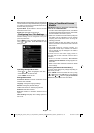
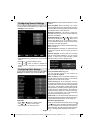
Adding a Timer
Press • YELLOW button on the remote control to
add a timer. The following menu appears on the
screen:
Network Type: This feature is unavailable to be set.
Timer Type: You can select timer type as Record
or Timer.
Channel: Changes channel by using “ ” or “ ”.
Record Type: This item is unavailable to be set.
Date: Enter a date using the numeric buttons.
Start: Enter a starting time using the numeric
buttons.
End: Enter an ending time using the numeric
buttons.
Duration: Displays duration between the starting and
ending time.
Repeat: Sets a timer to be repeated as Once, Daily or
Weekly. Use “
” or “ ” buttons to select an option.
Change/Delete: Sets the change/delete permission.
Playback: Sets the playback permission and parental
settings.
Press • GREEN button to save the timer. Press RED
button to cancel.
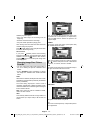
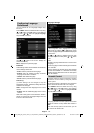
Editing a Timer
Select the timer you want to edit by pressing “• ”
or “ ” button.
Press • GREEN button. Edit Timer menu screen will
be displayed.
When fi nished with editing, press • GREEN button to
save. You can press “MENU” button to cancel.
Deleting a Timer
Select the timer you want to delete by pressing “•
” or “ ” button.
Press • RED button.
Select • YES by using “
” or “ ” buttons to delete the
timer. Select NO to cancel.
A01_MB60_[GB]_1910UK_IDTV_TC_PVR_NICKEL16_40942LED_YPBPR_ROCKER_10073201_50190037.indd 29A01_MB60_[GB]_1910UK_IDTV_TC_PVR_NICKEL16_40942LED_YPBPR_ROCKER_10073201_50190037.indd 29 03.08.2011 08:49:0203.08.2011 08:49:02