


Ceiling Mounting
Invert the projector and suspend it from the ceiling using a specific bracket.
• To fit the bracket unscrew and remove the 3 rubber feet
• Attach bracket by using 3 x M6 screws not exceeding 15 mm in length
For ceiling mounting use only SIM2-approved ceiling brackets and adhere
to the installation instructions and safety guidelines provided with the
bracket. Do not over-tighten the screws.
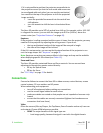
Orientation
By default, the Nero 3D is configured for a Front installation (projector installed up-
right and in front of the screen). If the projector is installed behind the screen or inver-
ted, you can use the image orientation function of the projector (see “Orientation” on
page 29)
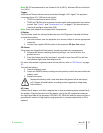
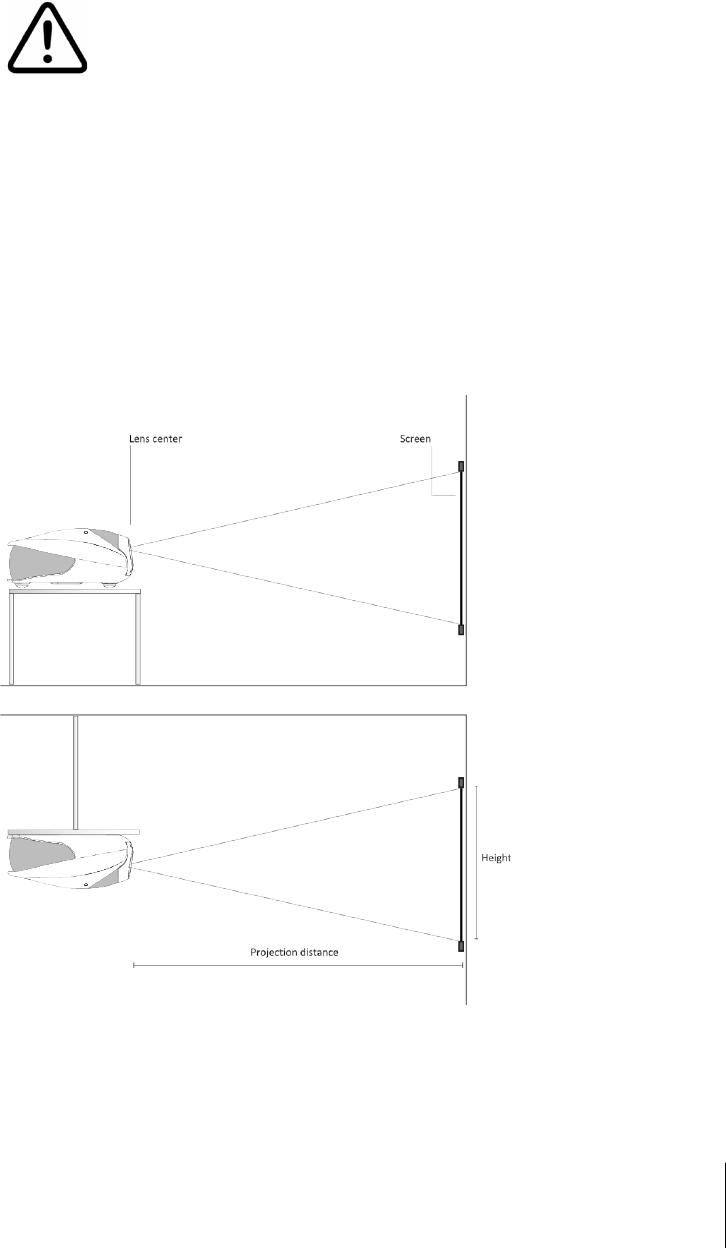
Vertical Lens Shift
Ideally, the projector should be positioned at a right angle to the screen and in such a
way that:
• the lens center and screen center are aligned with each other
• the projected image fills the screen perfectly
3 Installation Nero 3D
User Guide
14