


25 (GB)
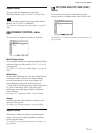
Cinema Drive
Automatically detects a picture shot on a 24 frame
motion-picture film and plays it back maximizing the
characteristics of a motion-picture film.
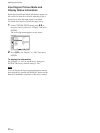
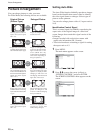
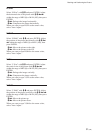
1 Select “Cinema Drive” with
M/m
and press
ENTER.
The following menu appears on the screen.
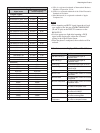
PICTURE/SOUND CONTROL
Adjust Picture
Backlight:
Contrast:
Brightness:
Chroma:
Phase:
Sharpness:
Noise Reduct.:
Cinema Drive:
Dynamic Picture:
Color Temp.:
Set
ENTER
Exit
MENU
Select
95
70
50
25
0
5
Off
Auto
Off
Cool
Off
Auto
2 Select the Cinema Drive mode with
M/m
.
Off: Plays back the picture according to its signal.
Auto: Plays back the picture shot on a movie film
maximizing the motion-picture-like
characteristics of the original.
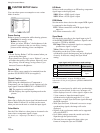
Dynamic Picture
Enhances contrast by making white brighter and black
darker.
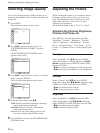
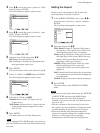
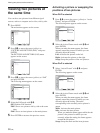
1 Select “Dynamic Picture” with
M/m
and press
ENTER.
The following menu appears on the screen.
PICTURE/SOUND CONTROL
Adjust Picture
Backlight:
Contrast:
Brightness:
Chroma:
Phase:
Sharpness:
Noise Reduct.:
Cinema Drive:
Dynamic Picture:
Color Temp.:
Set
ENTER
Exit
MENU
Select
95
70
50
25
0
5
Off
Auto
Off
Cool
Off
Low
High
2 Select the Dynamic Picture mode with
M/m
.
Off: Disables the Dynamic Picture function.
Low: Set the Dynamic Picture function to low.
High: Set the Dynamic Picture function to high.
3 Press ENTER to return to the Adjust Picture
menu.
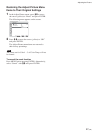
Adjusting the Picture
Chroma
Select “Chroma” with
M/m
and press ENTER.
Adjust the chroma with M/m/</, within the range
of MIN (0) to MAX (100), then press ENTER.
M/,: Increases color intensity.
m/<: Decreases color intensity.
Phase
Select “Phase” with
M/m
and press ENTER.
Adjust the phase with M/m/</, within the range of
Left (50) to Right (50), then press ENTER.
M/,: Makes the overall picture greenish.
m/<: Makes the overall picture reddish.
Sharpness
Select “Sharpness” with
M/m
and press ENTER.
Adjust the sharpness with M/m/</, within the
range of MIN (0) to MAX (10), then press ENTER.
M/,: Increases the sharpness of the image.
m/<: Decreases the sharpness of the image.
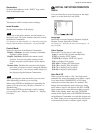
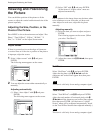
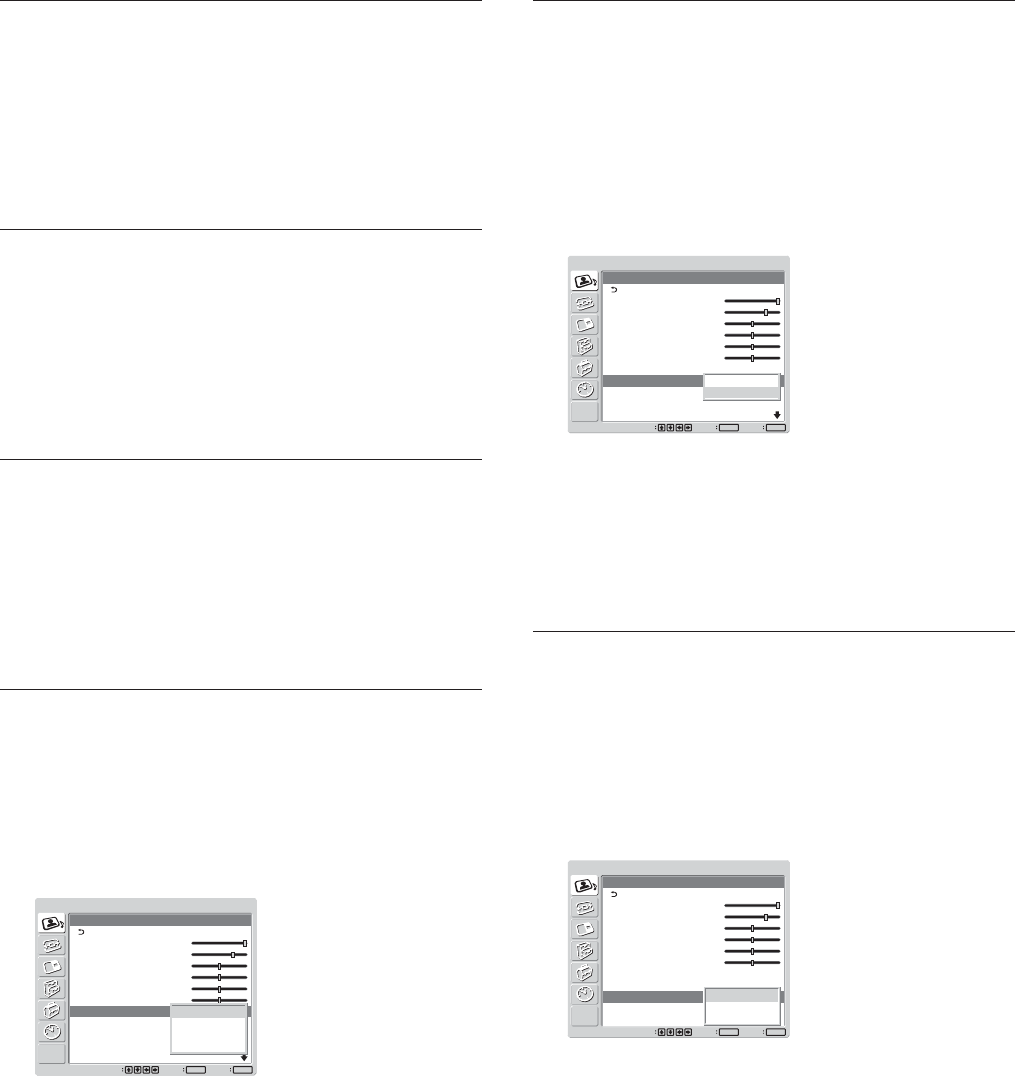
Noise Reduct.
Reduces image graininess and color noise.
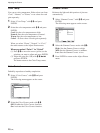
1 Select “Noise Reduct.” with
M/m
and press
ENTER.
The following menu appears on the screen.
PICTURE/SOUND CONTROL
Adjust Picture
Backlight:
Contrast:
Brightness:
Chroma:
Phase:
Sharpness:
Noise Reduct.:
Cinema Drive:
Dynamic Picture:
Color Temp.:
Set
ENTER
Exit
MENU
Select
95
70
50
25
0
5
Off
Auto
Off
Cool
Off
Low
Mid
High
2 Select the Noise Reduct. mode with
M/m
.
Off: The image signal is displayed directly.
Low: Sets the Noise Reduct. processing to low.
Mid: Sets the Noise Reduct. processing to
medium.
High: Sets the Noise Reduct. processing to high.
3 Press ENTER to return to the Adjust Picture
menu.