Advanced Settings and Adjustments
69
GB
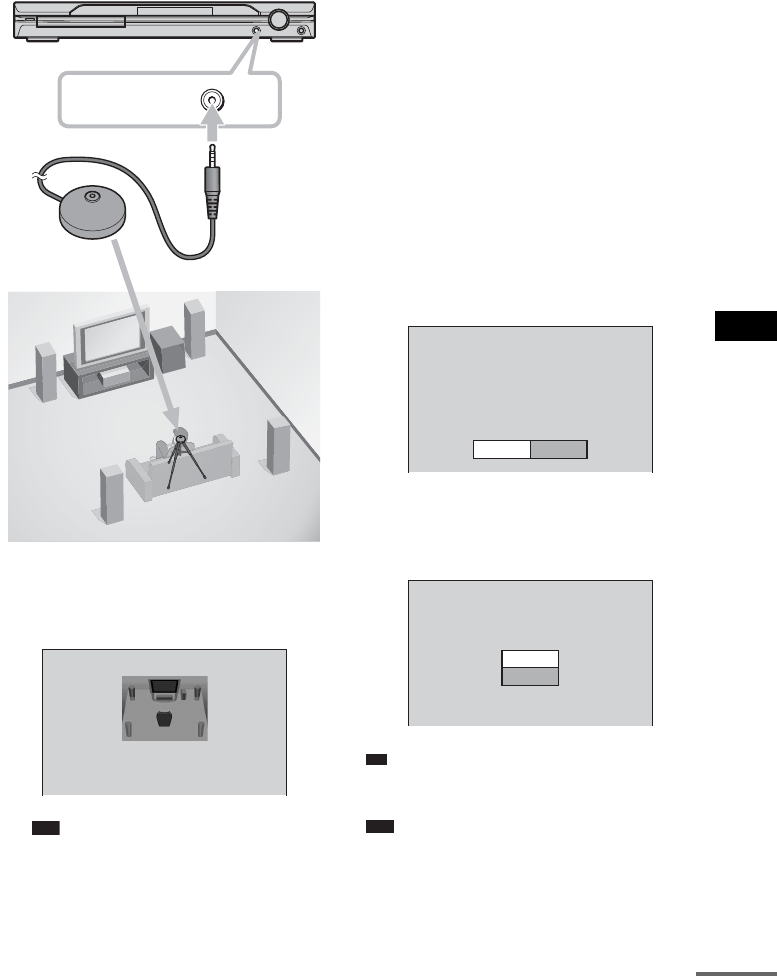
face the calibration mic, and there should be
no obstruction between the speakers and the
calibration mic. Be quiet during the
measurement.
5 Press X/x to select [YES], then press
ENTER.
Calibration starts.
Note
• Avoid being in the measurement area and
making noise during the measurement (about 3
minutes), to avoid measurement failure. During
the measurement, test signals are output from
the speakers.
• Reflections from walls or the floor may affect
measurements.
• If an error message appears, follow the message,
then select [YES].
An error message appears when:
–the headphones are connected.
–the calibration mic is not connected.
–front speakers are not correctly connected.
–surround speakers are not correctly connected.
–front and surround speakers are not correctly
connected.
–there is excessive noise around the calibration
mic.
–the calibration mic is overloaded.
6 Press C/X/x/c to select [YES] or [NO],
then press ENTER.
x The measurement is OK.
Disconnect the calibration mic, then select
[YES]. The result is implemented.
x The measurement is not OK.
Follow the message, then select [YES] to
retry.
Ti
p
• You can check the distance between the listening
position and each speaker. See page 75.
Note
• While the Auto Calibration function works:
– do not turn off the power.
– do not press any button.
– do not change the volume.
– do not change the function.
A.CAL MIC
Calibration mic
Measuring. Please wait a moment.
FRONT L :
FRONT R :
CENTER :
SUBWOOFER :
SURROUND L :
SURROUND R :
If OK, unplug calibration mic and select
YES.
YES
YES
YES
NONE
YES
NONE
NONE
Measurement complete.
NO
Check speaker connection.
Retry?
YES
Measurement failure.
NO
continued


