64
6 Select a setting using X/x, then
press ENTER.
The setting is selected and setup is
complete.
Example: “16:9”
To enter the Quick Setup mode
Select “QUICK” in Step 3. Follow from Step
5 of the Quick Setup explanation to make
basic adjustments (page 25).
To reset all of the “SETUP” settings
1 Select “RESET” in Step 3 and press
ENTER.
2 Select “YES” using X/x.
You can also quit the process and return
to the Control Menu by selecting “NO”
here.
3 Press ENTER.
All of the settings explained on pages 64
to 69 return to the default settings. Do not
press [/1 while resetting the player as it
takes a few seconds to complete.
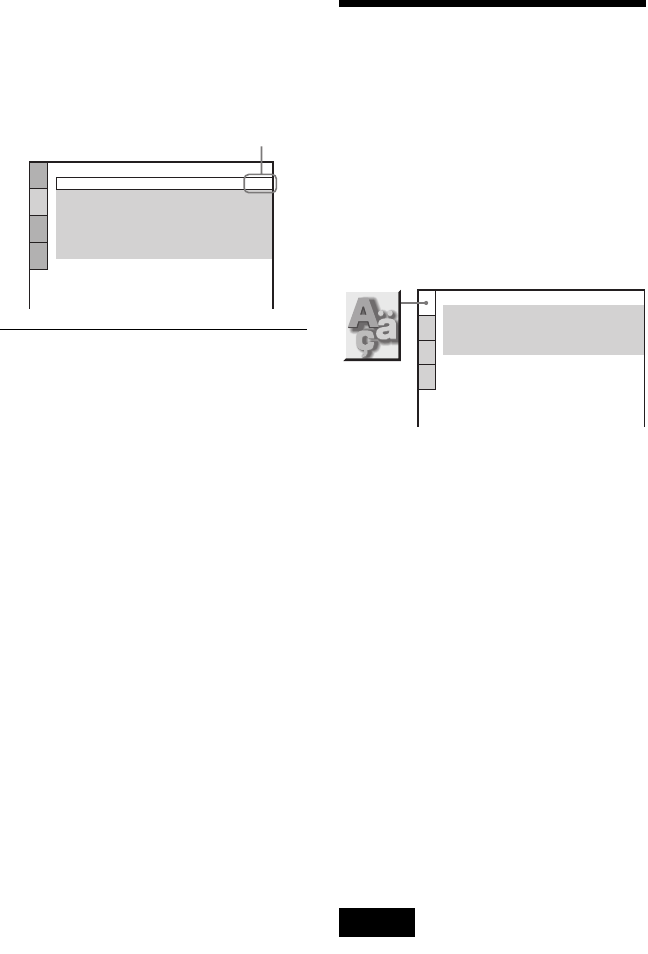
Setting the Display or
Sound Track Language
(LANGUAGE SETUP)
“LANGUAGE SETUP” allows you to set
various languages for the on-screen display or
sound track.
Select “LANGUAGE SETUP” in the Setup
Display. To use the display, see “Using the
Setup Display” (page 63).
◆OSD (On-Screen Display)
Switches the display language on the screen.
◆MENU (DVD VIDEO only)
You can select the desired language for the
disc’s menu.
◆AUDIO (DVD VIDEO only)
Switches the language of the sound track.
When you select “ORIGINAL,” the language
given priority in the disc is selected.
◆SUBTITLE (DVD VIDEO only)
Switches the language of the subtitle recorded
on the DVD VIDEO.
When you select “AUDIO FOLLOW,” the
language for the subtitles changes according to
the language you selected for the sound track.
z Hint
If you select “OTHERS t” in “MENU,”
“SUBTITLE,” and “AUDIO,” select and enter a
language code from “Language Code List” on
page 77 using the number buttons.
Note
When you select a language in “MENU,”
“SUBTITLE,” or “AUDIO” that is not recorded on
the DVD VIDEO, one of the recorded languages
will be automatically selected.
SCREEN SETUP
TV TYPE:
SCREEN SAVER:
BACKGROUND:
16:9
ON
JACKET PICTURE
BLACK LEVEL:
OFF
ON
MODE
(PROGRESSIVE)
:
AUTO
BLACK LEVEL
(COMPONENT OUT)
:
Selected setting
LANGUAGE SETUP
OSD:
MENU:
AUDIO:
SUBTITLE:
ENGLISH
ENGLISH
ORIGINAL
ENGLISH
