6-3 Shot Mark Operations
Chapter 6 Shot Mark Function
6-6 Chapter 6 Shot Mark Function
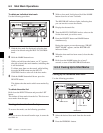
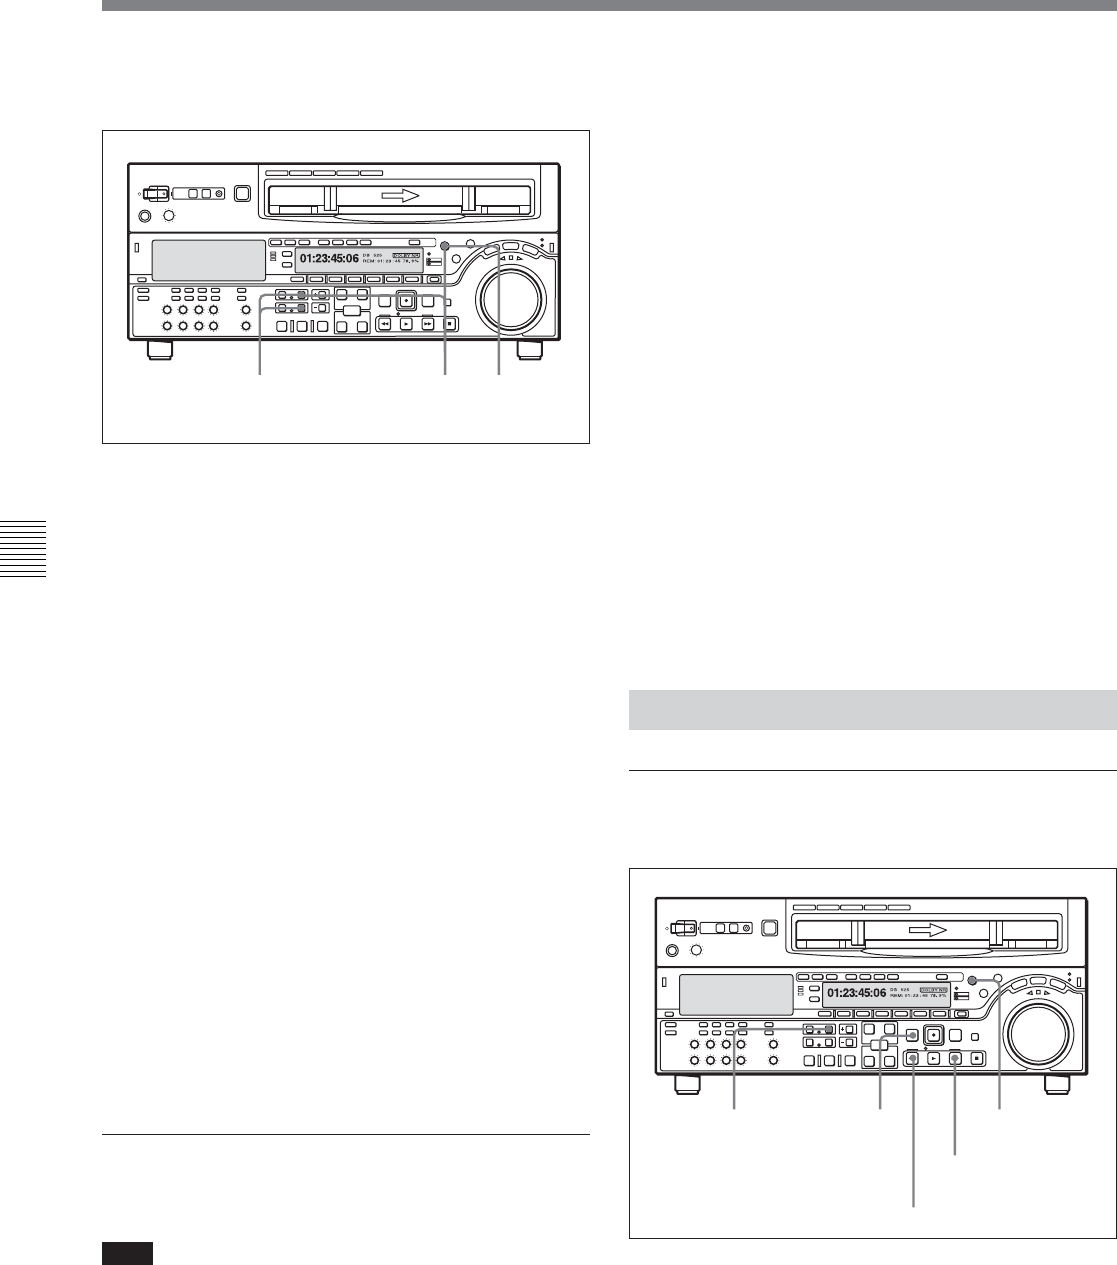
To delete an individual shot mark
Use the following procedure.
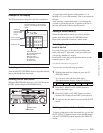
1 With the shot mark list displayed, select the shot
mark to be deleted using the MULTI CONTROL
knob.
2 Hold the MARK button down.
While you hold down the button, an “X” appears
after the selected shot mark number, indicating that
it will be deleted.
To delete more than one shot mark, while holding
down the MARK button turn the MULTI
CONTROL knob to select all of the shot marks.
3 With the MARK button held down, press the
DELETE button.
This deletes the shot marks which were marked by
an “X”.
To delete the entire list
Hold down the DELETE button and press the LIST
button.
This deletes all shot marks from the list. This does not
erase marks from the tape.
Erasing shot marks from the tape
To erase a shot mark, use the following procedure.
Note
Once you erase a shot mark from the tape, it cannot be
read back in.
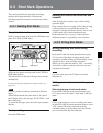
1 With no shot mark list displayed, hold the MARK
button down for at least 2 seconds.
The REC/ERASE indicator lights, indicating that
you can rewrite or erase shot marks.
2 Display the shot mark list.
3 Turn the MULTI CONTROL knob to select on the
list the shot mark you wish to erase.
4 Press the DELETE button and MARK button
simultaneously.
During the erasure process the message “ERASE
SHOT MARK” appears, and the REC/ERASE
indicator flashes.
5 When the shot mark has been erased, close the shot
mark list.
6 Hold down the MARK button for at least 2
seconds, to turn off the REC/ERASE indicator.
6-3-4 Cueing Up to Shot Marks
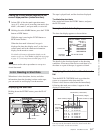
Cueing up to a selected shot mark
Use the following procedure.
1 Select the desired shot mark from the shot mark
list.
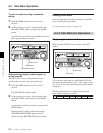
2 Press the PREROLL button.
Z
312
Z
12
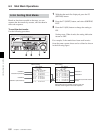
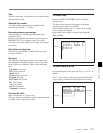
MARK button
F FWD button
REW button


