


54
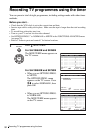
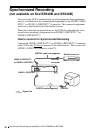
Recording TV programmes using the timer
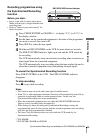
To use the VCR after setting the timer
To use the VCR before a recording begins, just press ?/1. The indicator
turns off and the VCR switches on. Remember to press ?/1 to reset the VCR
to recording standby after using the VCR.
You can also do the following tasks while the VCR is recording:
• Reset the counter (page 37).
• Display tape information on the TV screen (page 40).
• Check the timer settings (page 60).
• Watch another TV programme (page 40).
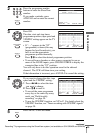
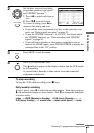
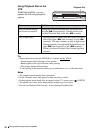
To use the Auto Tape Speed function*
3
In step 2 above, press m to select AUTO. When you are recording a
programme in the SP mode and the remaining tape length becomes shorter
than the recording time, the recording tape speed is automatically changed to
the LP mode. Note that some noise will appear on the picture when the tape
speed is changed. To operate this function correctly, the
“SÉLECT.CASSETTE” setting in the RÉGLAGES UTILISATEUR menu
must be accurate (see page 69).
Tips
• To set the line input video source, you can also use the CHOIX ENTREE button.
• Even if you set OPTIONS PROG.*
1
to SHOWVIEW in the FONCTIONS
AVANCÉES menu, you can set the timer manually. Press MENU to select
MINUTERIE, then go to step 2.
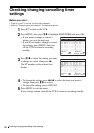
• To check, change, or cancel the programme setting, see “Checking/changing/
cancelling timer settings” on page 60.
Notes
• When setting the timer with VPS/PDC*
2
signals, enter the start and stop times
exactly as indicated in the TV programme guide. Otherwise, the VPS/PDC
function will not work.
• If the VPS/PDC*
2
signal is too weak or the broadcasting station failed to transmit
VPS/PDC signals, the VCR will start recording at the set time without using the
VPS/PDC function.
• The and indicators flash in the display window when you press ?/1 with
no tape inserted.
• The VPS/PDC function*
2
is automatically set to off for the timer recording of a
satellite programme.
*
1
not available on SLV-SE640B/SE240B
*
2
not available on SLV-SE640B
*
3
not available on SLV-SE240B