


90
Audio dubbing (SLV-SE810N/K only)
Audio dubbing
(SLV-SE810N/K only)
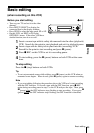
To stop editing
Press x (stop) on this VCR and the stereo system (or other VCR).
To listen to both the hi-fi and normal audio
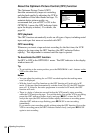
Set AUDIO MIX to ON in the OPTIONS-1 menu (page 84). Use this feature
to listen to dubbed audio over the original hi-fi audio. When AUDIO MIX is
set to ON, the AUDIO MONITOR button does not function.
Remember to reset AUDIO MIX to OFF after playing the tape.
Note
• If you eject the tape or turn the VCR off, AUDIO MIX is automatically set to OFF.
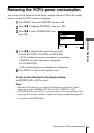
This feature lets you record over the
normal audio track. The monaural
sound previously recorded is replaced
while the original hi-fi sound remains
unchanged. Use this feature to add
commentary to a tape that you have
recorded with a camcorder.
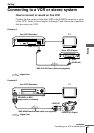
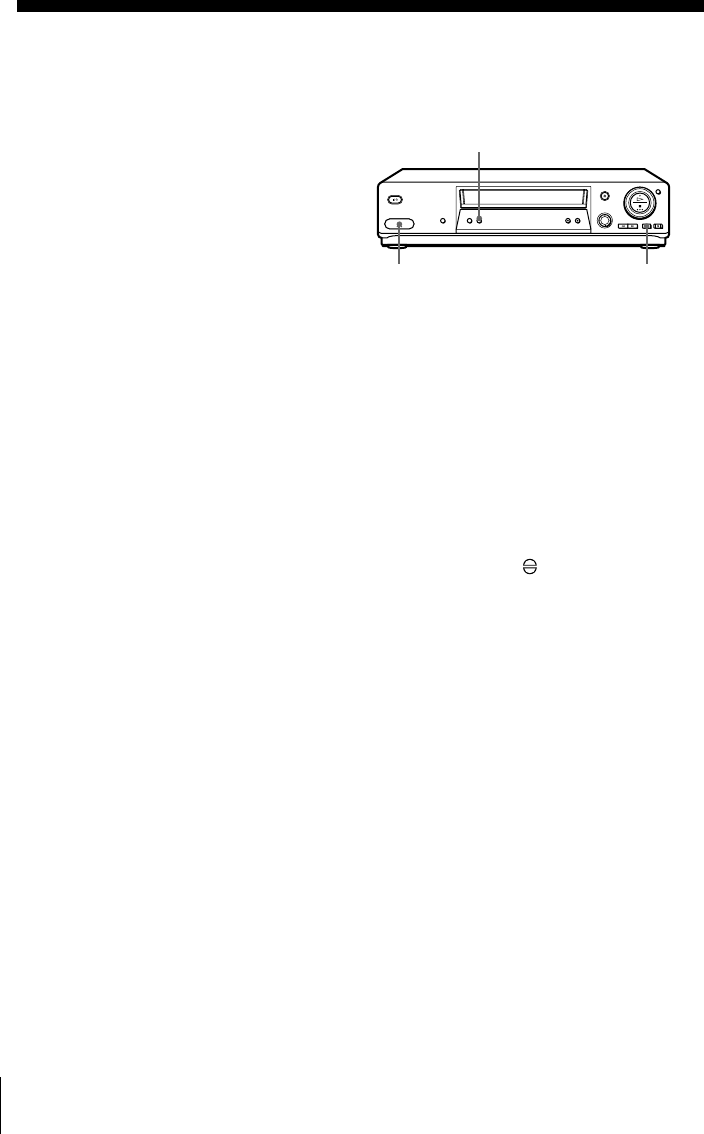
Before you start...
• Open the
t
LINE-2 L
o
R jacks cover on the front panel and connect a playback source.
• Turn on the TV and set it to the video channel.
1
Insert a source tape into your stereo system (or the playback VCR).
Search for the point to start playback and set it to playback pause.
2
Insert a prerecorded tape with its safety tab in place into this (recording)
VCR. Search for the start of the section to be replaced and press
X (pause).
The VCR enters pause mode.
3
Press AUDIO DUB.
The programme position changes to “L2,” and the indicator appears in
the display window.
4
To start editing, press the X (pause) buttons on this VCR and the stereo
system (or other VCR) at the same time.
After you use this feature, the audio in playback mode is automatically
set to monaural.
AUDIO DUB
X
t
tt
t LINE-2 L o
oo
o R