


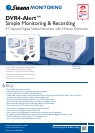
DVR4-Alert™ FAQs
Is the DVR4-Alert easy to install?
The Swann DVR4-Alert is designed with Do it Yourself installation in mind. Most people who can set up a VCR or Home
Theatre system will not have any problems installing the DVR4-Alert. The plugs and cables do not need tools to install and
are a simple click, push or twist fit. Minimal tools are required to successfully install the DVR.
?
Is there a hard disk drive fitted to the DVR4-Alert?
The DVR4-Alert does not come with a Hard Disk Drive fitted, but it supports most IDE (also called PATA) hard drives up
to about 400GB in size. Check with your retailer for availability of suitable Hard Drives. Hard Drives can also be bought at
most computer retailers.
When selecting a Hard Drive You can calculate and estimate recording hours by using the following formula based on the
use of an 80GB Hard Drive.
80G Byte @ 7 frames per second @ Normal quality
80 (G byte) x 1024 (M byte) x 1024 (K byte)
15 (Kbyte/frame) x 7 (frame/sec) x 60 (sec) x 60 (min)
Estimate hours is 222 Hours
?
www.swannsecurity.com
Enquiries: info@swann.com.au
Product Code: SW242-ADV
Monitoring Kits & Recording
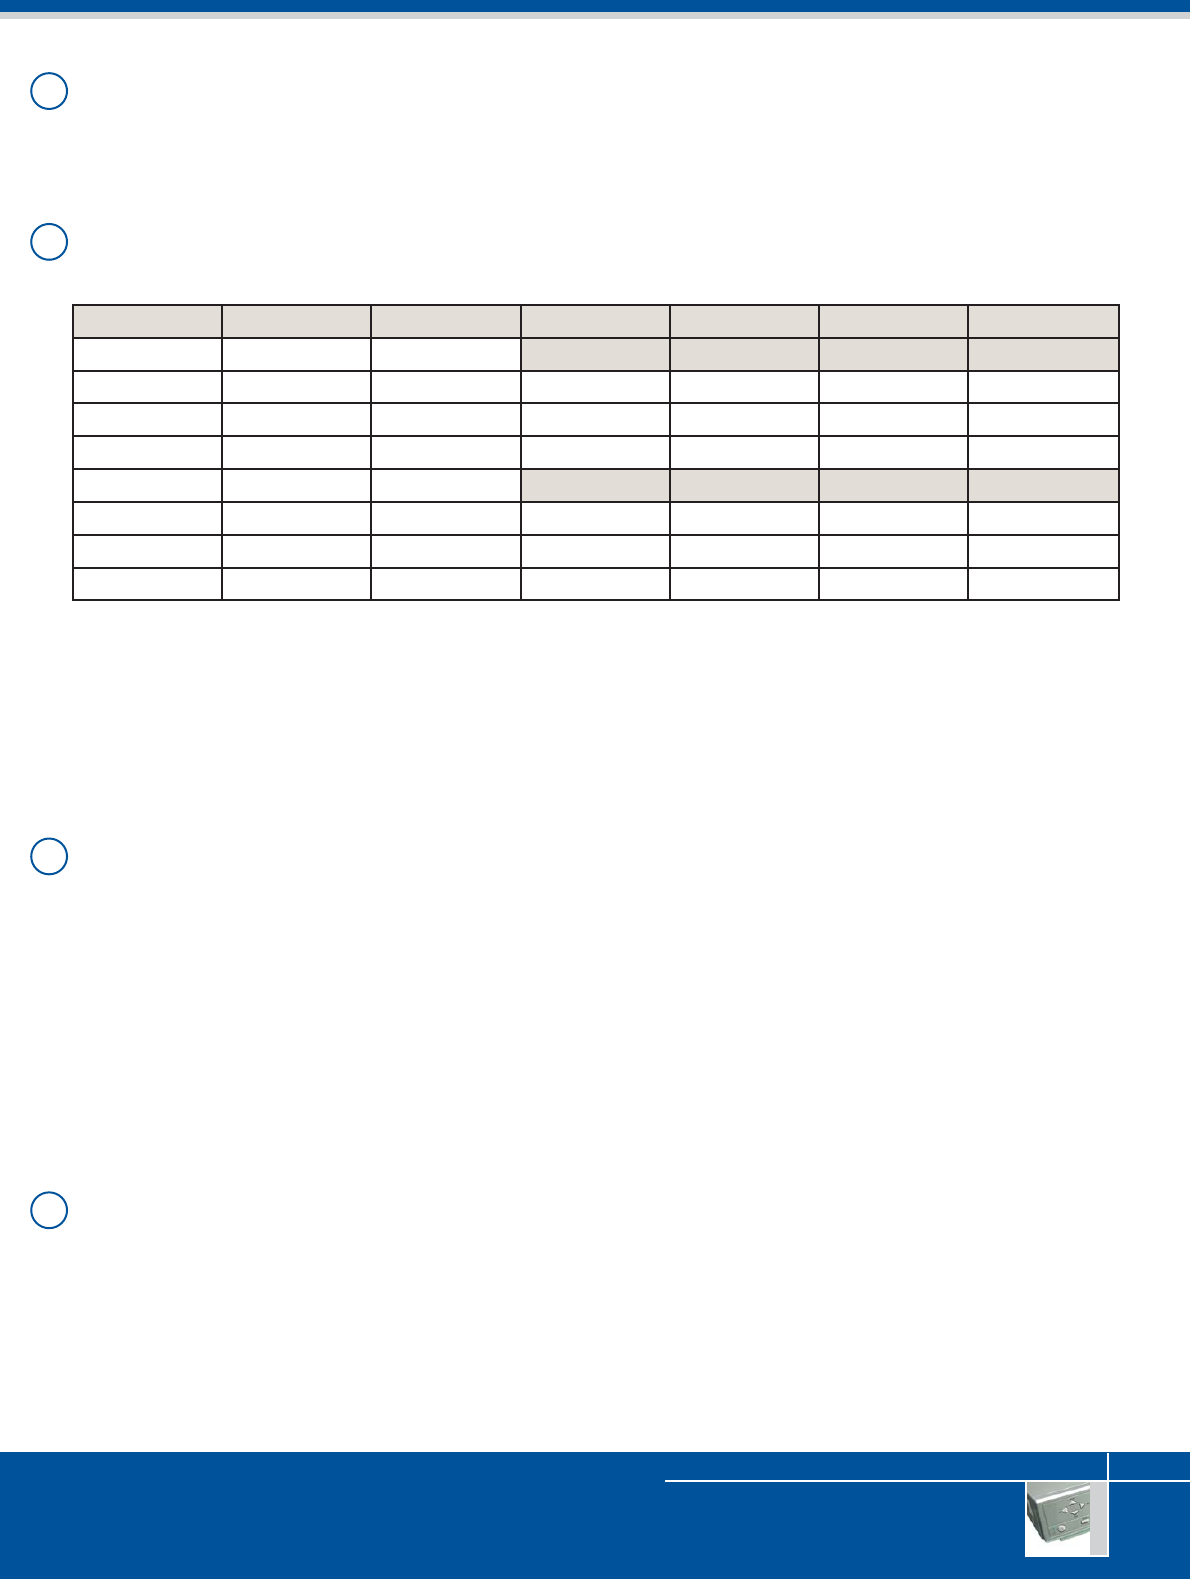
How much hard drive is used when recording 4 cameras?
This table shows the hard disk consumption for an 80GB Hard Drive.
When selecting a Hard Drive You can calculate and estimate recording hours by using the following formula based on the
use of an 80GB Hard Drive.
80G Byte @ 7 frames per second @ Normal quality
80 (G byte) x 1024 (M byte) x 1024 (K byte)
15 (Kbyte/frame) x 7 (frame/sec) x 60 (sec) x 60 (min)
Estimate hours is 222 Hours
?
Format Quality Frame Size Frame Rate
30 15 7 1
NTSC HIGH 20 38 78 167 1165
NORMAL 15 52 103 222 1533
LOW 12 64 129 277 1942
25 12 6 1
PAL HIGH 20 46 97 194 1165
NORMAL 15 62 129 258 1553
LOW 12 78 162 323 1942
I have fitted a new hard drive to my DVR4-Alert and it is working some times, but when I set it for mo-
tion activation the hard drive stops working, what is causing this?
Make sure your hard drive is jumpered to “Master”. This is done using the small plastic jumper blocks that are on the pins
that are usually between the data socket and power socket on the end of the hard drive. Most hard drives come with an
instruction sheet on the correct jumper setting for “Master”, and many also have the information printed on the label on top
of the drive casing.
Also make sure that you have connected both the IDE and Molex connectors to your hard drive correctly and that there
are no bent pins.
?