1
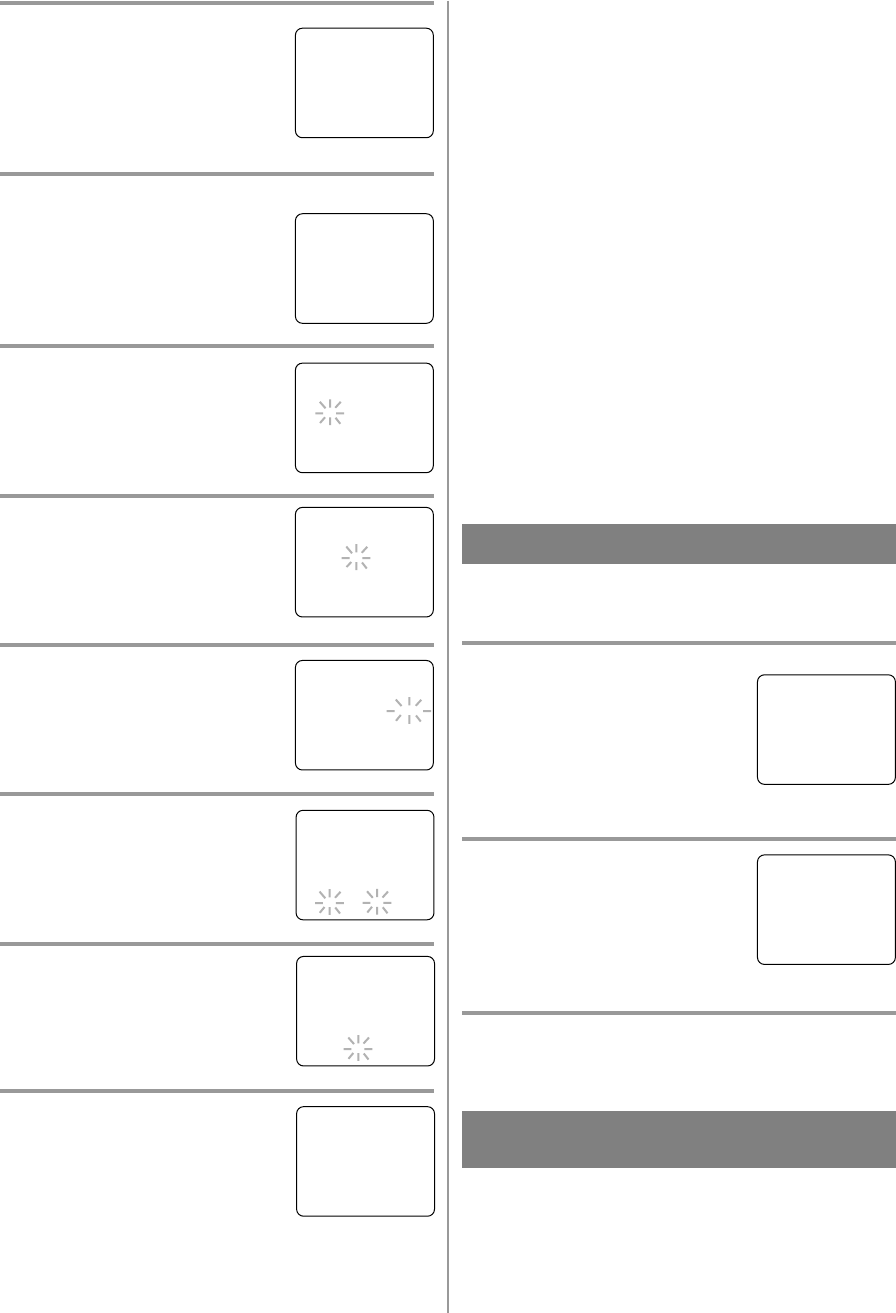
Select “SETTING CLOCK”
Press the MENU button on the
remote control. Press the PLAY/K
or STOP/L button to point to
“SETTING CLOCK”.
Then, press the F.FWD/B button.
2
Select “MANUAL CLOCK SET”
Press the PLAY/K or STOP/L but-
ton to point to “MANUAL CLOCK
SET”.
Then, press the F.FWD/B button.
3
Select the month
Press the PLAY/K or STOP/L but-
ton until your desired month
appears. (Example: May → 05)
Then, press the F.FWD/B button.
4
Select the day
Press the PLAY/K or STOP/L but-
ton until your desired day appears.
(Example: 1st → 01)
Then, press the F.FWD/B button.
5
Select the year
Press the PLAY/K or STOP/L but-
ton until your desired year appears.
(Example: 2001)
Then, press the F.FWD/B button.
6
Select the hour
Press the PLAY/K or STOP/L but-
ton until your desired hour appears.
(Example: 5, PM)
Then, press the F.FWD/B button.
7
Select the minute
Press the PLAY/K or STOP/L but-
ton until the desired minute appears.
(Example: 40)
8
Start the clock
Press the MENU button on the
remote control.
Although seconds are not displayed,
they begin counting from 00 when
you press the MENU button on the remote control.
Use this feature to synchronize the clock with the
correct time.
- 13 - EN
0B19
DELETING (OR ADDING)
CHANNEL
CHANNEL SET UP AGAIN
Make sure ...
•
Press the POWER button to turn on the TV/VCR.
1
Select “CHANNEL SET UP”
Press the MENU button on the
remote control.
Press the PLAY/K or STOP/L but-
ton to point to “CHANNEL SET
UP”.
Then, press the F.FWD/B button.
2
Begin auto preset
Press the PLAY/K or STOP/L but-
ton to point to “AUTO PRESET”.
Then, press the F.FWD/B button.
The tuner scans and memorizes all
the active channels in your area.
3
After scanning
The tuner stops on the lowest memorized channel.
– M E N U –
TIMER PROGRAMMING
PICTURE CONTROL
SETTING CLOCK
B CHANNEL SET UP
USER’S SET UP
V-CHIP SET UP
LANGUAGE [ENGLISH]
CAPTION [OFF]
ZERO RETURN
TIME SEARCH
– CHANNEL SET UP –
ADD / DELETE CH (TV)
B AUTO PRESET
The channels you no longer receive or seldom watch
can be deleted from the memory. (Of course, you
can add the deleted channel into the memory again.)
– MANUAL CLOCK SET –
MONTH DAY YEAR
0 5 / 0 1 TUE 2 0 0 1
HOUR MINUTE
– – : – – – –
NOTE:
When unplugging the AC cord or if there is a power
failure for more than 30 seconds, you may have to
reset the clock.
TO CHANGE CLOCK SETTING
If you want to change the clock,
1)Follow steps [1] and [2].
2)Select where you want to change using the
F.FWD/B or REW/s button.
3)Enter correct numbers using the PLAY/K or
STOP/L button.
4)Press the MENU button on the remote control to
start the clock.
PLEASE NOTE:
If there is no local PBS station in your area or on
your cable system, select “AUTO CLOCK” and
press the F.FWD/B or REW/s button to turn [OFF]
this function. Then you can manually adjust the
clock.
– MANUAL CLOCK SET –
MONTH DAY YEAR
0 5 / 0 1 TUE 2 0 0 1
HOUR MINUTE
0 5 : – – PM
– MANUAL CLOCK SET –
MONTH DAY YEAR
0 5 / 0 1 TUE 2 0 0 1
HOUR MINUTE
0 5 : 4 0 PM
5:40 PM
– M E N U –
TIMER PROGRAMMING
PICTURE CONTROL
B SETTING CLOCK
CHANNEL SET UP
USER’S SET UP
V-CHIP SET UP
LANGUAGE [ENGLISH]
CAPTION [OFF]
ZERO RETURN
TIME SEARCH
– SETTING CLOCK –
AUTO CLOCK [ON]
AUTO CLOCK CH [AUTO]
B MANUAL CLOCK SET
D.S.T. [OFF]
– MANUAL CLOCK SET –
MONTH DAY YEAR
0 5 / – – – – – – – – –
HOUR MINUTE
– – : – – – –
– MANUAL CLOCK SET –
MONTH DAY YEAR
0 5 / 0 1 – – – – – – –
HOUR MINUTE
– – : – – – –
T5206.QX33 01.3.19 10:05 AM Page 13


