2
3
4
1
5
Connections and initial set up
3
EN
EN
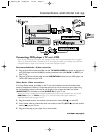
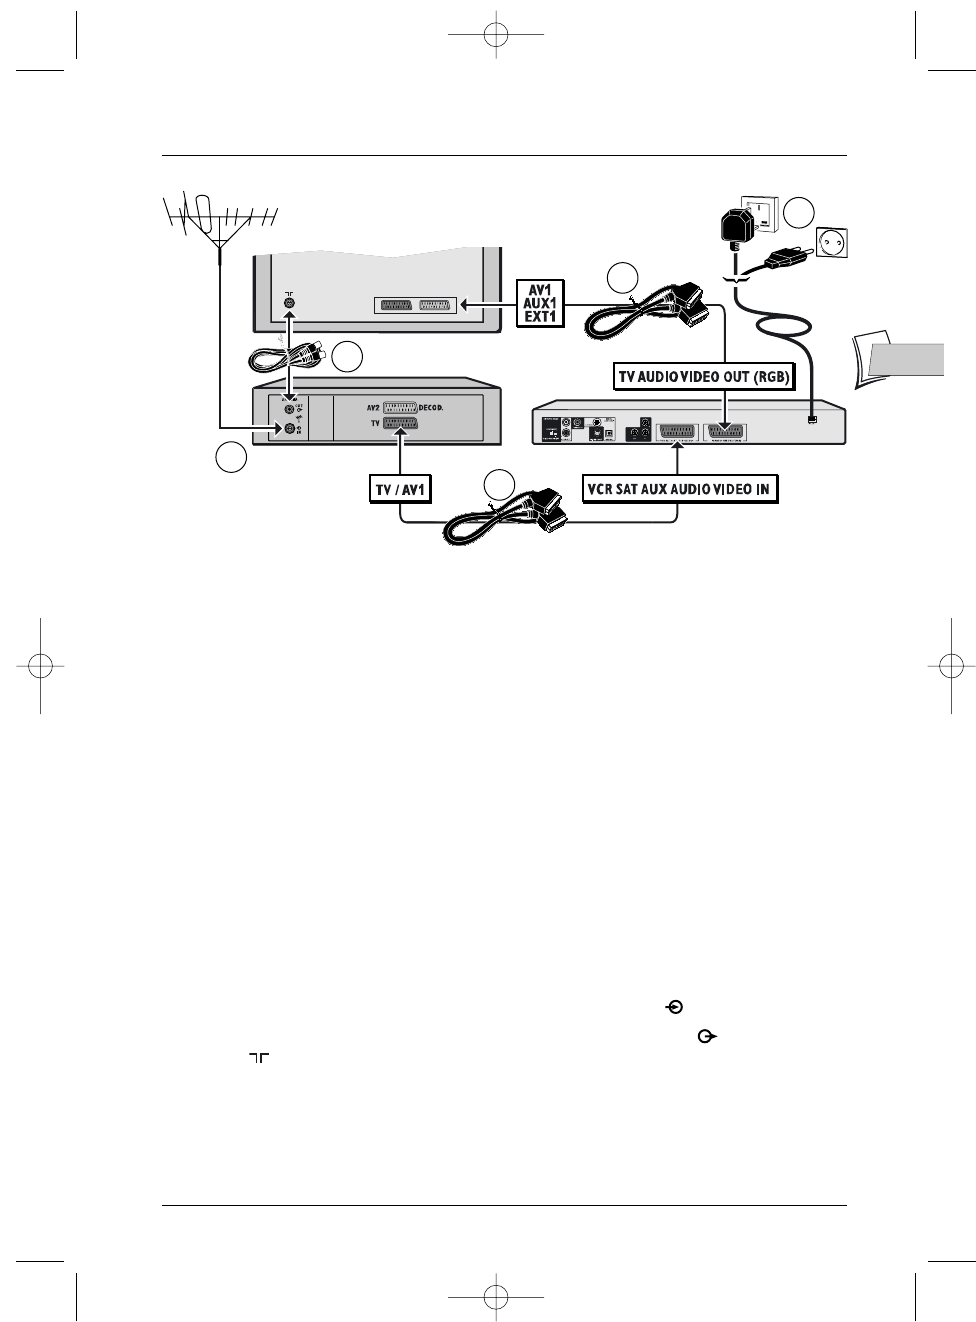
Connecting: DVD player + TV set + VCR
If you are only connecting your player to your television set, only carry out the connections shown in stages 1
and 5. If no Scart-Peritel socket is available on the TV set consult your retailer. If you already have a VCR the
connections shown in stages 3 and 4 should, in most cases, already be in place.
Recommended Audio – Video connection
1.
Plug the Scart-Peritel cable provided into the TV AUDIO VIDEO out socket at the back of
your DVD player and into the AV1 in socket (sometimes also called AUX 1 or EXT 1) on
your TV set
2. Plug your VCR Scart-Peritel cable into the VCR/SAT/AUX socket on your DVD player and
into the TV socket on your VCR.
Other Audio - Video connections
If no Scart-Peritel socket is available on the TV set, check whether the set has another Video
socket (Components, S-Video or Composite) that you can use to connect to your player using
the corresponding socket. In this case do not forget to also connect the Audio out socket
(AUDIO OUT) to the Audio in socket (AUDIO IN) on your TV set.
Note: if your TV set is equipped with Component sockets and you opt for this connection, you must set the
RGB/YPRPB selector on YPRPB (see page 5). For more information about signals, cables and
Audio/Video sockets refer to pages 4 and 5.
3. Plug the outside aerial or the network into the aerial in socket (IN ) on the VCR.
4. Use a coaxial cable to connect the aerial out socket on the VCR (OUT ) and the aerial in
socket ( ) on your TV set.
5. Plug the mains plug of your player into a mains socket.
Continue on page 6
The rear panel of your television set and your video player may be different from the ones illustrated here.
Television set
Video recorder DTH 311
2_DTH311_EN 25/08/03 14:45 Page 3


