69
Intensive Recording Overview
The Intensive Recording Option allows you to increase the Pictures Per Second of any camera, using sensor or motion activation. See
Frame Setup for information on configuring intensive options. This guarantees that the Pictures Per Second and Resolution will be set
correctly and not exceed the DVR limitation.
Using Intensive Recording
The Intensive Recording option is set up as ‘All or Nothing’. This means that once enabled (associated with sensors); all cameras
associated with sensors will activate the Intensive Recording.
To activate the Intensive Recording option, follow these steps.
1. Inside Camera Setup, select the camera to use and enable the sensor to associate with it.
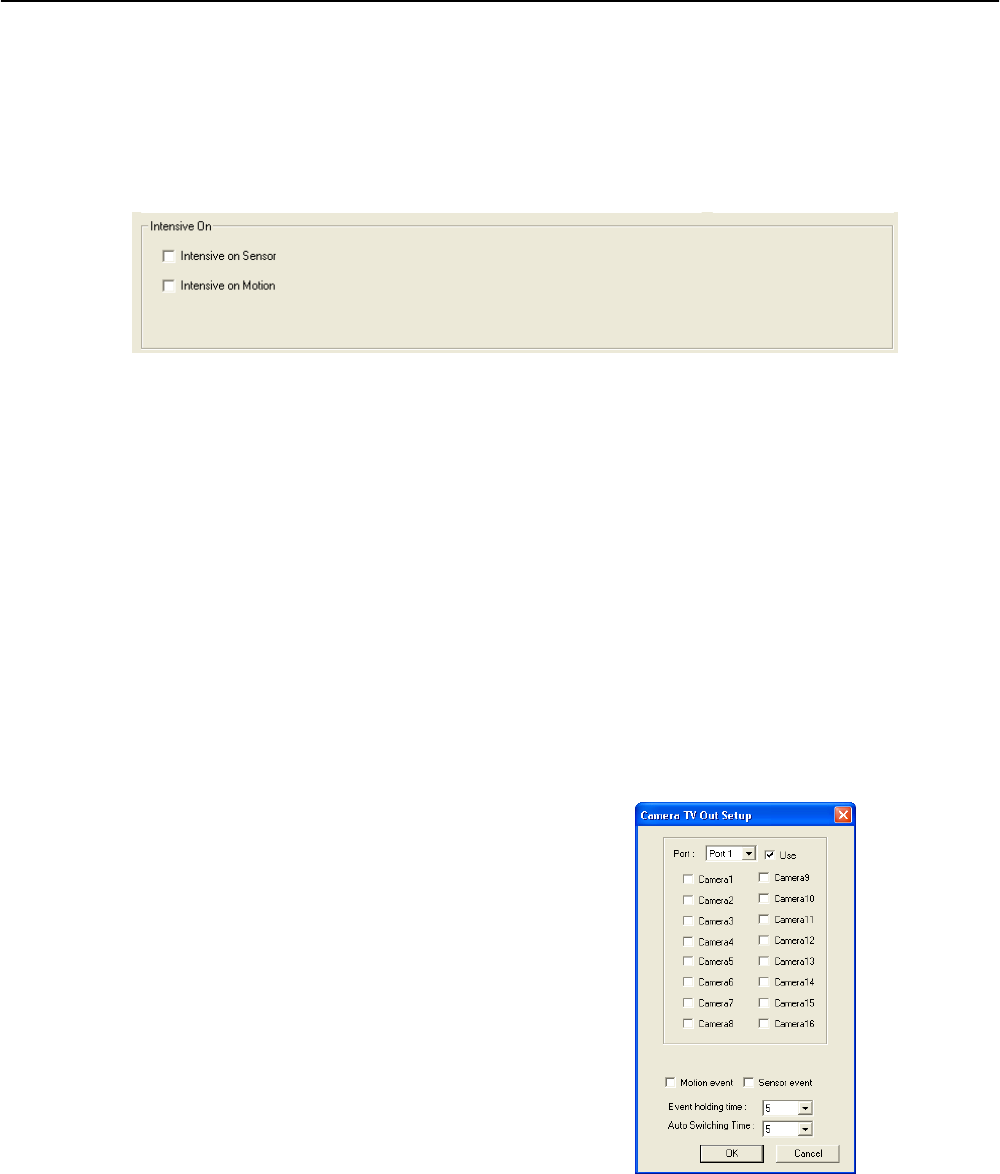
2. Click General. Select the Intensive-on-Sensor and/or Intensive on Motion check boxes.
3. Open Schedule under Setup Options. Select the Sensor option.
4. Enable the sensor by creating a schedule for it.
5. Click Apply and exit setup.
TV-Out Setup (Analog)
The DVR features an optional TV-Out functionality which allows users to output video from any number of cameras, in sequence, to a
television or monitor display.
1. Select the TV Out Port to use
Note Each Port must be configured individually, i.e. one
after the other.
2. Select the Use check box to enable TV-Out functionality for
the selected port.
3. Select each camera to display through the TV-Out port.
4. Select an Event Popup check box if desired.
5. Define the Event Holding Time (the number of seconds
the camera displays after an event) for selected event
types.
6. Define the Auto Switching Time (the number of seconds
between switching of camera) for the selected TV-Out Port.
