


34
Function setup
Customizing the Function Settings (continued)
Setting details
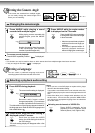
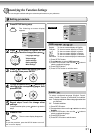
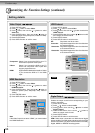
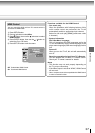
Selects the output sound format corresponding to your
system connection.
1) Press SETUP button.
2) Press
/ button to select Audio.
3) Press
button, then use the / button to select
Digital Output.
4) Press ENTER button, then use the
/ button to
select the output sound format.
5) Press ENTER button.
6) Press SETUP button to exit the menu.
PCM: Select when connected to a Multi-channel digital
stereo amplifier. The DVD player outputs sound in the PCM
stereo format when you play a DVD recorded on the Dolby
Digital, MPEG1 or MPEG2 recording system.
: PCM
: Off
Audio
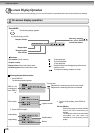
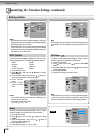
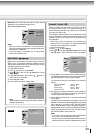
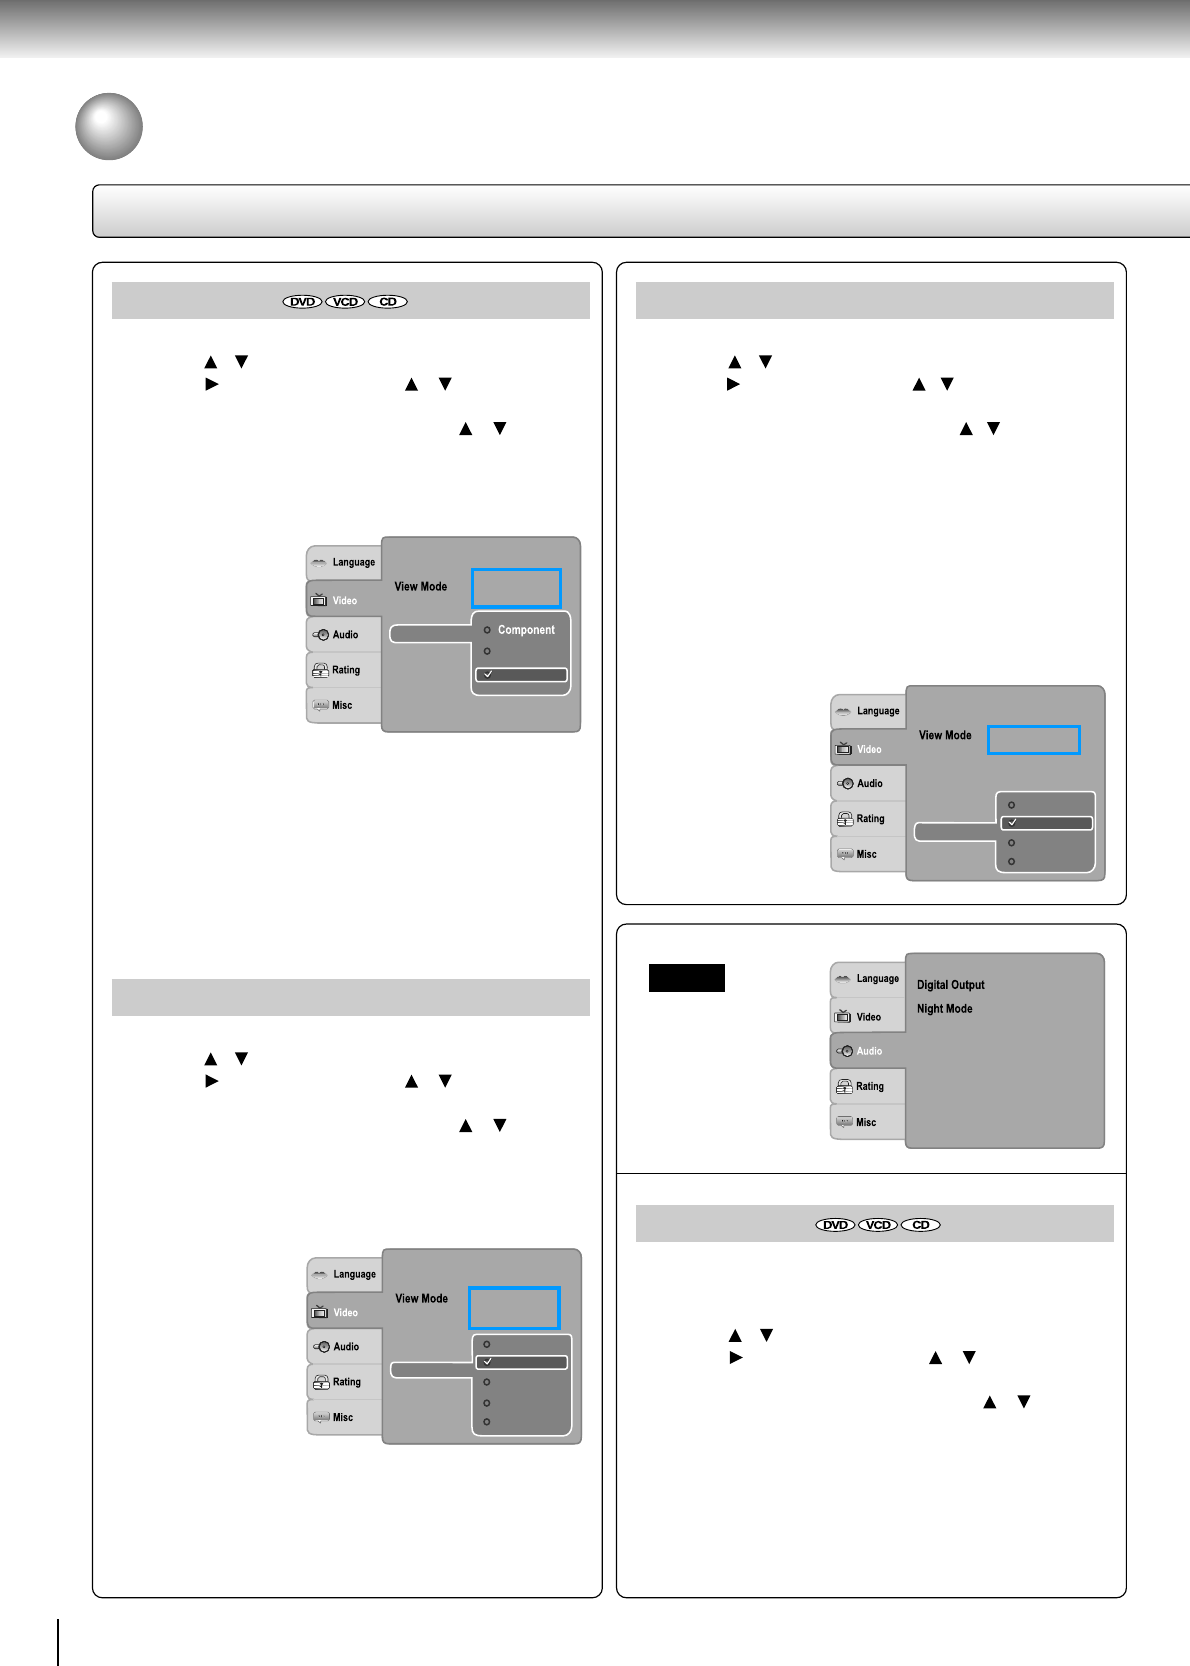
Video Output
1) Press SETUP button.
2) Press
/ button to select Video.
3) Press
button, then use the / button to select
Video out.
4) Press ENTER button, then use the
/ button to
select the output mode (Component, P-Scan or HDMI).
5) Press ENTER button.
6) Press SETUP button to exit the menu.
Component: Select if you connect the DVD to your TV
which has component video inputs.
P-Scan: Select if you connect the DVD to your TV
which has component video inputs that
support progressive scan.
HDMI: High Definition Multimedia Interface. Select
if you connect the DVD to TV via HDMI
input.
JPEG Interval
1) Press SETUP button.
2) Press
/ button to select Video.
3) Press
button, then use the / button to select the
JPEG Interval.
4) Press ENTER button, then use the
/ button to shift
and change the JPEG Interval.
5) Press ENTER button.
6) Press SETUP button to exit the menu.
Off: Plays back one file at a time.
5 seconds: Plays back images in the form of a slide show
at 5 seconds interval.
10 seconds: Plays back images in the form of a slide show
at 10 seconds interval.
15 seconds: Plays back images in the form of a slide show
at 15 seconds interval.
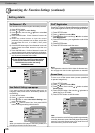
HDMI Resolution
1) Press SETUP button.
2) Press
/ button to select Video.
3) Press
button, then use the / button to select
HDMI Resolution.
4) Press ENTER button, then use the
/ button to
select the options (Auto, 480p/576p, 720p, 1080i or
1080p).
5) Press ENTER button.
6) Press SETUP button to exit the menu.
Note
If the Video Output is not set to “HDMI”, you cannot select
the “HDMI Resolution”.
Aspect Ratio
:4 :3
HDMI Resolution
: Original
:PAL
P-Scan
HDMI
Video out
JPEG Interval
TV System
Aspect Ratio
:4 :3
: Original
Off
10 seconds
15 seconds
5 seconds
Video out
HDMI Resolution
JPEG Interval
:PAL
TV System
: HDMI
Digital Output
Aspect Ratio
:4 :3
: Original
Video out
:PAL
480p/576p
1080i
1080p
720p
Auto
HDMI Resolution
JPEG Interval
TV System