


21
PLAYBACK
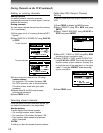
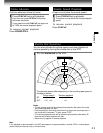
Adjusting the tracking
When playback starts, the VCR automatically
adjusts the tracking for clear pictures and sound
(Digital Auto Tracking).
The “DT” indicator blinks during the adjusting.
If the VCR cannot locate the best possible
tracking point, hold down one of
CH/TRK
to
adjust the tracking manually.
• To resume the digital auto tracking, hold down
both
CHANNEL
on the VCR simultaneously for
about 2 seconds.
Notes
• During the adjusting, the playback picture and
sound may be distorted.
• The digital auto tracking is activated only in the
playback mode.
• To reset the manual tracking point to the center,
press both
CHANNEL
on the VCR
simultaneously for not longer than 1 second.
• The noise on the screen may not be completely
eliminated depending on the tape used,
especially when the tape was recorded on
another VCR.
19µ HEAD
You can view high quality pictures while playing
back a tape recorded in the SLP tape speed.
By pressing
19
µ repeatedly, the 19µ HEAD mode
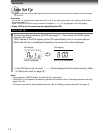
is displayed on the TV screen as follows:
19U HEAD AUTO: Usually set to “AUTO”. As the
playback starts, the VCR automatically activates
the 19µ head and reproduces high quality pictures.
19U HEAD OFF: Set to “OFF” if the pictures are
marred by dots.
Note
During playback with the 19µ head, momentary
noises or shakes may be produced when you
change the mode to the picture search or
variable speed playback.
DNR (Digital Noise Reduction)
(For W-708 only)
The noise reduction function of this VCR is based
on a digital signal system utilizing memory, and is
effective in the playback of noisy tapes.
Furthermore the CSE (Color Signal
Enhancement) circuit, which is included in the
system, compensates for color signal weakness
and gives the best possible color. Thanks to this
circuit color distortion is reduced and a sharp
picture is played back.
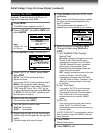
Press
DNR
repeatedly to select the following:
D
n
R O
n
: Usually set to “O
n
”.
The “D
n
R O
n
” will appear on the TV
screen and you can view the picture
with less noise.
D
n
R OFF: This function will not work.
Notes
• The DNR playback is available only in the
playback mode.
• Depending on the recorded picture, for example
too vivid or too noisy, you may not notice a
reduction in the noise.
• The noise reduction may not work on pictures
recorded from special equipment such as TV
game machines or computers.
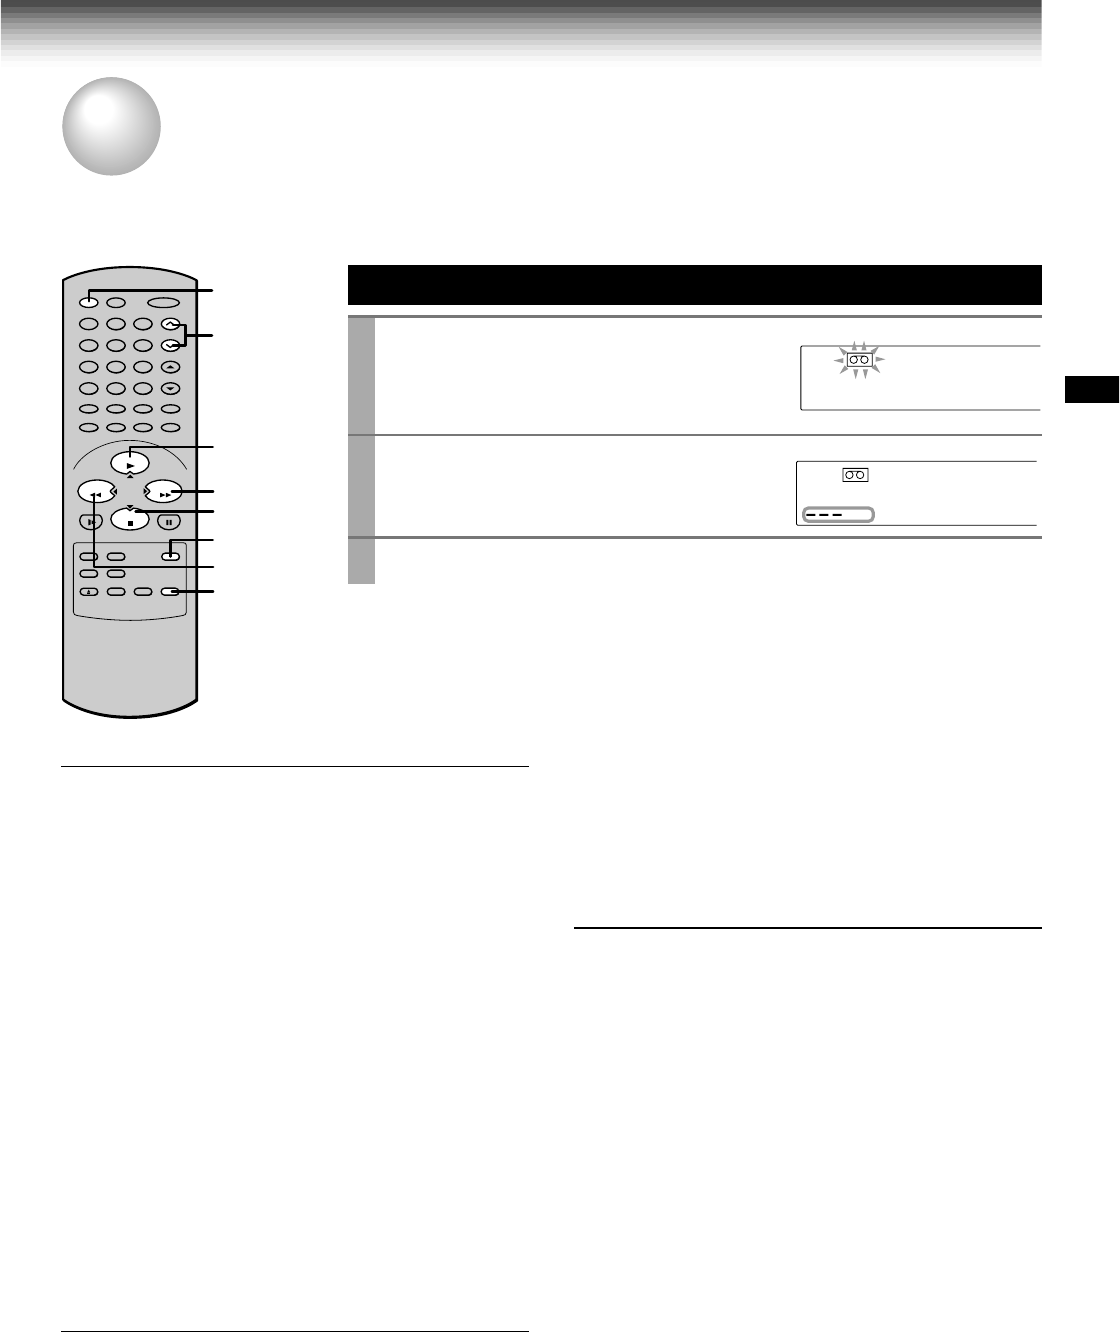
Basic Playback
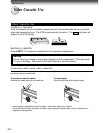
1
Load a recorded cassette.
Power is turned on.
If the cassette has no safety tab,
playback starts automatically.
2
Press
PLAY/x2
to start playback.
3
To stop playback, press
STOP
.
Rewinding / Fast-forwarding
Press
REW
or
FF
in the stop mode.
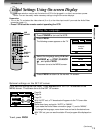
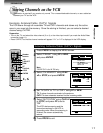
POWER
PLAYBACK
Playback
This section explains the basic playback operation.
Preparation
• Select the video channel (3 or 4) or video input mode on the TV.
• Press
VCR
to set the remote control operating the VCR.
VCR
SP
DT
POWER
78
0
100
9
65
23
4
1
STOP
PLAY/x2
FFREW
3
2
FF
DNR
CH/TR
K
VCR
REW
19
µ