3. Control Functions
3.1 User Controls
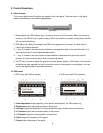
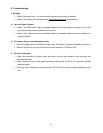
The monitor digital control functions are located on the front panel. They are shown in the figure
below and described in the following paragraphs.
1. Power switch with LED indicator key: It is used to turn on or off the monitor. When the monitor is
turned on, the LED is lit up in green (or blue). When the monitor is in power saving mode, the LED
will turn red and flashing.
2. OSD Menu key: When it is pressed, the OSD menu appears on the screen. It is also used to
confirm the function selection.
3. “+” key: It is used to move the cursor clockwise or increase the value of the control function. It is
also a shortcut key to enter Brightness adjustment.
4. “- “ key: It is used to move the cursor counterclockwise or decrease the value of the control
function. It is also a shortcut key to enter Contrast adjustment.
5. “AUTO” key: It is used to adjust the picture to the best display quality in VGA mode. If the picture is
shifted to one side, especially at the first time the monitor is connected to a new system, you can
correct the display position by pressing this key.
3.2 OSD menu
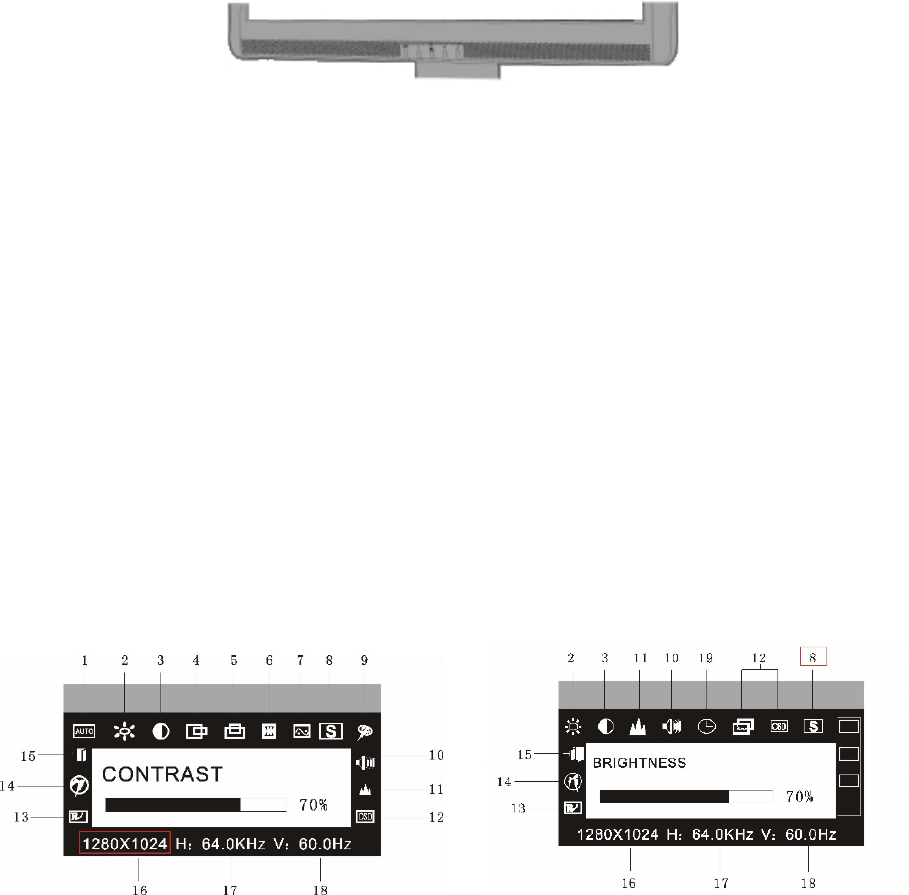
a. OSD menu with VGA connection b. OSD menu with DVI connection
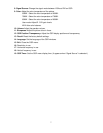
1. Auto Adjustment: Adjust geometry of the picture automatically. (for VGA mode only)
2. Brightness: Adjust the brightness level of the picture.
3. Contrast: Adjust the difference in luminance between light and dark areas of the picture.
4. H. Position: Adjust the horizontal position of the picture.
5. V. Position: Adjust the vertical position of the picture.
6. Clock: Adjust the frequency of the signal.
7. Phase: Adjust the phase of the signal.
6


