5
22
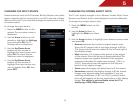
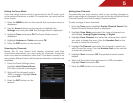
Setting the Tuner Mode
If you are using a device that is connected to the RF input, such
as an external antenna or cable TV connection, you must set the
tuner mode.
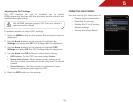
1. Press the MENU button on the remote. The on-screen menu is
displayed.
2. Use the Arrow buttons on the remote to highlight the
Settings icon and press OK. The Settings menu is displayed.
3. Highlight Tuner and press OK. The Tuner Mode menu is
displayed.
4. Highlight Antenna or Cable and press OK.
5. Press the EXIT button on the remote.
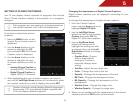
Scanning for Channels
Before the TV can detect and display channels and their
associated information, you must scan for channels. A channel
scan may also be necessary when the TV has been moved to an
area where different free-to-air broadcast television channels are
available.
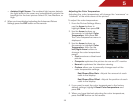
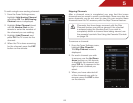
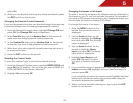
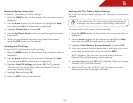
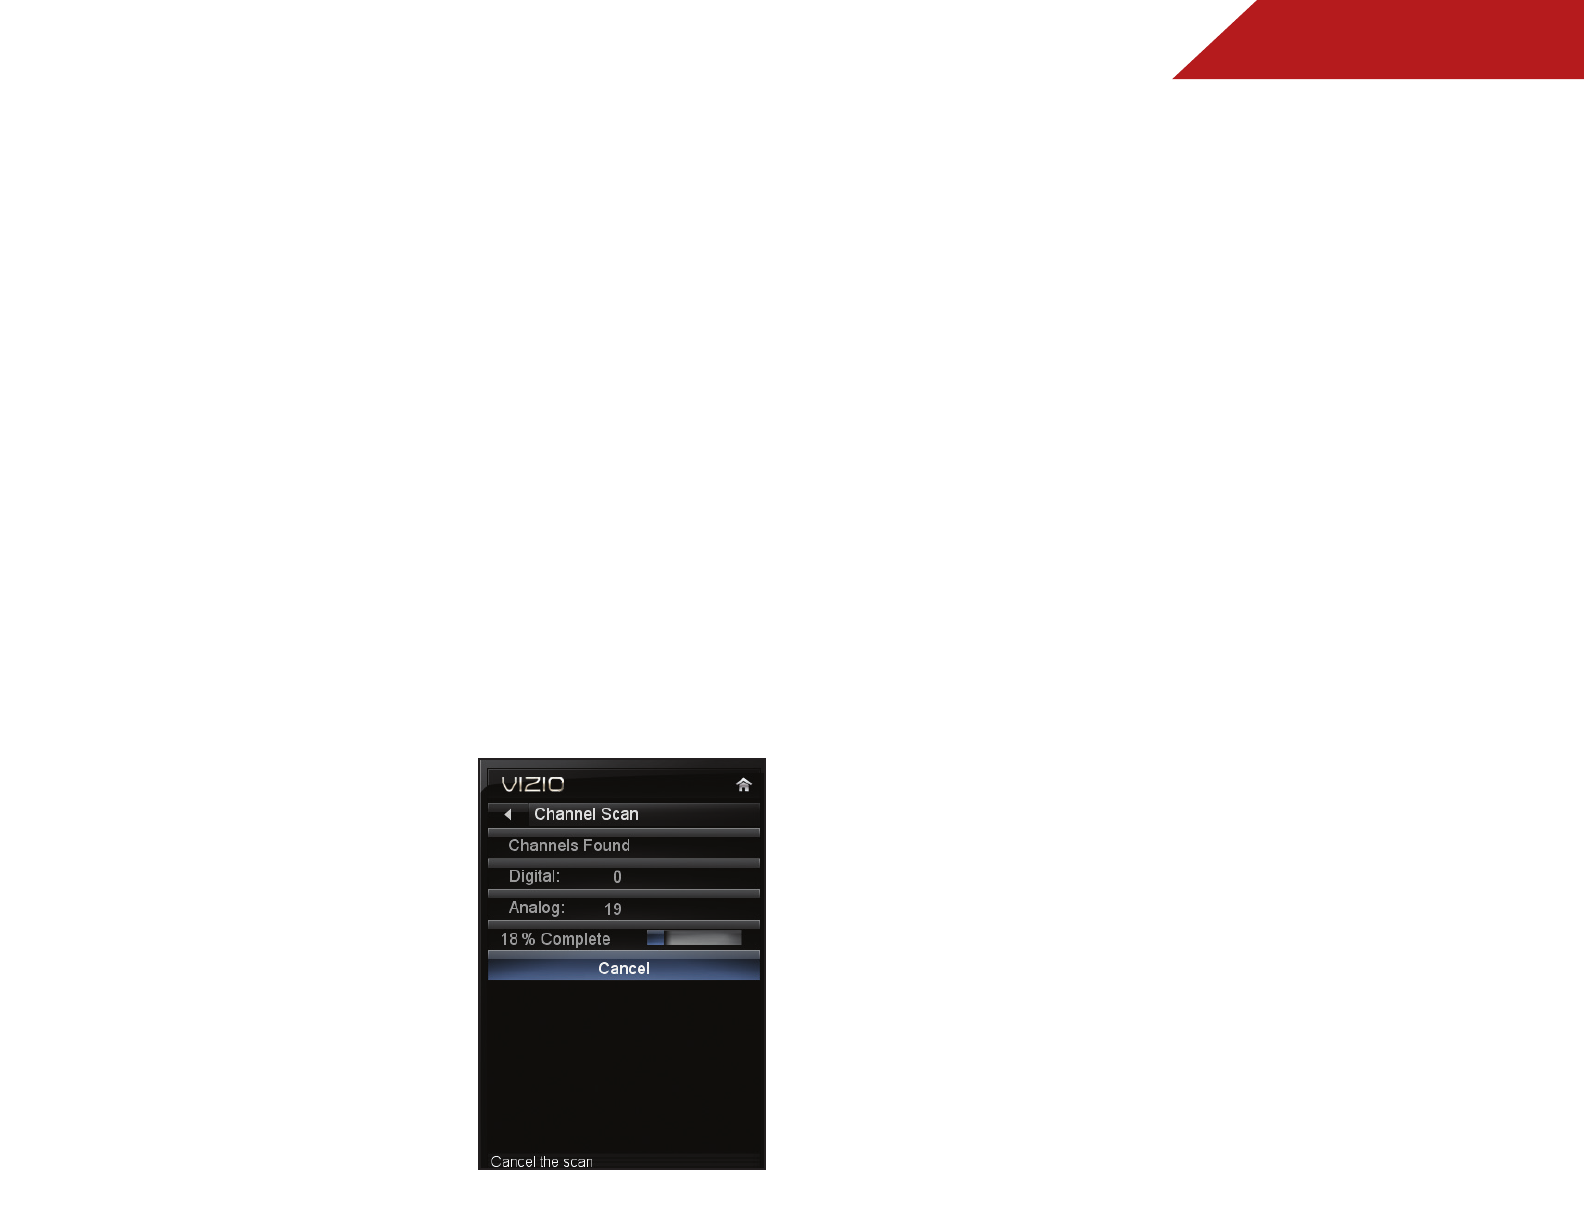
1. From the Tuner Settings menu,
highlight Auto Channel Scan.
The auto channel scan begins.
2. Wait until the channel scan is
100% complete. Highlight Done
and press OK.
3. Press the EXIT button on the
remote.
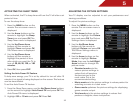
Adding New Channels
Occasionally, you may need to add a new analog channel or
add a new range of channels. You can do this by using the Partial
Channel Search and Add Analog Channel options.
To add a range of new channels:
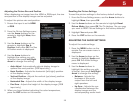
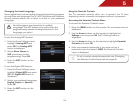
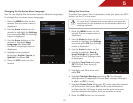
1. From the Tuner menu, highlight Partial Channel Search. The
Partial Channel Search menu is displayed.
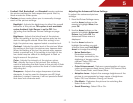
2. Highlight Scan Mode and select the type of channel you
are adding: Analog/Digital, Analog, or Digital.
3. Highlight From Channel and enter the channel from which
you want to begin the scan. (Use the Number Pad on the
remote to enter the channel.)
4. Highlight To Channel and enter the channel to which you
want to end the scan. (Use the Number Pad on the remote
to enter the channel.)
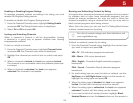
5. Highlight Start and press OK. The partial channel search
begins.
6. Wait until the partial channel search is 100% complete.
Highlight Done and press OK.
7. Press the EXIT button on the remote.


