108 Speech Intelligibility
STI-PA results screens
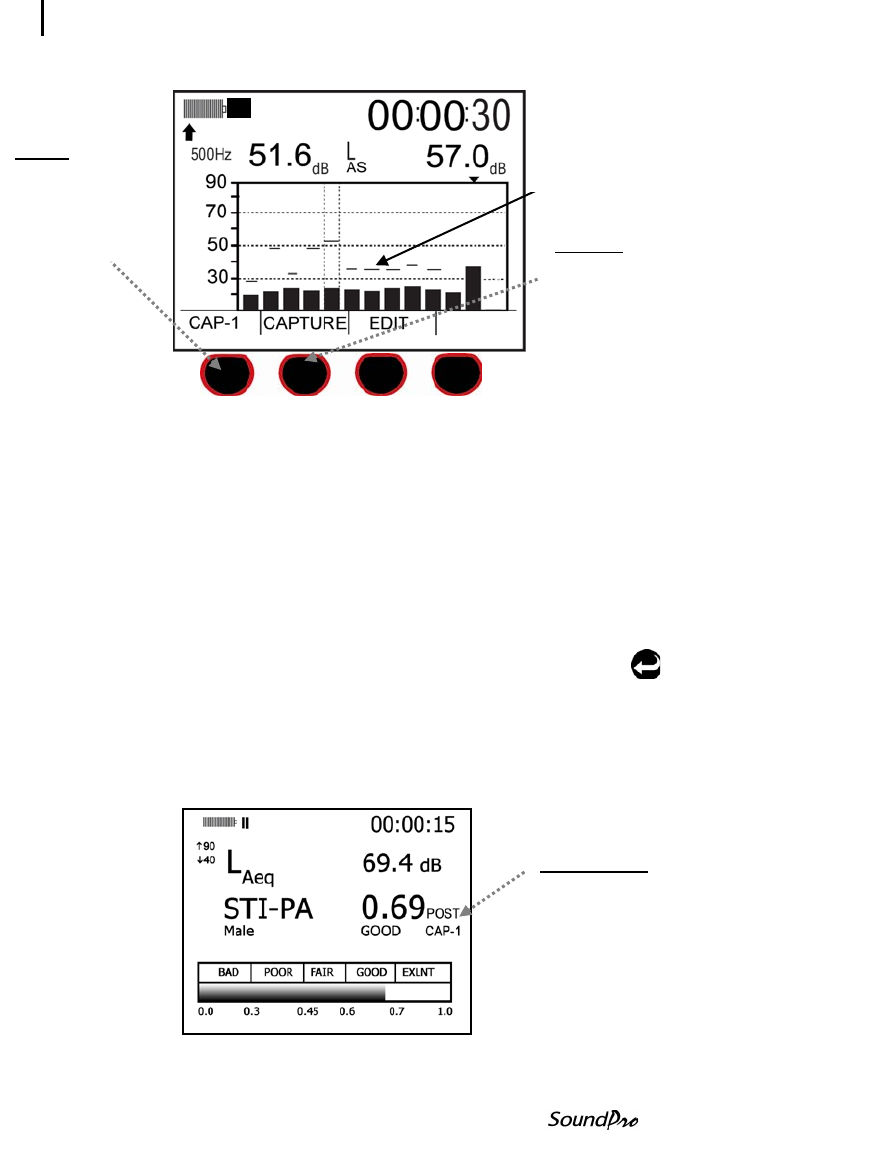
Figure 6-26: Captured curves/background noise
5. Once all background noise has been captured, refer to, “Applying captured curves”
below.
Applying captured curves for STI-PA testing
To apply the curves during a STI-PA measurement remember to complete one
and two below before applying the curve.
Applying captured curves
1. From the Start screen, select View Session and press .. Press Altf key.
2. Select one of the captured curves by pressing the 1
st
softkey (i.e, Cap-1).
Press On/Off/Esc key.
3. From the Start screen, press the 1
st
softkey continuously until STI-PA is
selected. Then, select View Session and the STI-PA screen will open.
Figure 6-27: Post CAP-1 applied during STI-PA test
Press first
softkey to assign
a captured curve
name (i.e., CAP-
1, CAP-2, CAP-
3, or CAP-4)
Press Capture
softkey to save
the background
noise/SPL.
The selected Captured Curve,
i.e., CAP-1, will appear on the
STI-PA screen. To change the
Cap-x, repeat steps 1-2 above.


