724-746-5500 | blackbox.com
Page 14
724-746-5500 | blackbox.com
Chapter 3: Installing the Heat-Transfer Door
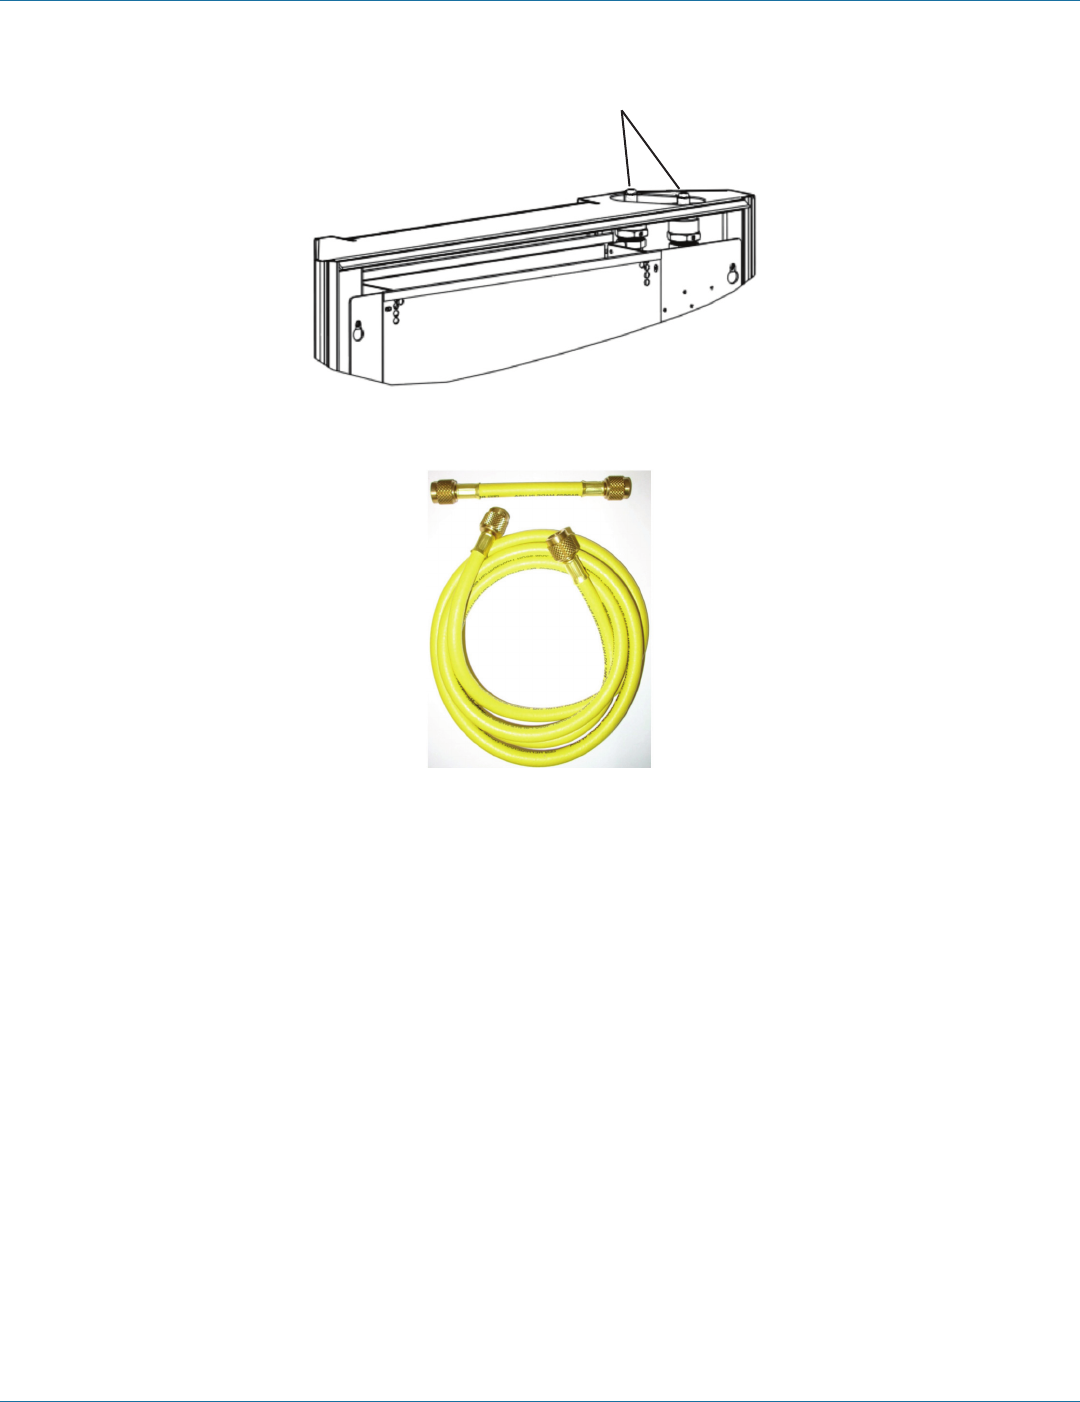
Air-purging valve
Figure 3-7. Air-purging valve.
Figure 3-8. Air-purging tool.
2. Place one end of the long hose of the air-purging tool into a bucket to catch the water that escapes during the filling
procedure.
3. Attach the other end of the long hose to the leftmost (supply) air-purging valve. As the air-purging tool is screwed onto the
valve, air will begin to escape.
NOTE: The 6”/16-cm extension hose is used for draining the Heat-Transfer Door; it is not required for this procedure.
4. Turn on the flow of water to the HTD. Water that is mixed with air will begin to spit into the bucket when the HTD coil is
almost full.
5. When there is a steady stream of water from the air-purging tool into the bucket, unscrew the air-purging tool from the valve.
ATTENTION: If water drips from the air-purging valve after you remove the air-purging tool, reattach the tool and disconnect it
again to exercise and seat the seal.
6. With one end of the air-purging tool inside the bucket, attach the other end of the air-purging tool to the rightmost (return)
air-purging valve. As the air-purging tool is screwed on to the valve, air will begin to escape. When there is a steady stream of
water from the air-purging tool into the bucket, unscrew the air-purging tool from the valve.
NOTE: Water will spray or spit into the bucket during this procedure. If air remains in the coil, it will cause a splashing or gurgling
sound. Repeat the air-purging procedure on both valves if this sound is present.
7. Feel the tops and bottoms of the HTD manifold (the vertical copper supply and return pipes on the HTD). If they are cool to
the touch, the chilled water is flowing correctly through the HTD.


