Image Categories
143
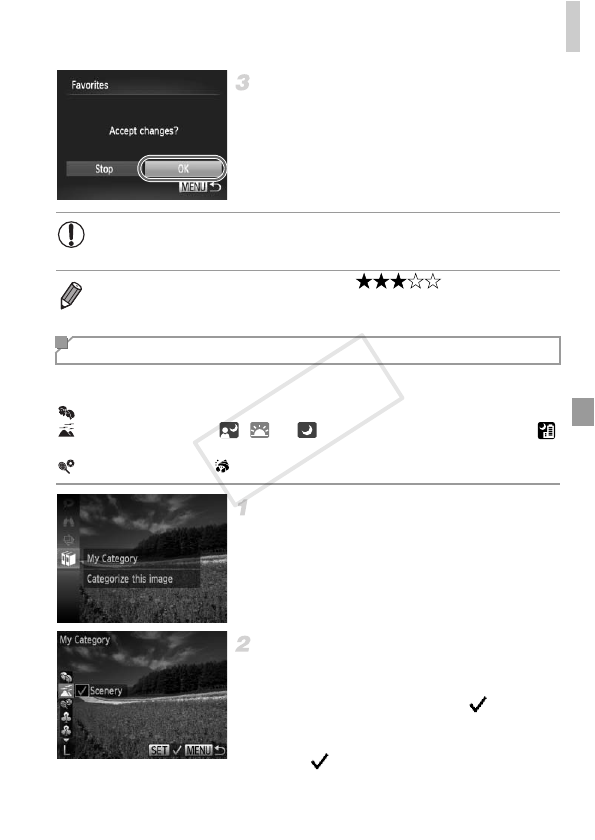
Finish the setup process.
Press the
n
button. A confirmation
message is displayed.
Press the qr buttons to choose [OK], and
then press the m button.
You can organize images into categories. Note that images are automatically
categorized at the time of shooting, according to shooting conditions.
: Images with detected faces, or images shot in I mode.
: Images detected as , , or in A mode, or images shot in
mode.
: Images shot in S, , P, or t mode.
Choose a category.
Press the m button, and then choose ; in
the menu (p. 41).
Choose images.
Press the qr buttons to choose an image,
press the op buttons to choose a category,
and then press the m button. is
displayed.
To cancel selection, press the m button
again. is no longer displayed.
Repeat this process to specify other images.
• Images will not be tagged as favorites if you switch to Shooting mode
or turn the camera off before finishing the setup process in step 3.
• Favorite images will have a three-star rating ( ) when transferred
to computers running Windows 7 or Windows Vista. (Does not apply to movies.)
Organizing Images by Category (My Category)


