143
1
2
3
4
5
6
7
9
Preliminary Notes and
Legal Information
Contents: Basic
Operations
Camera Basics
Auto Mode/Hybrid
Auto Mode
Other Shooting
Modes
Playback Mode
Wi-Fi Functions
Setting Menu
Appendix
Index
Basic Guide
P Mode
Cover
Advanced Guide
8
Accessories
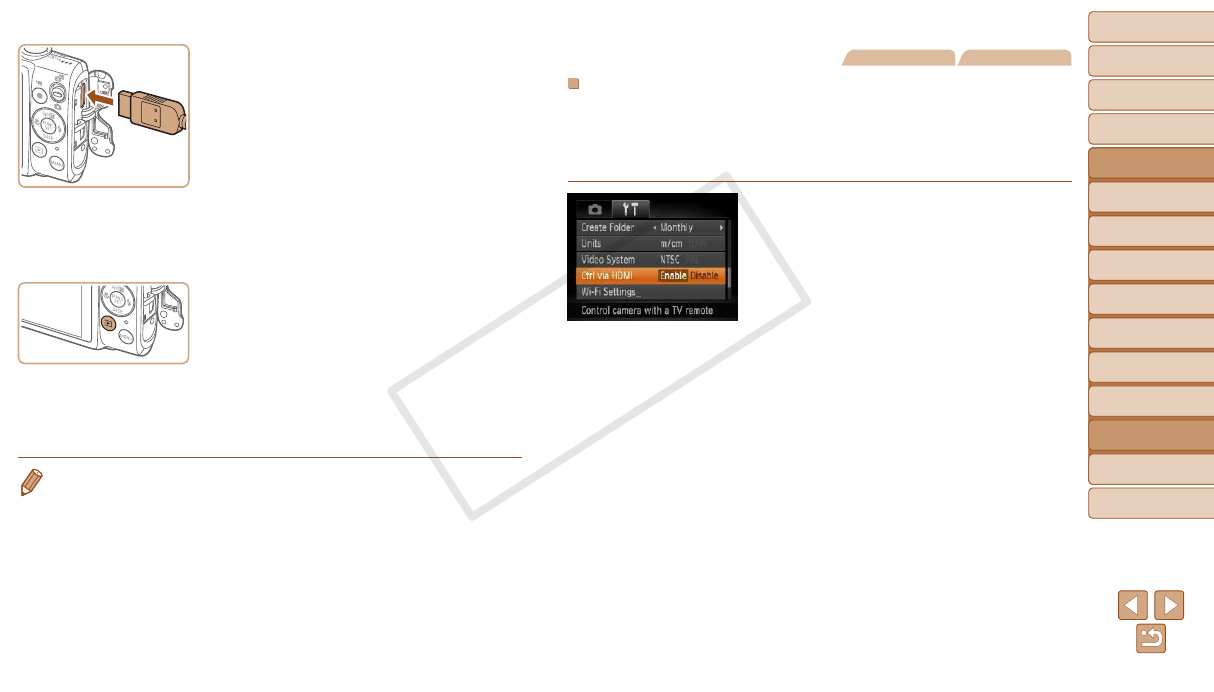
On the camera, open the terminal cover
and insert the cable plug fully into the
camera terminal.
3 Turn the TV on and switch to
video input.
Switch the TV input to the video input you
connected the cable to in step 2.
4 Turn the camera on.
Press the <1> button to turn the camera
on.
Images from the camera are now
displayed on the TV. (Nothing is
displayed on the camera screen.)
When nished, turn off the camera and
TV before disconnecting the cable.
•Camera operating sounds are not played while the camera is connected to an
HDTV.
Still Images Movies
Controlling the Camera with a TV Remote
Connecting the camera to an HDMI CEC-compatible TV enables playback
(including slideshow playback) using the TV remote control.
In this case, you will need to adjust some TV settings. For details, refer to
the TV manual.
1 Congurethesetting.
Press the <n> button, choose
[Ctrl via HDMI] on the [3] tab, and then
choose [Enable] (=
29).
2 Connect the camera to the TV.
Follow steps 1 – 2 in “Playback on a
High-Denition TV” (=
142) to connect
the camera to the TV.
3 Display images.
Turn on the TV. On the camera, press the
<1> button.
Images from the camera are now
displayed on the TV. (Nothing is
displayed on the camera screen.)


