20
Using closed captioning
Using closed captioning
Closed captioning helps the hearing impaired with the broadcast
program, as well as helping children learn how to read. A built-in
decoder displays the audio portion of a program as text on the screen
when this option is selected.
Turning closed captioning on or off
To turn closed captioning on or off:
1 Press MENU. The on-screen menu opens.
2 Press VOL+ or VOL– to highlight SETTINGS, then press
ENTER/CH–. The Settings menu opens.
3 Press CH+ or CH– to highlight Closed Caption, then press
ENTER/VOL+. The Closed Caption menu opens.
4 Press CH+ or CH– to highlight an option, press ENTER/VOL+ to
open the sub-menu, then press CH+/- to set up. Options include:
• Mode—Select CC On,CC Off, or CC On Mute.
• Analog Caption—For analog programming. Options
include:
• CC1–Standard CC display.
• CC2 to CC4–For other modes of video related broadcast
information.
• Text1–For a program guide or other information
displayed by broadcasters.
• Text2 to Text4–For additional modes of information
displayed by broadcasters.
• Off–Turns analog captions off.
• Digital Caption—For digital programming. Select CS1,
CS2, CS3, CS4, CS5, CS6, or Off.
• Digital CC Settings—To change digital closed caption
settings. Options include:
• Style–Select either Automatic or Custom. When you
select automatic, the others are disabled and cannot be
adjusted.
• Size–To select the size of the caption displayed.
• Font–To select the font of the caption displayed.
• Text Color–To select the text color or the opacity of the
text box of caption display. Select a color and one of the
opacity options.
• Text Opacity–To specify the opacity for the text color.
• Background Color–To select a background color.
• Background Opacity–To select the opacity for the
background color.
• Edge Effect–To select the edge effect.
• Edge Color–To select the edge color.
5 Press MENU to return to the previous menu, or press EXIT to
close the menu.
Tip: You can also press CCD to turn closed captioning on or off.
Adjusting time settings
Setting the clock
To set the clock:
1 Press MENU. The on-screen menu opens.
2 Press VOL+ or VOL– to highlight SETTINGS, then press
ENTER/CH–. The Settings menu opens.
3 Press CH+ or CH– to highlight Time, then press ENTER/VOL+.
The Time menu opens.
EXIT
EXIT
Custom
40
60
45
R5
+5
CHANNELS
SETTINGS
MOVE
SELECT PREVIOUS
ENTER
MENU
PICTURE
Picture
AUDIO
Mode
Brightness
Sharpness
Contrast
Color
Tint
VOL
-
CH+
CH-
VOL
+
MOVE
SELECT PREVIOUS EXIT
ENTER
MENU
EXIT
PICTURE
AUDIO
CHANNELS
SETTINGS
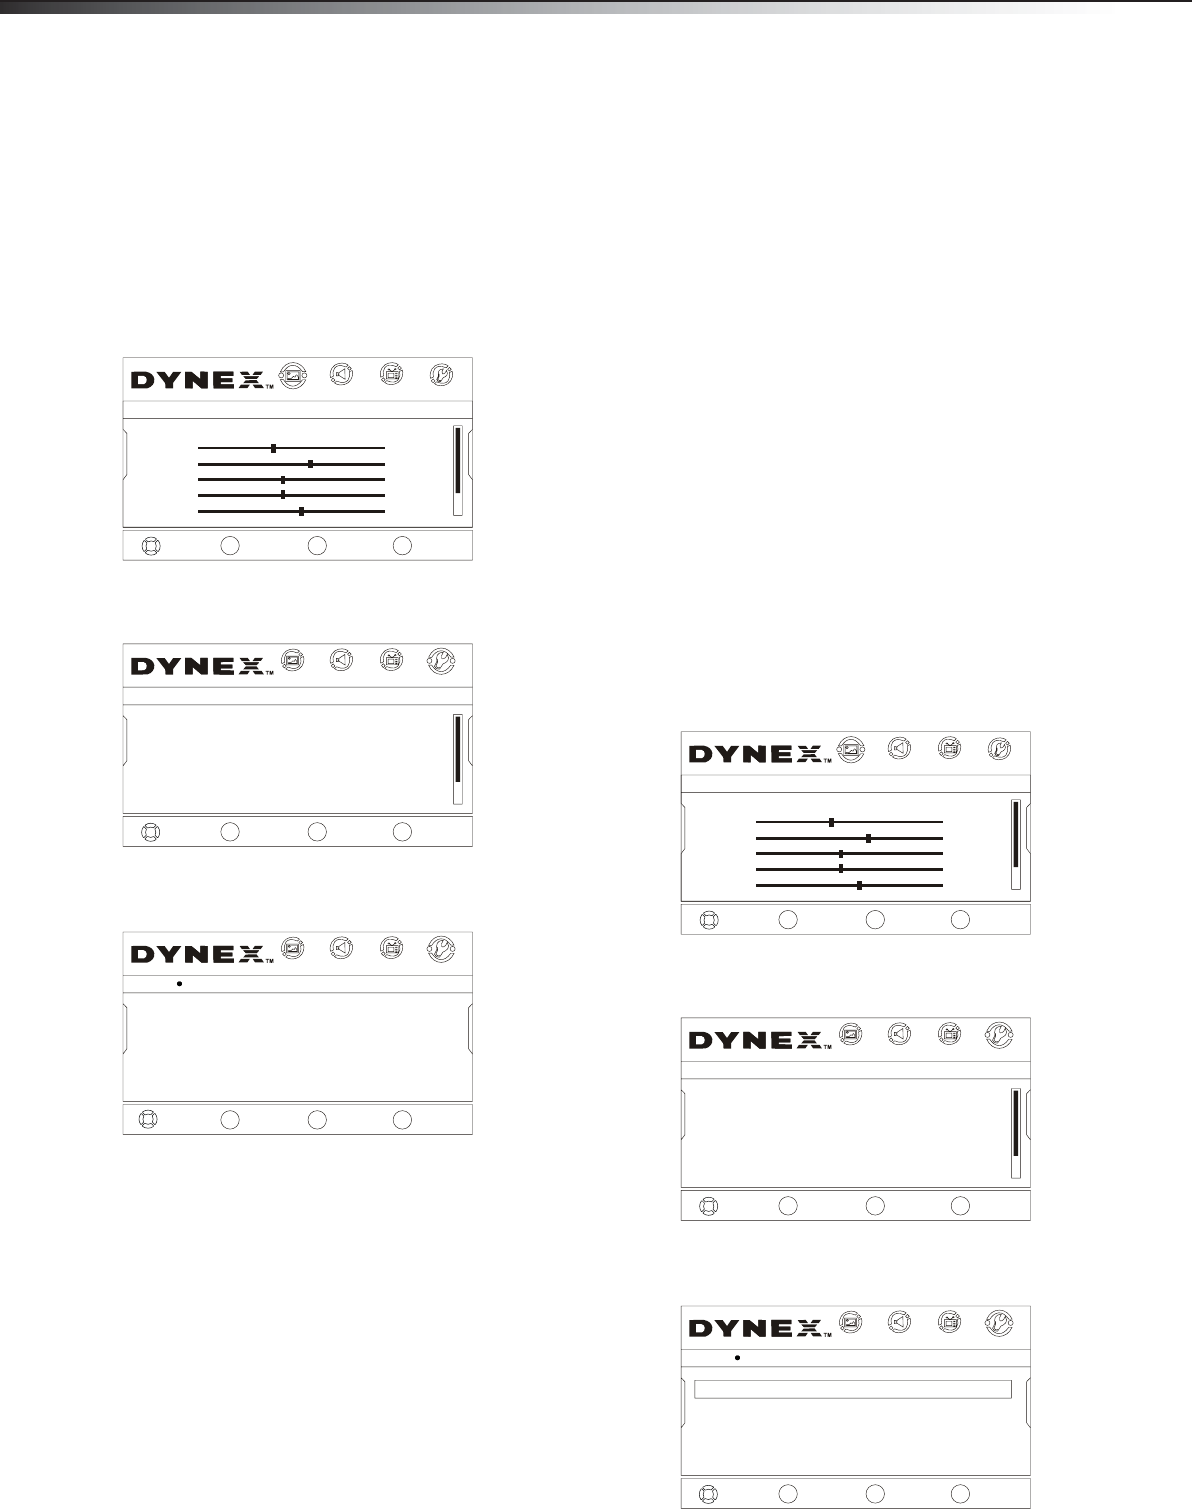
Settings
ParentalControls
ClosedCaption
ComputerSettings
Time
MenuSettings
InputLabels
VOL
-
CH+
CH-
VOL
+
Mode CC Off
AnalogCaption Off
DigitalCaption Off
DigitalCCSettings
MOVE
SELECT PREVIOUS EXIT
ENTER
MENU
EXIT
PICTURE
AUDIO
CHANNELS
SETTINGS
Settings Closed Caption
VOL
-
CH+
CH-
VOL
+
EXIT
EXIT
Custom
40
60
45
R5
+5
CHANNELS
SETTINGS
MOVE
SELECT PREVIOUS
ENTER
MENU
PICTURE
Picture
AUDIO
Mode
Brightness
Sharpness
Contrast
Color
Tint
VOL
-
CH+
CH-
VOL
+
MOVE
SELECT PREVIOUS EXIT
ENTER
MENU
EXIT
PICTURE
AUDIO
CHANNELS
SETTINGS
Settings
ParentalControls
ClosedCaption
ComputerSettings
Time
MenuSettings
InputLabels
VOL
-
CH+
CH-
VOL
+
Date/Time
SleepTimer Off
EXIT
EXIT
CHANNELS
SETTINGS
MOVE
SELECT PREVIOUS
ENTER
MENU
PICTURE
AUDIO
Settings Time
VOL
-
CH+
CH-
VOL
+
DX-LDVD22-10A_09-0042.book Page 20 Monday, March 9, 2009 1:17 PM


