67
Taking Pictures
4
4 Press the four-way controller (23) to select
(Portrait mode), z (Natural Skin Tone mode) or (Half-
length Portrait mode).
5 Press the OK button.
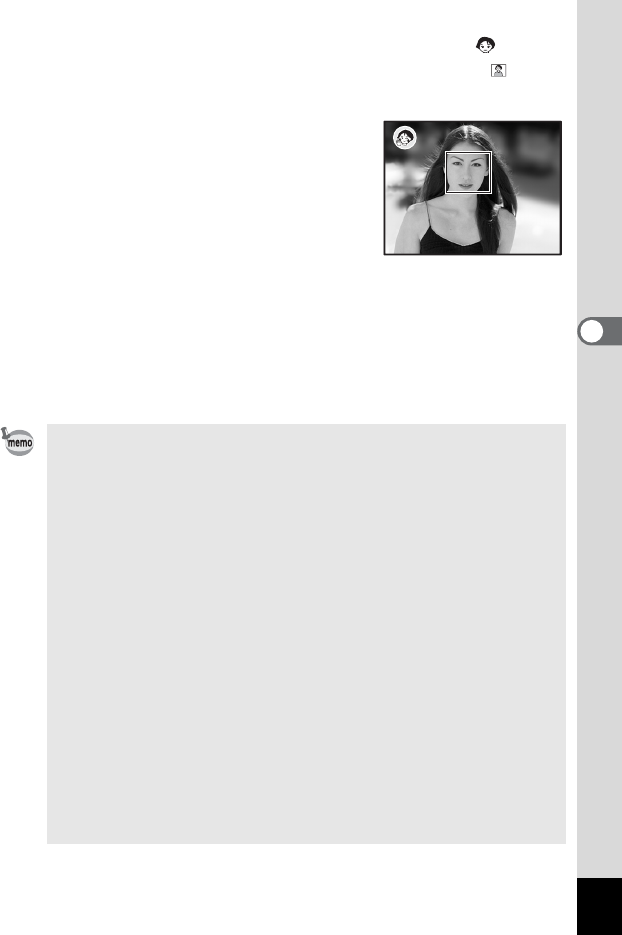
The camera is ready for taking pictures in
the selected mode.
When the camera recognizes the subject’s
face, a yellow focus frame appears on it.
The position and the size of the frame
change while the camera continues to
adjust the focus on the moving subject.
6 Press the shutter release button halfway.
The focus frame on the LCD monitor will light green when the camera
is in focus.
7 Press the shutter release button fully.
The picture is taken.
• If the camera cannot recognize the subject’s face, the camera
focuses using the Focusing Area (Multiple).
• Only the selected mode icon and the focus frame appear on the
LCD monitor. No other shooting information is displayed. You
cannot change the display mode by pressing the OK/Display
button.
• “Face Recognition AF” and “Face Recognition AE” may not work
if the subject’s face is partly covered, for example, with
sunglasses, or when the subject does not face the camera.
• The AE metering mode is fixed to Multi-segment.
• When you select Auto Picture mode and the camera automatically
switches to Portrait mode, “Face Recognition AF” and “Face
Recognition AE” are activated.
• Software rendering is ineffective when the face recognition
function (p.53) does not operate in Natural Skin Tone mode.
• Red-eye reduction is automatically performed when using Facial
Recognition in Natural Skin Tone mode, Portrait mode, or Half-
Length Portrait mode with the flash mode set to Auto or Flash On.
• The recordable image size is fixed to h in Half-Length Portrait
mode.
