ENGLISH
7777
Photo Mode : Setting the Capturing Options
4
5
6
MENU
TYPE
PhotoPhoto
ImprintImprint
Off
Date
Date&Time
MoveMove SelectSelect ExitExit
OK
Photo
Imprint
Move Select Exit
23
Photo
Imprint
Move Select Exit
MENU
TYPE
PhotoPhoto
ImprintImprint
Off
Date
Date&Time
MoveMove SelectSelect ExitExit
OK
23
Photo
Imprint
Move Select Exit
Photo
Imprint
Move Select Exit
23
2592
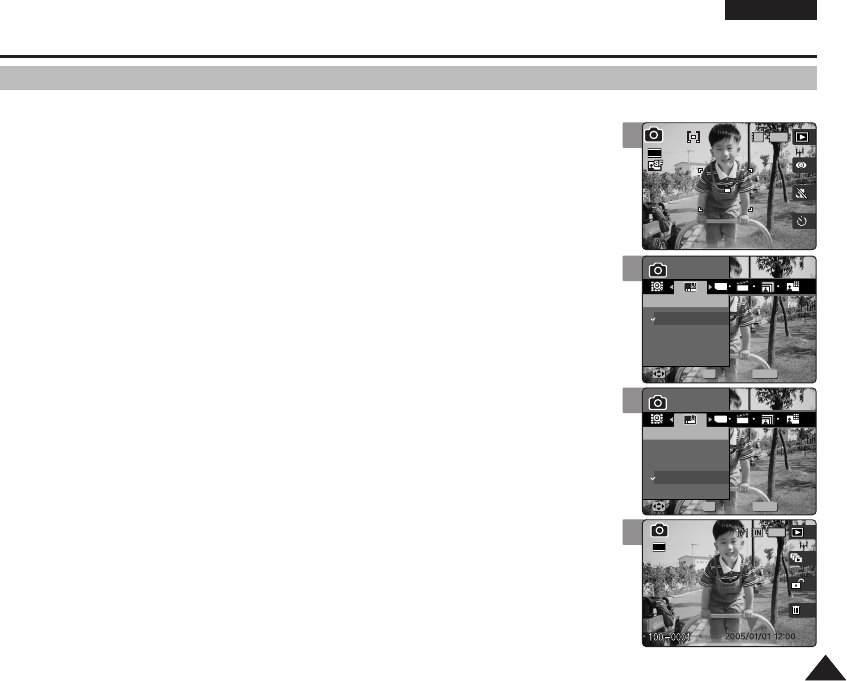
Setting the Imprint Option
You can imprint Date & Time on pictures taken. To place the date / time information on your
picture, set this option.
1. Turn the Mode Dial to Photo mode.
2. Press the [POWER] button to turn on the Miniket Photo.
3. Press the [MENU] button.
◆ Menu screen appears.
4. Move the joystick left / right to select <Imprint>.
5. Select an option by moving the joystick up / down, and then press the joystick
(OK).
◆ <Off>: Cancels imprinting.
◆ <Date>: Imprints Date only.
◆ <Date & Time>: Imprints Date and Time.
6. Press the [MENU] button to exit the menu.
◆ After taking a picture, you can check the imprinted date/ time information in Photo View
mode.
[ Notes ]
✤
Before setting the <Imprint> Option, set the current date and time (refer to page 42).
✤
Imprinting will print the date (and time) information directly onto the picture, and it will not be erased.
✤
When you print a Date / Time imprinted photos, date / time imprint part may be cropped out according to
the printer used.
3
IN
2592
Photo
Imprint
Move Select Exit
Photo
Imprint
Move Select Exit
23
23
00934J VP-MS10 UK~089 6/17/06 6:26 PM Page 77


