About the software on your Sony desktop
Using Video software
36
nN
Importing images and sound clips
Before you can create a movie, you need to import the images and sound clips you want to use in your
movie.
To import images and sound clips, proceed as follows:
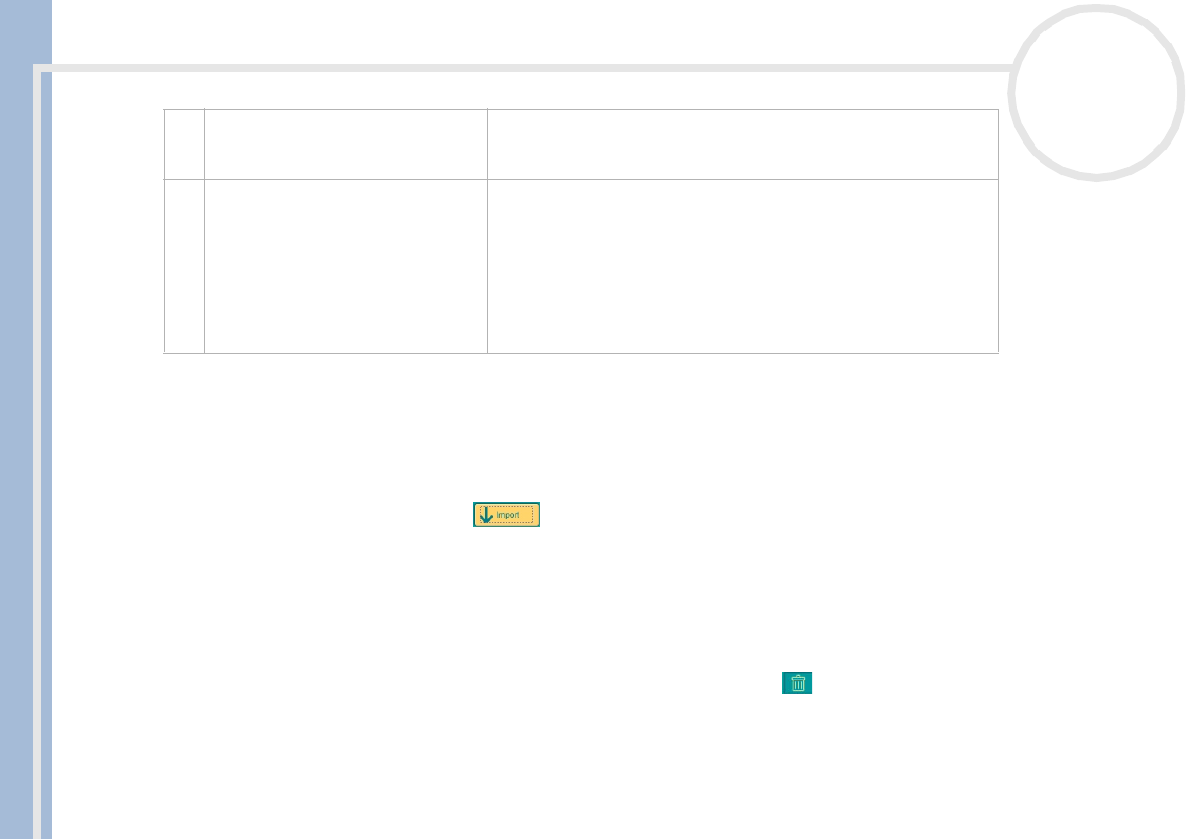
1 Click the File import button .
The Import dialog box appears.
2 Select the file you want to add.
3 Click Open.
The file is added to the Clip tray.
✍ Importing files over 75 seconds in length may cause MovieShaker to stop responding.
To remove a clip from the Clip tray, drag it from the Clip tray and drop it on the Trash icon . This only removes the clip from the tray, the original
file is not deleted.
4. Clip tray The Clip tray is provided for placing clips to be processed with
MovieShaker.
It can contain a movie file, still image and/or sound files.
5. Product tray The Product tray is where you arrange clips to make a movie. In the
Product tray, you will find the Storyboard Display and the
Timeline Display.
On the Storyboard, you can easily arrange scenes and transitions.
On the Timeline, you can arrange scenes, transitions, background
music, and narration, and make fine adjustments to the starting/
ending points and duration of scenes, transitions, background
music, and narration.


