52
4 Touch DISC BURN on the
camera’s LCD screen, or press
the DISC BURN ( ) button on
the camcorder.
The DVDirect starts the recording
process.
If the camera’s media has both HD
(High Definition) and SD (Standard
Definition) videos:
HD (High Definition) videos are
recorded onto the disc (page 25).
b Notes
• Depending on the camera, the display that
appears on the camera’s LCD screen or button
names on the camcorder may differ. (e.g. DVD
BURN)
• In One Touch Disc Burn mode, you can record
videos from an attached video camera; however,
depending on the camera, the recordable media
may vary. For example, in the case of a
Handycam
®
containing both HDD and memory
card media, only the HDD content can be
recorded by One Touch Disc Burn.
• The DUBBING button of “HYBRID Plus”
Handycam
®
does not work in the same manner
as the DISC BURN button. Pressing the
DUBBING button does not start recording with
the DVDirect.
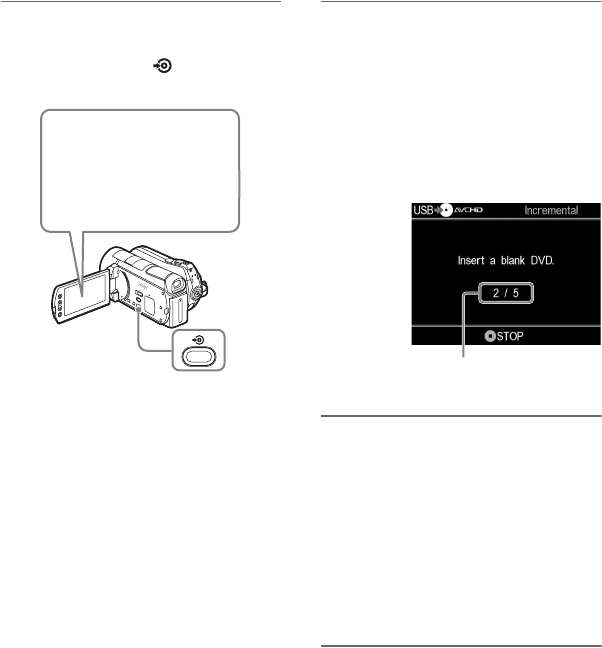
5 Change to a blank disc when the
message [Insert a blank DVD.]
appears.
If the contents of the camera do not fit
onto a single disc, the disc will be
ejected automatically when it becomes
full. Remove the created disc and insert
a blank one. Recording will resume
automatically.
6 Press the Z (eject) button to eject
the disc when recording is
complete.
If you copy HD (High Definition)
videos onto a disc, the disc will be
finalized and ejected automatically. If
you copy SD (Standard Definition)
videos onto a disc, a message asking
whether to finalize the disc appears. Go
straight to step 7.
7 To finalize the disc, press V or v
to select [Yes] and press the
ENTER button.
If you select [No], the disc will be
ejected without being finalized. You can
skip step 8 below.
Touch [DISC BURN] or
[DVD BURN]
Next disc/number of
required discs


