


Operation with tape
Playing a tape
You will only be able to load and eject video cassettes
when your VCR is plugged into the mains.
Your VCR may also playback recordings from NTSC
tapes (on PAL TV).
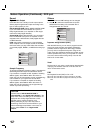
Getting a better picture
When a cassette is inserted and playback started, the
automatic tracking function works to get the best
possible picture automatically. If the quality of the
recording is poor, repeatedly press
CH/TRACKING
or
on the remote control or CHANNEL
NN
or
MM
on the front panel to manually adjust the tracking
until any distortions have been removed. Press num-
bered 0 on the remote control to switch automatic
tracking back on again.
11
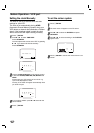
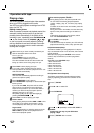
Make sure that you have correctly connected your
VCR as described earlier in this book.
Turn on your TV.
Press POWER to turn on your VCR.
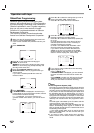
Insert the video cassette into your VCR.
The video cassette should have the window side
facing up and the arrow facing away from you.
22
Press PLAY to start playing your tape.
If you load a video cassette which has had its
record protection tab removed, playback of the cas-
sette will start automatically.
AUTO TRACKING
Your VCR will automatically adjust the tracking to
give the best picture quality.
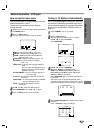
33
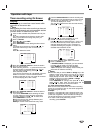
Press PAUSE/STEP to still a picture.
Press PAUSE/STEP repeatedly to advance the tape
frame by frame.
If you hold down t, the picture will be slowed
down at about 1/19 times the normal playback.
Tapes can be paused for up to 5 minutes. After 5
minutes your VCR will stop the tape to prevent
damaging the tape or your VCR .
Still picture quality can be improved slightly by
pressing CH/TRACKING or .
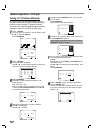
44
Press PLAY to continue playing your tape.
Picture search:
During playing back press either t or r to this
will enable you to rapidly wind the tape (7 times
normal playback) see where you are on the tape.
Logic search:
During fast forwarding or rewinding press and hold
t or r the picture will be played back at 7
times normal playback speed.
55
Slow motion playback, Shuttle :
During playing back or still picture press F or G.
You can reach the following playback speeds.
(-7xplay, -3xplay, -play, still, 1/19 slow, play, 2xplay,
7xplay)
To switch off the slow motion and shuttle, press the
desired function.
During slow motion and shuttle, the noise bars may
appear on the picture according to the status of
tape.
If distortions can be seen in the picture, reduce
them with CH/TRACKING
D or E.
66
Press STOP to end playback.
Press EJECT.
If the end of the tape is reached, your VCR will stop
playback automatically, rewind, stop, eject the tape.
AD (Advertisement) Skip:
This feature enables you during playback of a tape to
skip a commercial break in a few seconds, then resume
normal playback.
While tape is playing press AD-SKIP on the remote
control to skip commercial (or another programme
material).
Repeatedly press AD-SKIP to skip:
1 Press 30 seconds
2 Press 60 seconds
3 Press 90 seconds
4 Press 120 seconds
5 Press 150 seconds
6 Press 180 seconds
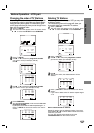
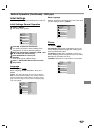
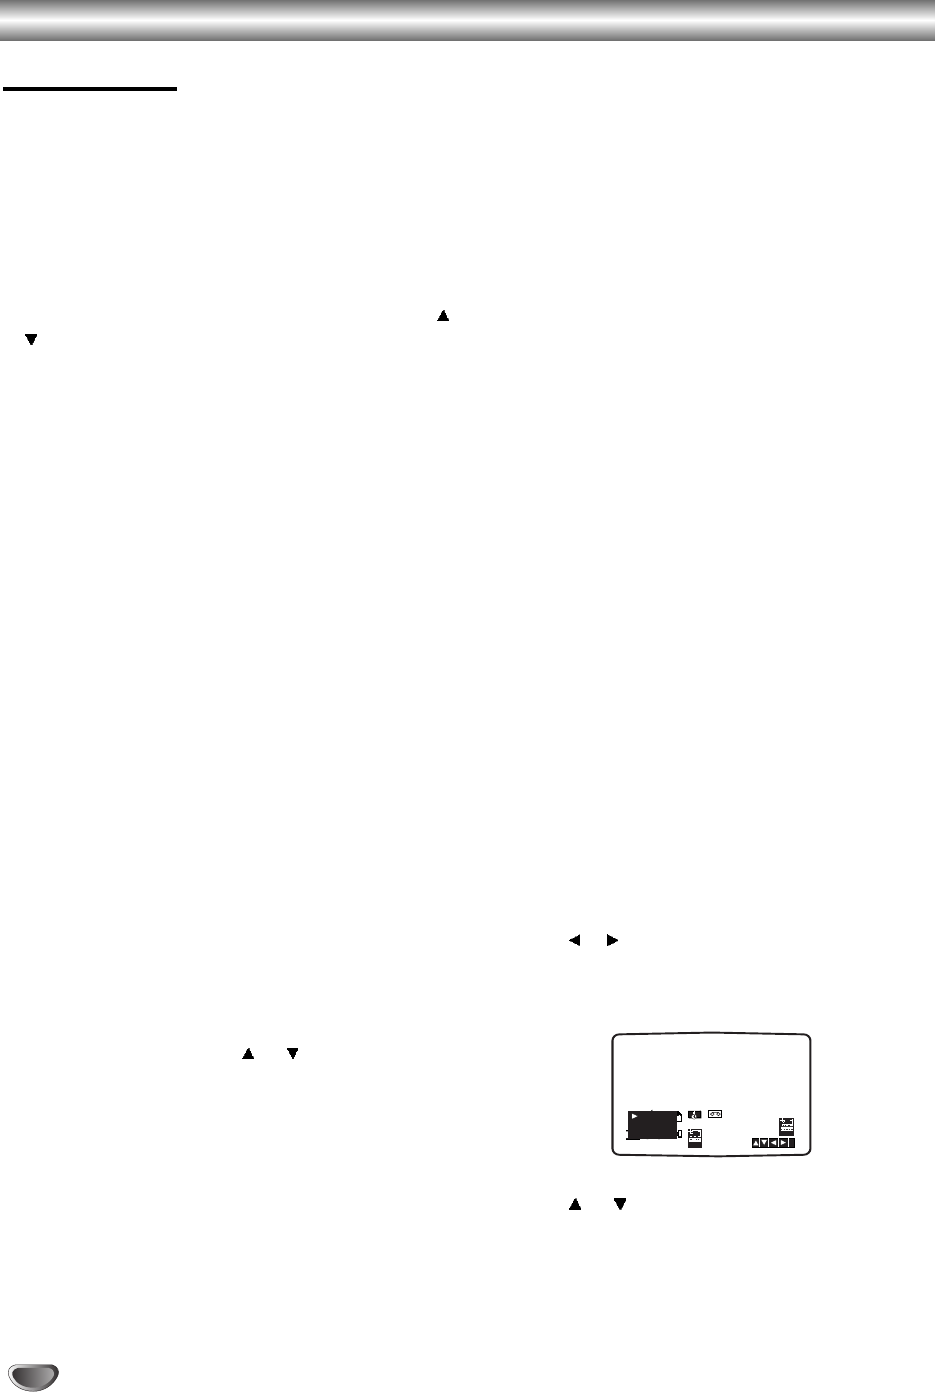
OPR (Optimum Picture Response)
This feature automatically improves playback picture
quality by adjusting your VCR to the condition of the
tape.
11
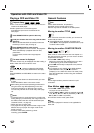
Press i/SETUP.
22
Press or to select OPR.
33
Press OK/ENTER.
44
Press or repeatedly to select: OFF, SOFT or
SHARP.
Please note you may only set OPR when
playing a tape.
55
Press i/SETUP return to screen.
REC
i
AB
C
OSD
Pr-12
ACMS
P
SET
R
12
TIME
DATE
SYS-
TEM
OPR
OPR
OSD
ON
OFF
OSD
f
16:9
4:3
DECO-
DER
+
-
OFF
SOFT
SHARP
20