–
21
–
EN
1L25
COPYING A VIDEO TAPE
SPECIAL FEATURES
You can make copies of video tapes made by friends or
relatives for your enjoyment.
You can not copy a DVD to a videotape.
Warning:
Unauthorized recordings of copyrighted video tapes
may be an infringement of copyright laws.
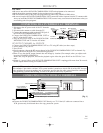
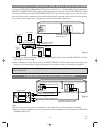
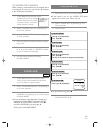
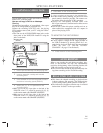
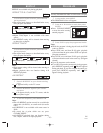
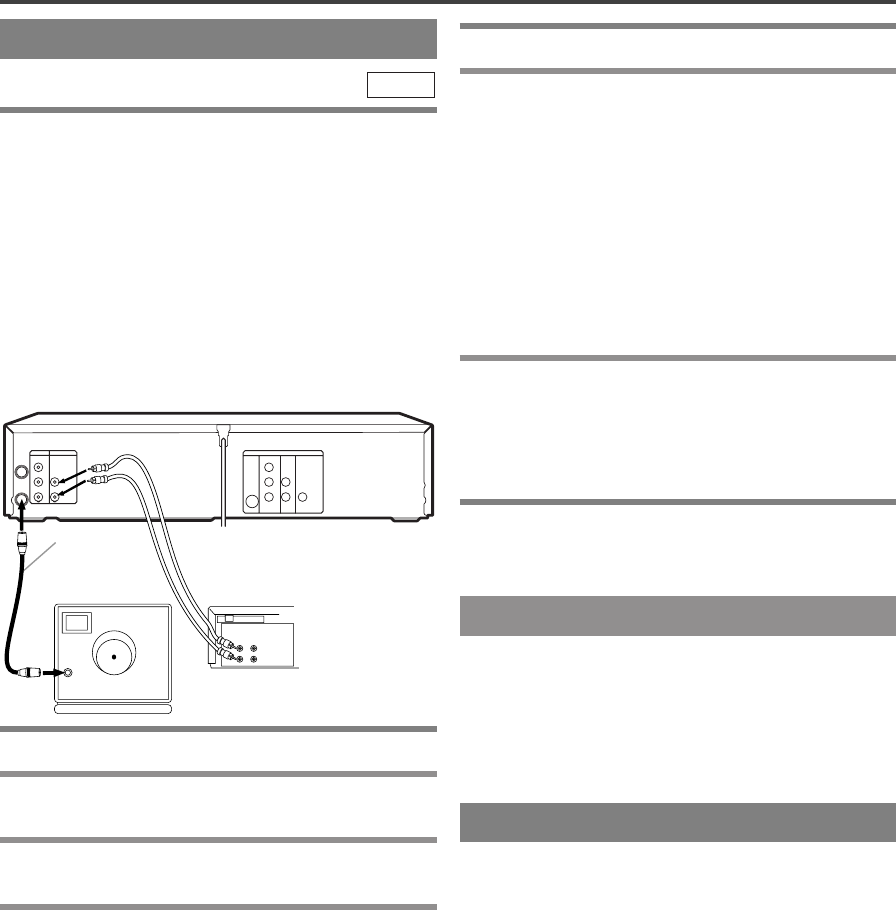
Connect the recording VCR (this unit), the playing
VCR (another source) and your TV using the follow-
ing diagram.
¡You can use the AUDIO/VIDEO input jacks on the
front panel of the DVD/VCR instead of using the
jacks on the back.
VCR
ANT-IN
ANT-OUT
VIDEO OUT
AUDIO OUT
S-VIDEO
OUT
AUDIO
OUT
DIGITAL
AUDIO OUT
COAXIAL
Y
Cb
Cr
L
R
COMPONENT
VIDEO OUT
AUDIO IN
VIDEO IN
DVD/VCR VCR DVD
R
L
ANT in
[TV set]
(Use for monitoring)
Coaxial cable
(supplied)
Audio/Video cables
(not supplied)
[Recording VCR]
(this unit)
[Playing VCR]
(another source)
INOUT
AUDIO
VIDEO
1
Insert a pre-recorded tape into the playing VCR.
2 Insert a tape with a safety tab into the
recording VCR.
3
Press SPEED on the recording VCR to select
the desired recording speed (SP/SLP)
.
4 Select the “L1” or “L2”position on the
recording VCR.
¡
When you use the A/V input jacks on the back of the
DVD/VCR, select "L1" position by pressing [0], [0], [1]
on the remote control or the CHANNEL (UP/DOWN).
¡
When you use the A/V input jacks on the front of the
DVD/VCR, select "L2" position by pressing [0], [0], [2]
on the remote control or the CHANNEL (UP/DOWN).
5 Press REC on the recording VCR.
6 Begin playback of the tape in the playing VCR.
¡For best results during dubbing, use the VCR’s front
panel controls whenever possible. The remote con-
trol might affect the playing VCR’s operation.
¡Always use video-quality shielded cables with
RCA-type connectors. Standard audio cables are not
recommended.
¡You can use a video disc player, satellite receiver, or
other audio/video component with A/V outputs in
place of the playing VCR.
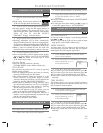
TO MONITOR THE RECORDING
1 Turn on the TV and set the TV to channel 3.
¡If noise appears, change the RF output channel of
the VCR to channel 4 by pressing PLAY for 3 sec-
onds during playback. Then select the same channel
(CH4) on your TV. (See “RF OUTPUT
CHANNEL” on page 13 for the detail).
2 Press VCR/TV on the recording VCR.
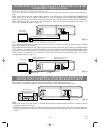
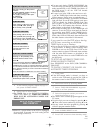
AUTO REWIND
When a tape reaches the end during recording, play-
back, or fast-forward, the tape will automatically
rewind to the beginning. After rewinding finishes, the
VCR will eject the tape and switch itself off.
¡The VCR will not rewind the tape automatically dur-
ing timer recording or One Touch Recording.
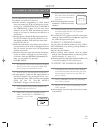
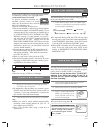
REAL TIME TAPE COUNTER
¡This shows the elapsed recording or playback time
in hours, minutes, and seconds. (The displayed time
will not change during blank portions of the tape.)
¡The indication will appear when the tape is rewound
further than “0:00:00” on the tape counter.


