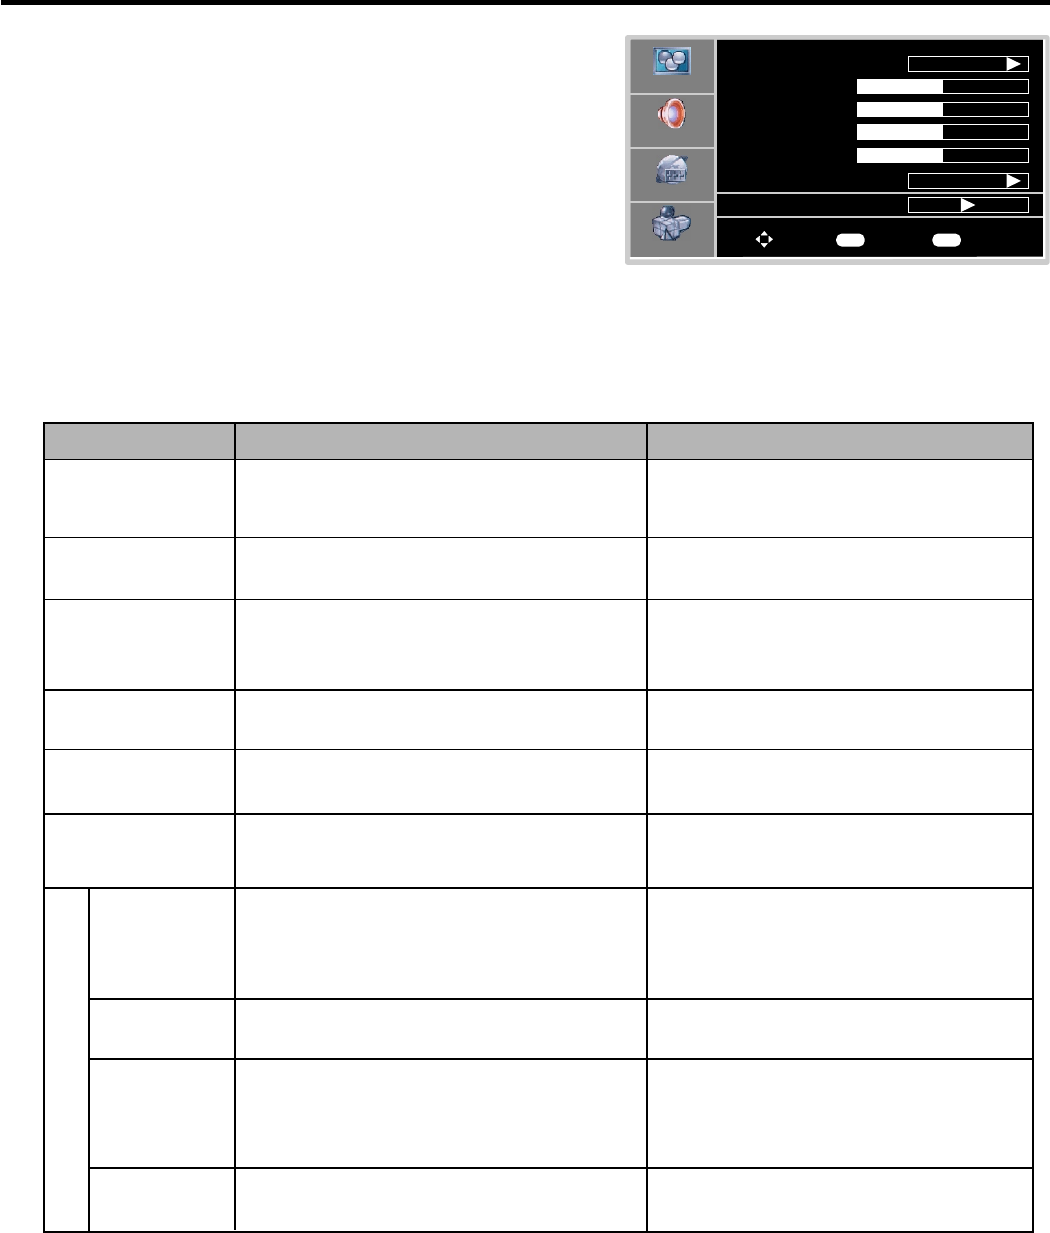
Setting Picture
21
Customizing the Picture
Option
Function Choice/remarks
Picture Mode
Brightness
Contrast
Selects a desired picture mode.
User/Nature/Soft/Bright
Adjusts screen brightness for easier
viewing of dark picture such as night
scenes and black hair.
Adjusts image contrast.
4: stronger
3 : weaker
Press MENU to display the menu main page.
1
Press repeatedly to select menu.5or6 Video
2
Press OK or to access the submenu.4
3
4
5
Within the menu, use , , to navigate
Press OK or button to confirm, enter sub-menu or
toggle the settings of the selected menu item.
5 6 3or4 or adjust.
4
Press EXIT button to exit.
Color
Adjusts color saturation.
4: lighter
3 : darker
4: stronger
3 : weaker
Aspect Ratio
Selects screen aspect ratio.
Wide/Cinema/Normal/Zoom
Noise Reduction--Spatial
Noise Reduction--Speckle
Noise Reduction--Temporal
Reduces noise in the picture,
commonly called snow.
On/Off
Sharpness
Adjusts tint for image.
Adjusts image sharpness and displays a
sharp image.
Tint
4: greenish
3 : purplish
Color
Temperature
Cool/Warm/Normal
3D Y/C
On/Off
Advanced Video Menu
Note: you may directly press PICTURE button on the
remote control to select.
Selects one of three automatic color
adjustments. Sets to warm to enhance
hotter colors such as red, or set to cool to
see less intense colors with more blue.
Video
Picture Mode
Contrast
Brightness
Color
50
50
50
50
Sharpness
User
Wide
Aspect Ratio
Advanced Video Menu
To Move
To Select
To Exit
Audio
Setup
Feature
OK Exit
4: sharper
3 : softer
Notes:
The OSD illustration shown above is Video
menu in RF(TV) mode.
The menu items may be different when the
unit works in different mode.
Selects 3D comb filter on/off, normally
please select On.
Note: you may directly press ZOOM button on the
remote control to select.
Press the FREEZE button to hold on the image on the screen (the video sources are still operating). Press
the button again to reactivate the image.
Note:
For the sake of protecting the screen, please do NOT still a picture for a long time.
To still the picture


