


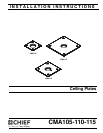

Installation Instructions CMA105-110-115
7
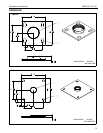
Attaching Column to CMA Mount (non-security)
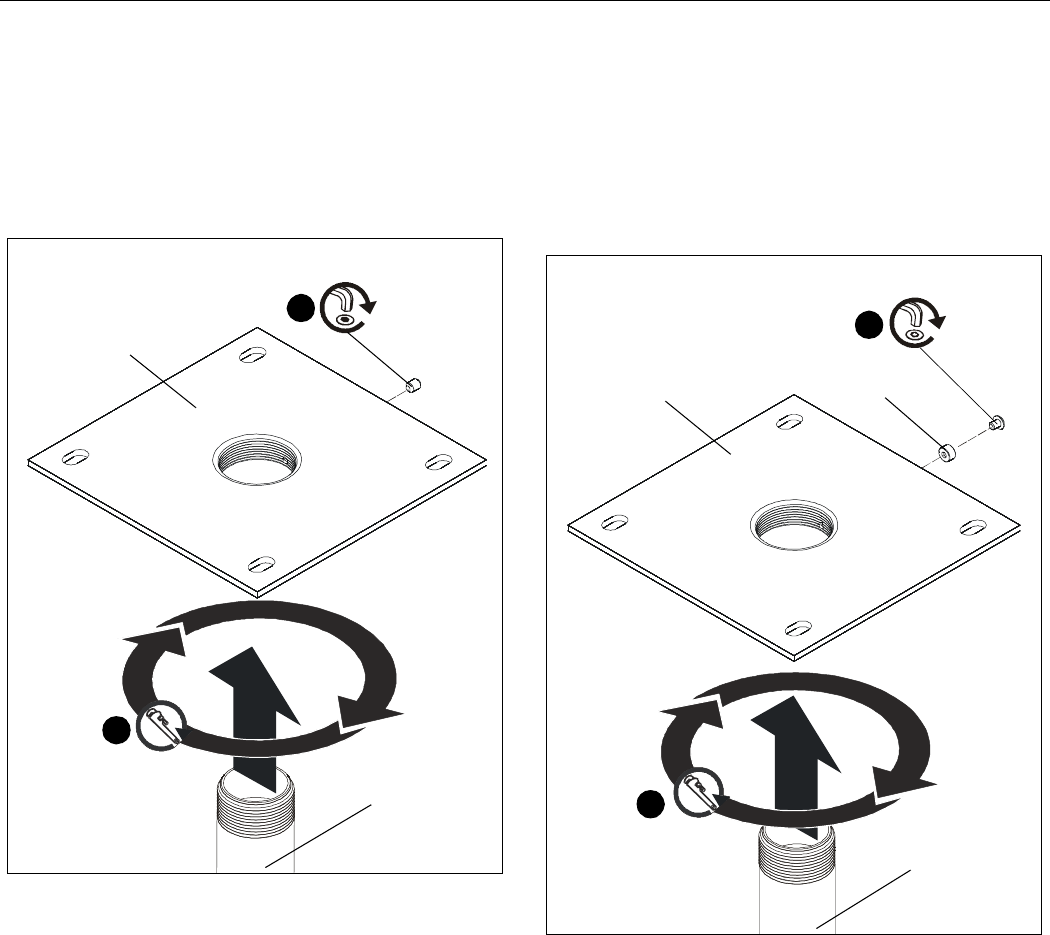
1. Install 1-1/2" NPT or NPSM following ANSI/ASME B1.20.1
(Schedule 40, 0.154" minimum thickness steel or aluminum
- ASTM B221) threaded extension column (not included)
into threaded collar until tight, with a minimum of four
threads engaged. (See Figure 2)
2. Install #10-24 1/4" set screw (B) into hole on ceiling plate (A)
to secure pipe to mount. (See Figure 2)
Figure 2
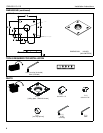
3. Install the ceiling mount and projector to the CMA mount
using installation instructions included with the ceiling
mount.
Attaching Column to CMA Mount (security)
1. Install 1-1/2" NPT or NPSM following ANSI/ASME B1.20.1
(Schedule 40, 0.154" minimum thickness steel or aluminum
- ASTM B221) threaded extension column (not included)
into threaded collar until tight, with a minimum of four
threads engaged. (See Figure 3)
2. Install #10-24 1/4" button head security screw (C) through
security spinner (D) and into hole on ceiling plate (A) to
secure pipe to mount. (See Figure 3)
Figure 3
3. Install the ceiling mount and projector to the CMA mount
using installation instructions included with the ceiling
mount.
(B)
1 1/2 NPT threaded
2
1
(A)
column (not included)
(D)
(C)
2
1
(A)
1 1/2 NPT threaded
column (not included)