18
ENGLISH
Playing BD-Video
compatible with Bonus View
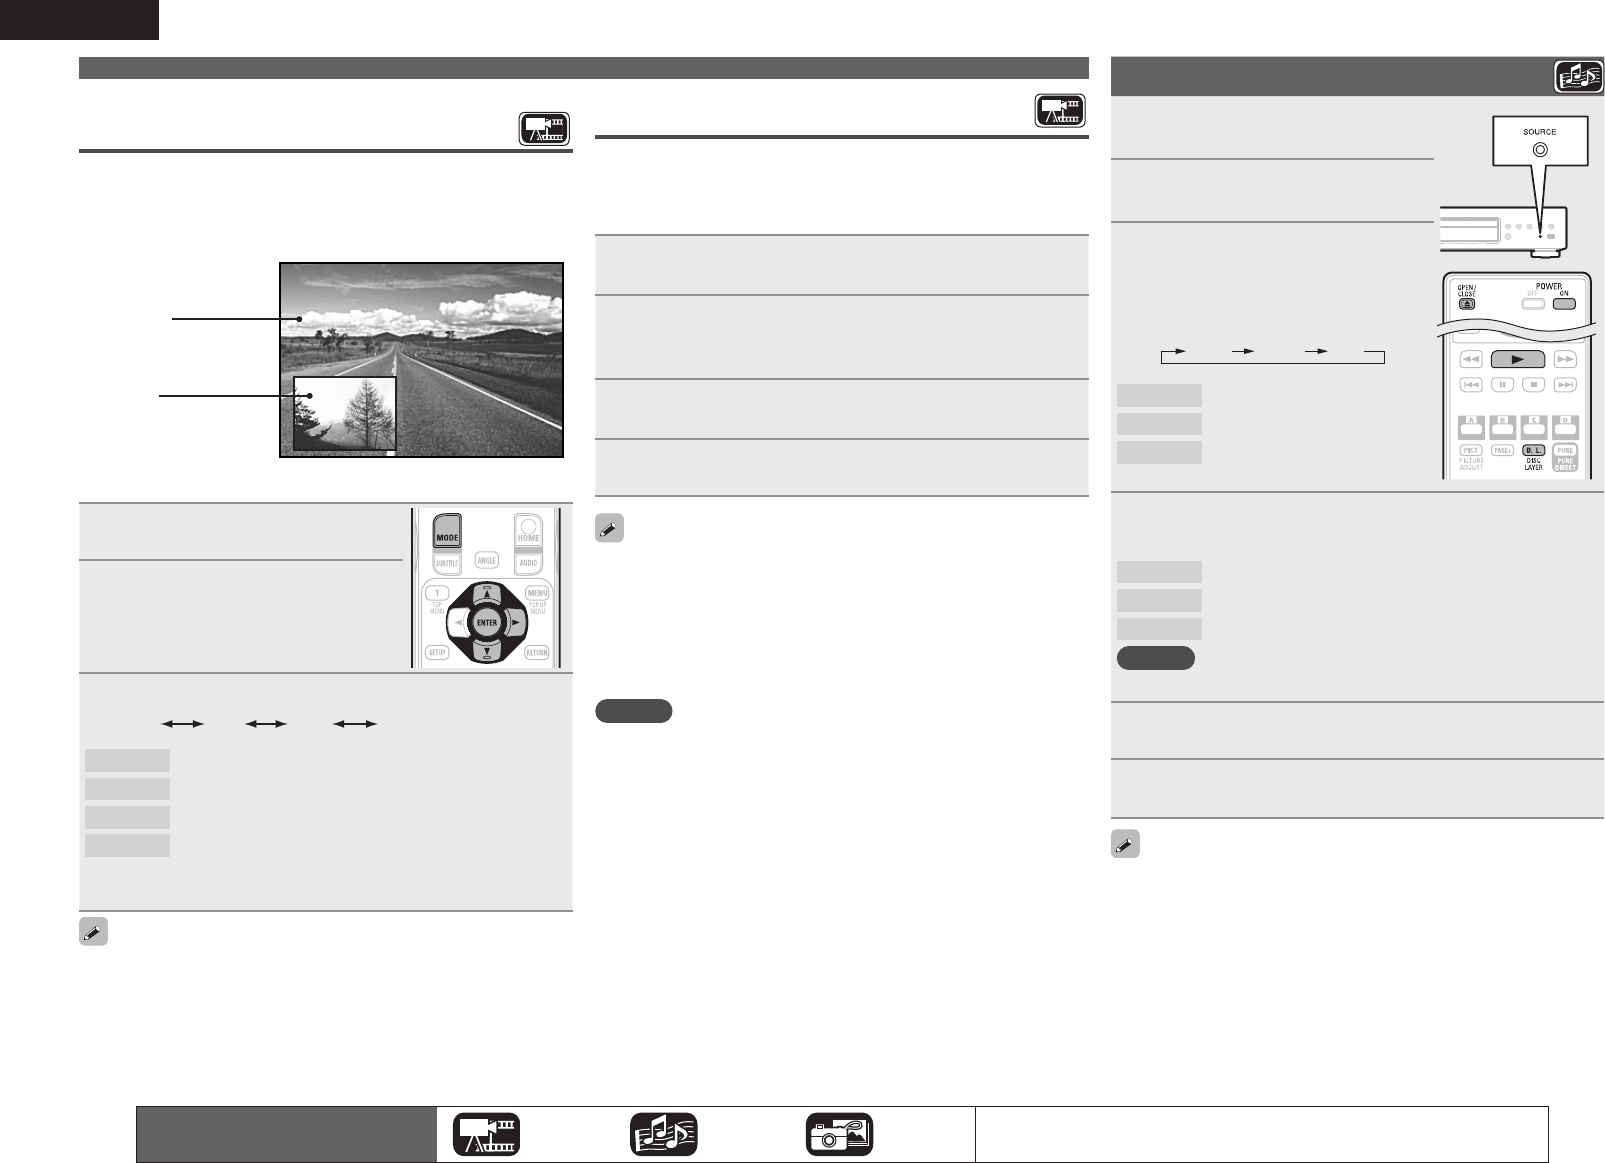
With a disc that is compatible with bonus view (picture-in-picture),
in addition to the main video (primary video) stored on the disc, you
can play back the video director’s commentary and simultaneously
ongoing sub-story, as well as sub-video such as alternative camera
angles (secondary video).
GExampleH Bonus view
Main video
(primary video)
Sub video
(secondary video)
1
Press MODE (vpage 27).
2
Use ui to select “Secondary
Video”, and then press ENTER
or p.
3
Use ui to select the desired secondary video.
Off 1/X 2/X X/X
Off Does not display Secondary Video.
1/X Displays the first Secondary Video.
2/X Displays the second Secondary Video.
X/X Displays the X th Secondary Video.
•“X” is the number of Secondary Videos recorded and differs
depending on the disc.
•For using Bonus View, some BD discs require built-in memory or
external memory.
•The unit has a built-in memory. If capacity of more than 1 GB
is required, using a USB memory device of 1 GB or more is
recommended.
•The playback method, etc., is determined by the disc, and varies
depending on the disc. Refer to the operation guide of the relevant disc.
Playing Super Audio CD
1
Press POWER ON to turn on
power to the unit.
2
Press SOURCE on the unit to
select “DISC MODE”.
3
Select “Multi” with DISC
LAYER
.
•The Media changes each time DISC LAYER
is pressed for 2 seconds.
Multi Video BD
Multi Super Audio CD
Video DVD-Audio
BD Hybrid BD
4
Select the playback area and layer with DISC LAYER
(vpage 50).
Multi
Plays the multi-channel area of the HD layer.
Stereo
Plays the 2-channel area of the HD layer.
CD
Plays the CD layer.
NOTE
Select the disc layer before a disc is inserted.
5
Insert a disc.
Press 5 to open/close the disc tray.
6
Press 1 .
Playback of the selected area and layer begins.
•To play a disc in multichannel mode, connect the unit to an AV
receiver, using an HDMI cable.
•The area/layer selected with DISC LAYER remains in the memory
even when the power is turned off.
The icons show the category of
content applicable to each operation.
Video Audio Photo
For details of the media corresponding to each icon, see “Playable media”
(vpage48).
Playing BD and DVD-Video
Enjoying BD-LIVE™
If the unit is connected to the Internet environment, you can enjoy a
BD-LIVE™ function, using a disc that supports BD-LIVE™.
For details on functions and operations of BD-LIVE™, see the
information displayed on the screen after inserting a BD-LIVE™ disc.
1
Select “Internal” of “BD Data Utility” – “BD-Live
Memory” (vpage 37).
2
Check that the connection and settings for the
Internet are completed (vpage 38 “Connection
Test”).
3
Insert a Blu-ray Disc that supports BD-LIVE™ into
the unit.
4
Select “BD-LIVE™” from the Disc menu.
•When BD-LIVE™ is used, the downloaded contents are stored in the
built-in memory of the unit.
•The unit has a built-in memory. If capacity of more than 1 GB
is required, using a USB memory device of 1 GB or more is
recommended.
•Depending on your network environment, it may take time to
connect to the network or connection may not be possible.
NOTE
USB memory devices (vpage 29, 48)
•For using a USB memory device, set “BD Data Utility” – “BD-Live
Memory” to “External” (vpage37).
•The USB memory device must have been initialized (vpage37 “BD
Data Utility” – “BD Data Information”).
•Insert or remove a USB memory device while the power is in
standby. If you insert a USB memory device while the power is ON,
the USB memory device may not be access.


