


12
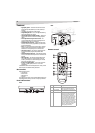
Using the TV
6 If the television is not storing the additional rating system, the TV
will begin downloading the new rating system. This may take
some time to download completely.
7 Press the CH + and CH - buttons to select RRT SET, then press the
VOL + button.
8 Set your preferences for the content rating limits for the additional
rating system.
Setting the clock
Note:
After a power failure or disconnection of the power, the clock settings will
be lost. When this happens, reset the present time.
To set the clock:
1 Press MENU/ENTER, then press the VOL + and VOL - buttons to
select the SETUP menu.
2 Press the CH + and CH - buttons to select CLOCK SET, then press
the VOL + and VOL - buttons. The CLOCK SET menu appears.
3 Press the VOL + and VOL - button to set the MONTH, then press
the VOL + button.
4 Set the DAY, YEAR, and TIME as in step 3.
5 After setting the date and time, the clock begins functioning
automatically.
6 Press EXIT to return to the normal screen.
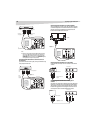
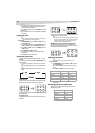
Setting the picture size
You can view 480i format programs in three picture sizes—4:3, 16:9,
and ZOOM.
You can change the picture size by pressing the PICTURE SIZE button on
the remote control.
• If receiving an analog signal, you can choose 4:3 or 16:9 picture
size.
• If receiving a digital signal of 4:3, you can choose 4:3 picture size
only.
• If receiving a digital signal of 16:9, you can choose 4:3, 16:9, or
ZOOM.
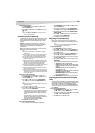
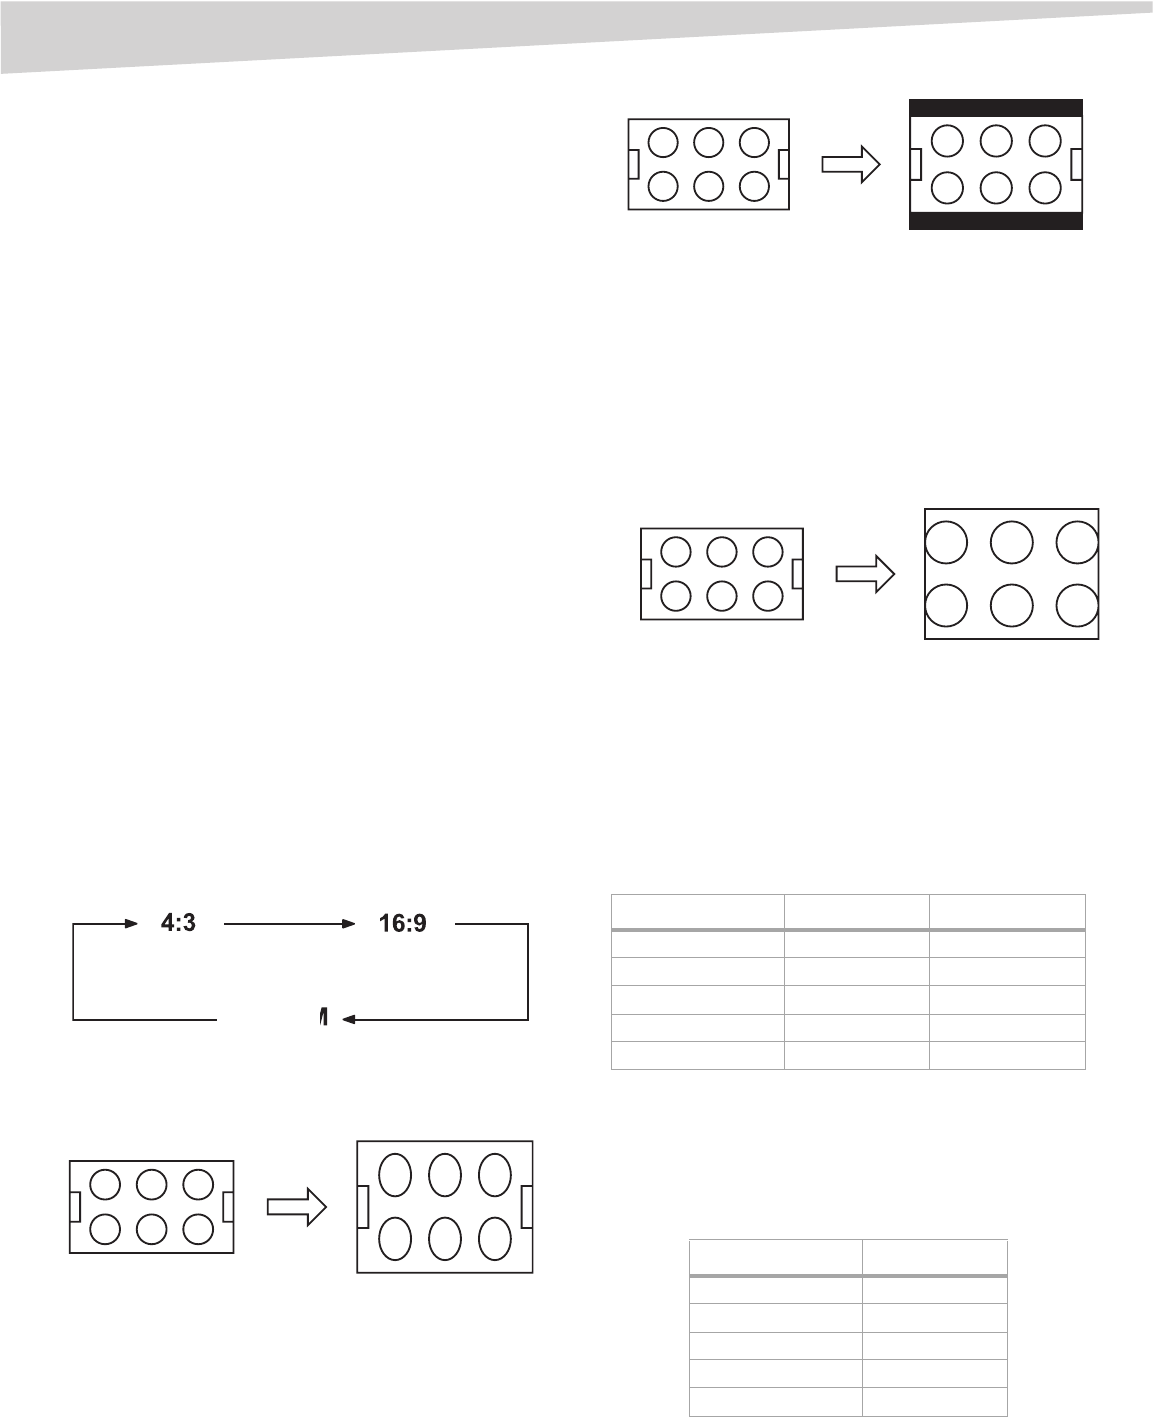
4:3 picture size
To fill the screen, the top and bottom edges are extended more widely,
although the center of the picture remains near the former ratio.
If receiving a 4:3 format program, the image is displayed in its originally
formatted proportion.
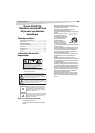
16:9 picture size
This image displays the size of standard 16:9 with black bars at the top
and bottom.
If receiving a 4:3 format program, the image is displayed with black bars
at the top and bottom and stretched wider.
Note:
If a fixed black bar remains on the screen for long periods of time, the image
can become permanently engrained in the screen and cause subtle but
permanent ghost images. Never leave your television on for long
periods of time while it is displaying these images.
ZOOM picture size (for 16:9 format programs)
The entire picture is uniformly enlarged—it is stretched the same
amount both wider and taller (retains its original proportion). The right
and left edges of the picture may be hidden.
Adjusting the picture
Note:
The CONTRAST default setting is set to maximum at the factory.
To adjust the picture:
1 Press MENU/ENTER, then press the VOL + and VOL - buttons to
select the PICTURE menu.
2 Press the CH + and CH - buttons to select the item you want to
adjust.
3 Press the VOL + and VOL - buttons to adjust the setting.
4 After modifying your desired setting, press EXIT to return to
normal screen.
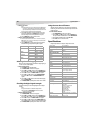
Resetting your picture adjustment
The RESET function returns your picture quality adjustments to the
following factory settings:
ZOOM
Item < >
BRIGHTNESS decrease increase
CONTRAST decrease increase
COLOR paler color brilliant color
TINT reddish tint greenish tint
SHARPNESS softer picture clearer picture
Item Value
BRIGHTNESS center (0)
CONTRAST max (32)
COLOR center (0)
TINT center (0)
SHARPNESS center (0)