


9
PREPARATION
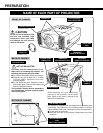
Before setting up the projector, install a projection lens on
the projector.
1. Before installation, check the area where the projector is
used and prepare a suitable lens. For the specifications of
a projection lens, contact sales dealer where you
purchased the projector.
2. For installation, refer to the installation manual of the
optional lens.
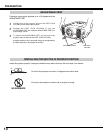
LENS INSTALLATION
NOTE:
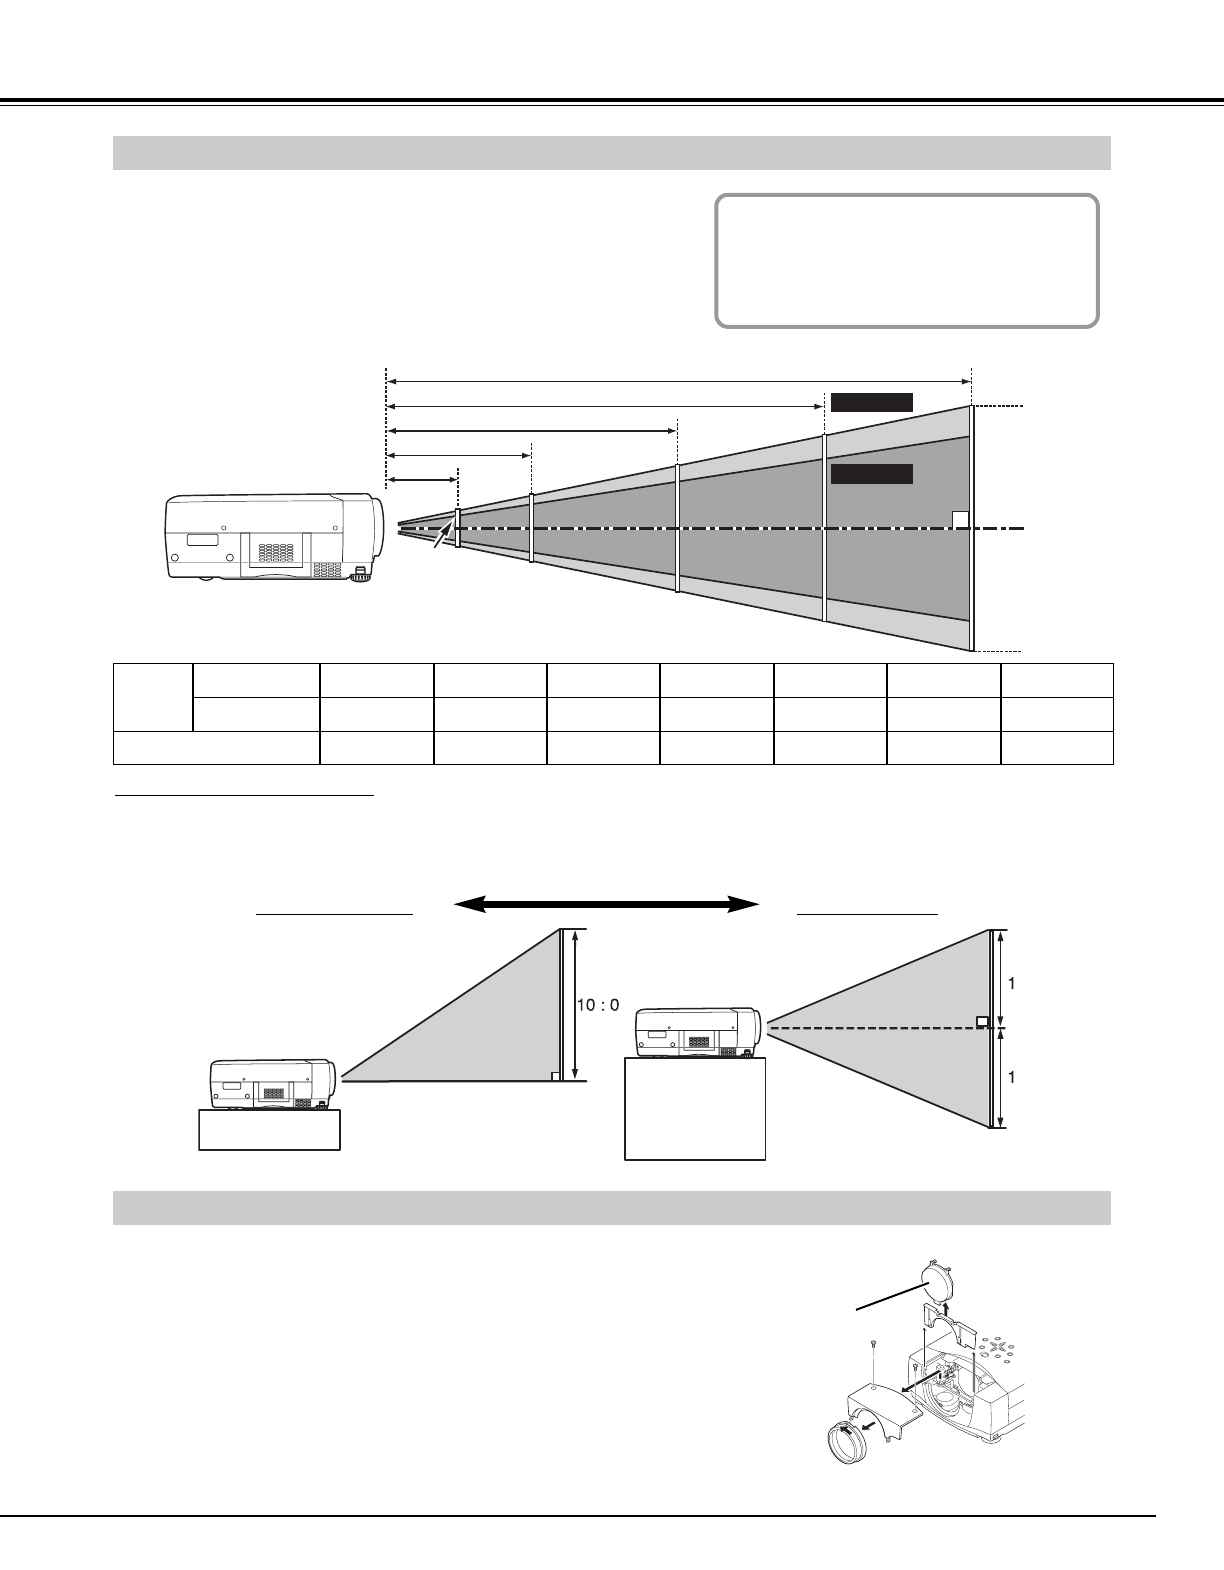
• When installing the lens, remove the cover cap of the projector.
COVER CAP
POSITIONING PROJECTOR
● This projector is designed to project on a flat projection surface.
● Projector can be focused from 4.6’ (1.4 m) ~ 48.3’ (14.7 m).
● Refer to the figure below to adjust the screen size.
Screen
Size
Distance
40”
31”
4.6’ (1.4 m)
40”
4.6’(1.4m)
11.8’(3.6m)
23.6’(7.2m)
35.4’(10.8m)
Max. Zoom
Min. Zoom
47.3’(14.4m)
100”
200”
300”
400”
308”
231”
154”
77”
31”
A ROOM LIGHT
Brightness in a room has a great
influence on the picture quality. It is
recommended to limit ambient lighting
in order to provide the best image.
Min. Zoom
Max. Zoom
100”
77”
11.8’ (3.6 m)
150”
115”
17.7’ (5.4 m)
200”
154”
23.6’ (7.2m)
250”
192”
29.5’ (9.0 m)
300”
231”
35.4’ (10.8 m)
400”
308”
47.3’ (14.4 m)
LENS SHIFT ADJUSTMENT
Projection lens can be moved up and down with the motor-driven Lens shift function. This function makes it easy
to provide projected image where you want. The U/D ratio can be adjusted 10:0 ~ 1:1 (see Figure below). See
page 22 for operation.
Highest (10 : 0) Lowest (1 : 1)
NOTE: The figures below are only for the Model LC-X71.
The projection lens is not provided with the Model LC-X71L.