


7
Rev.102111-AS
www.elitescreens.com info@elitescreens.com
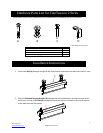
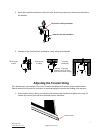
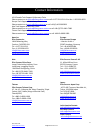
3. Mark the installation location to drill your hole. Insert the proper screw and secure the bolts to
the bracket.
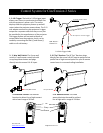
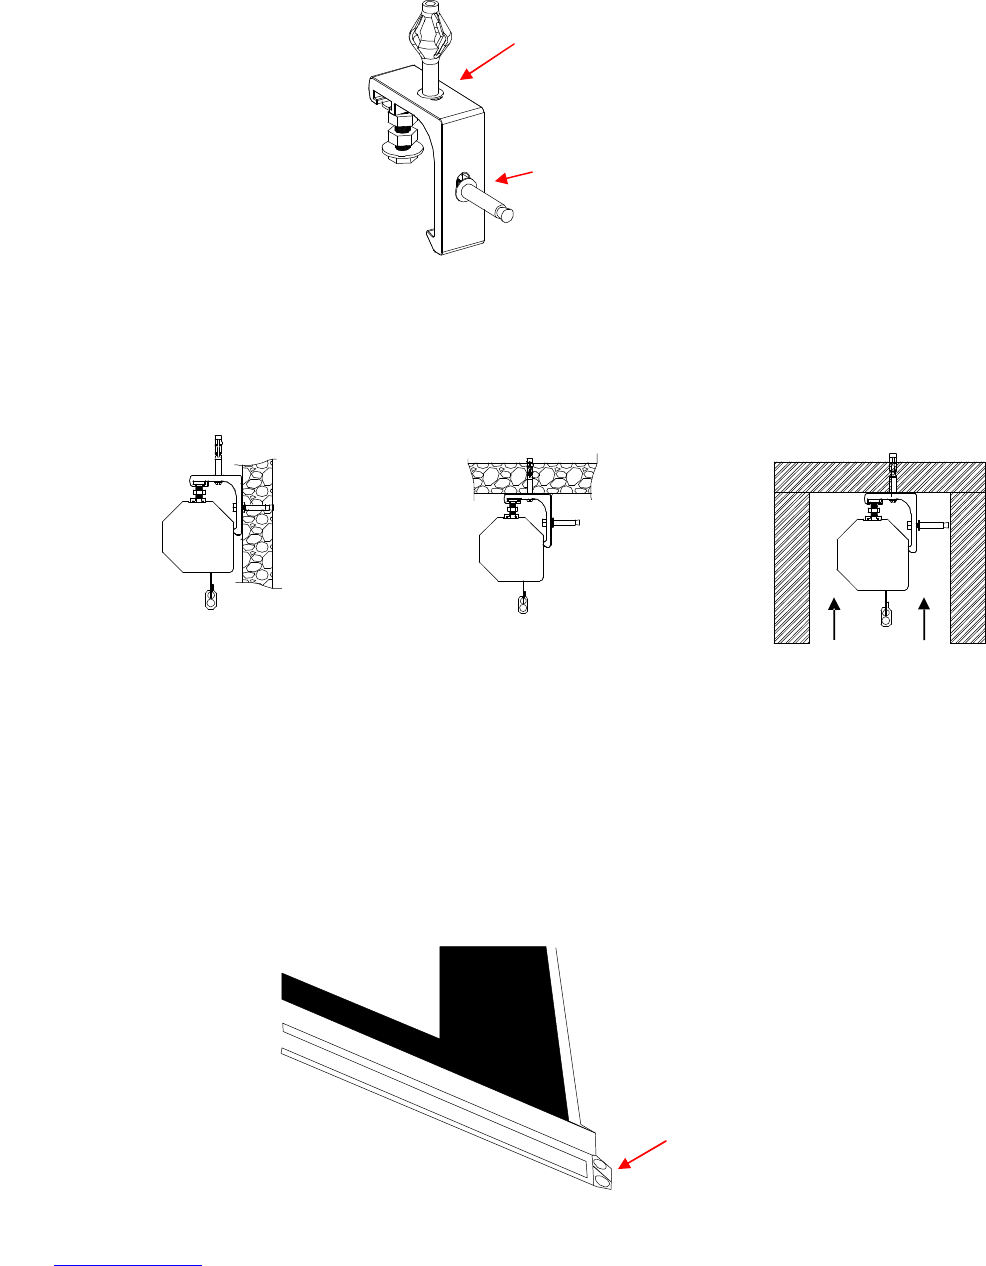
4. Example of the CineTension 2 installed to a wall, ceiling and enclosed.
Adjusting the Tension String
This adjustment is not required. The screen’s tension has been set to achieve its best performance.
Please contact Elite Screens for assistance to avoid damaging the screen and voiding your warranty.
1. If the tension string is loose, pull and turn the tension knob clockwise to tighten the string. To
release the tension, pull and turn the knob counter-clockwise.
Top hole for ceiling installation
Back hole for wall installation
Flush mount
to wall
Flush mount
to
ceiling
Enclosed
installation
*
Allow 2” of spacing
between the front and
back of the screen casing.
Tension Knob