


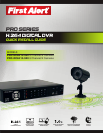


Page 4 Page 5
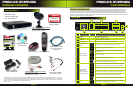
product overview
dvr controls
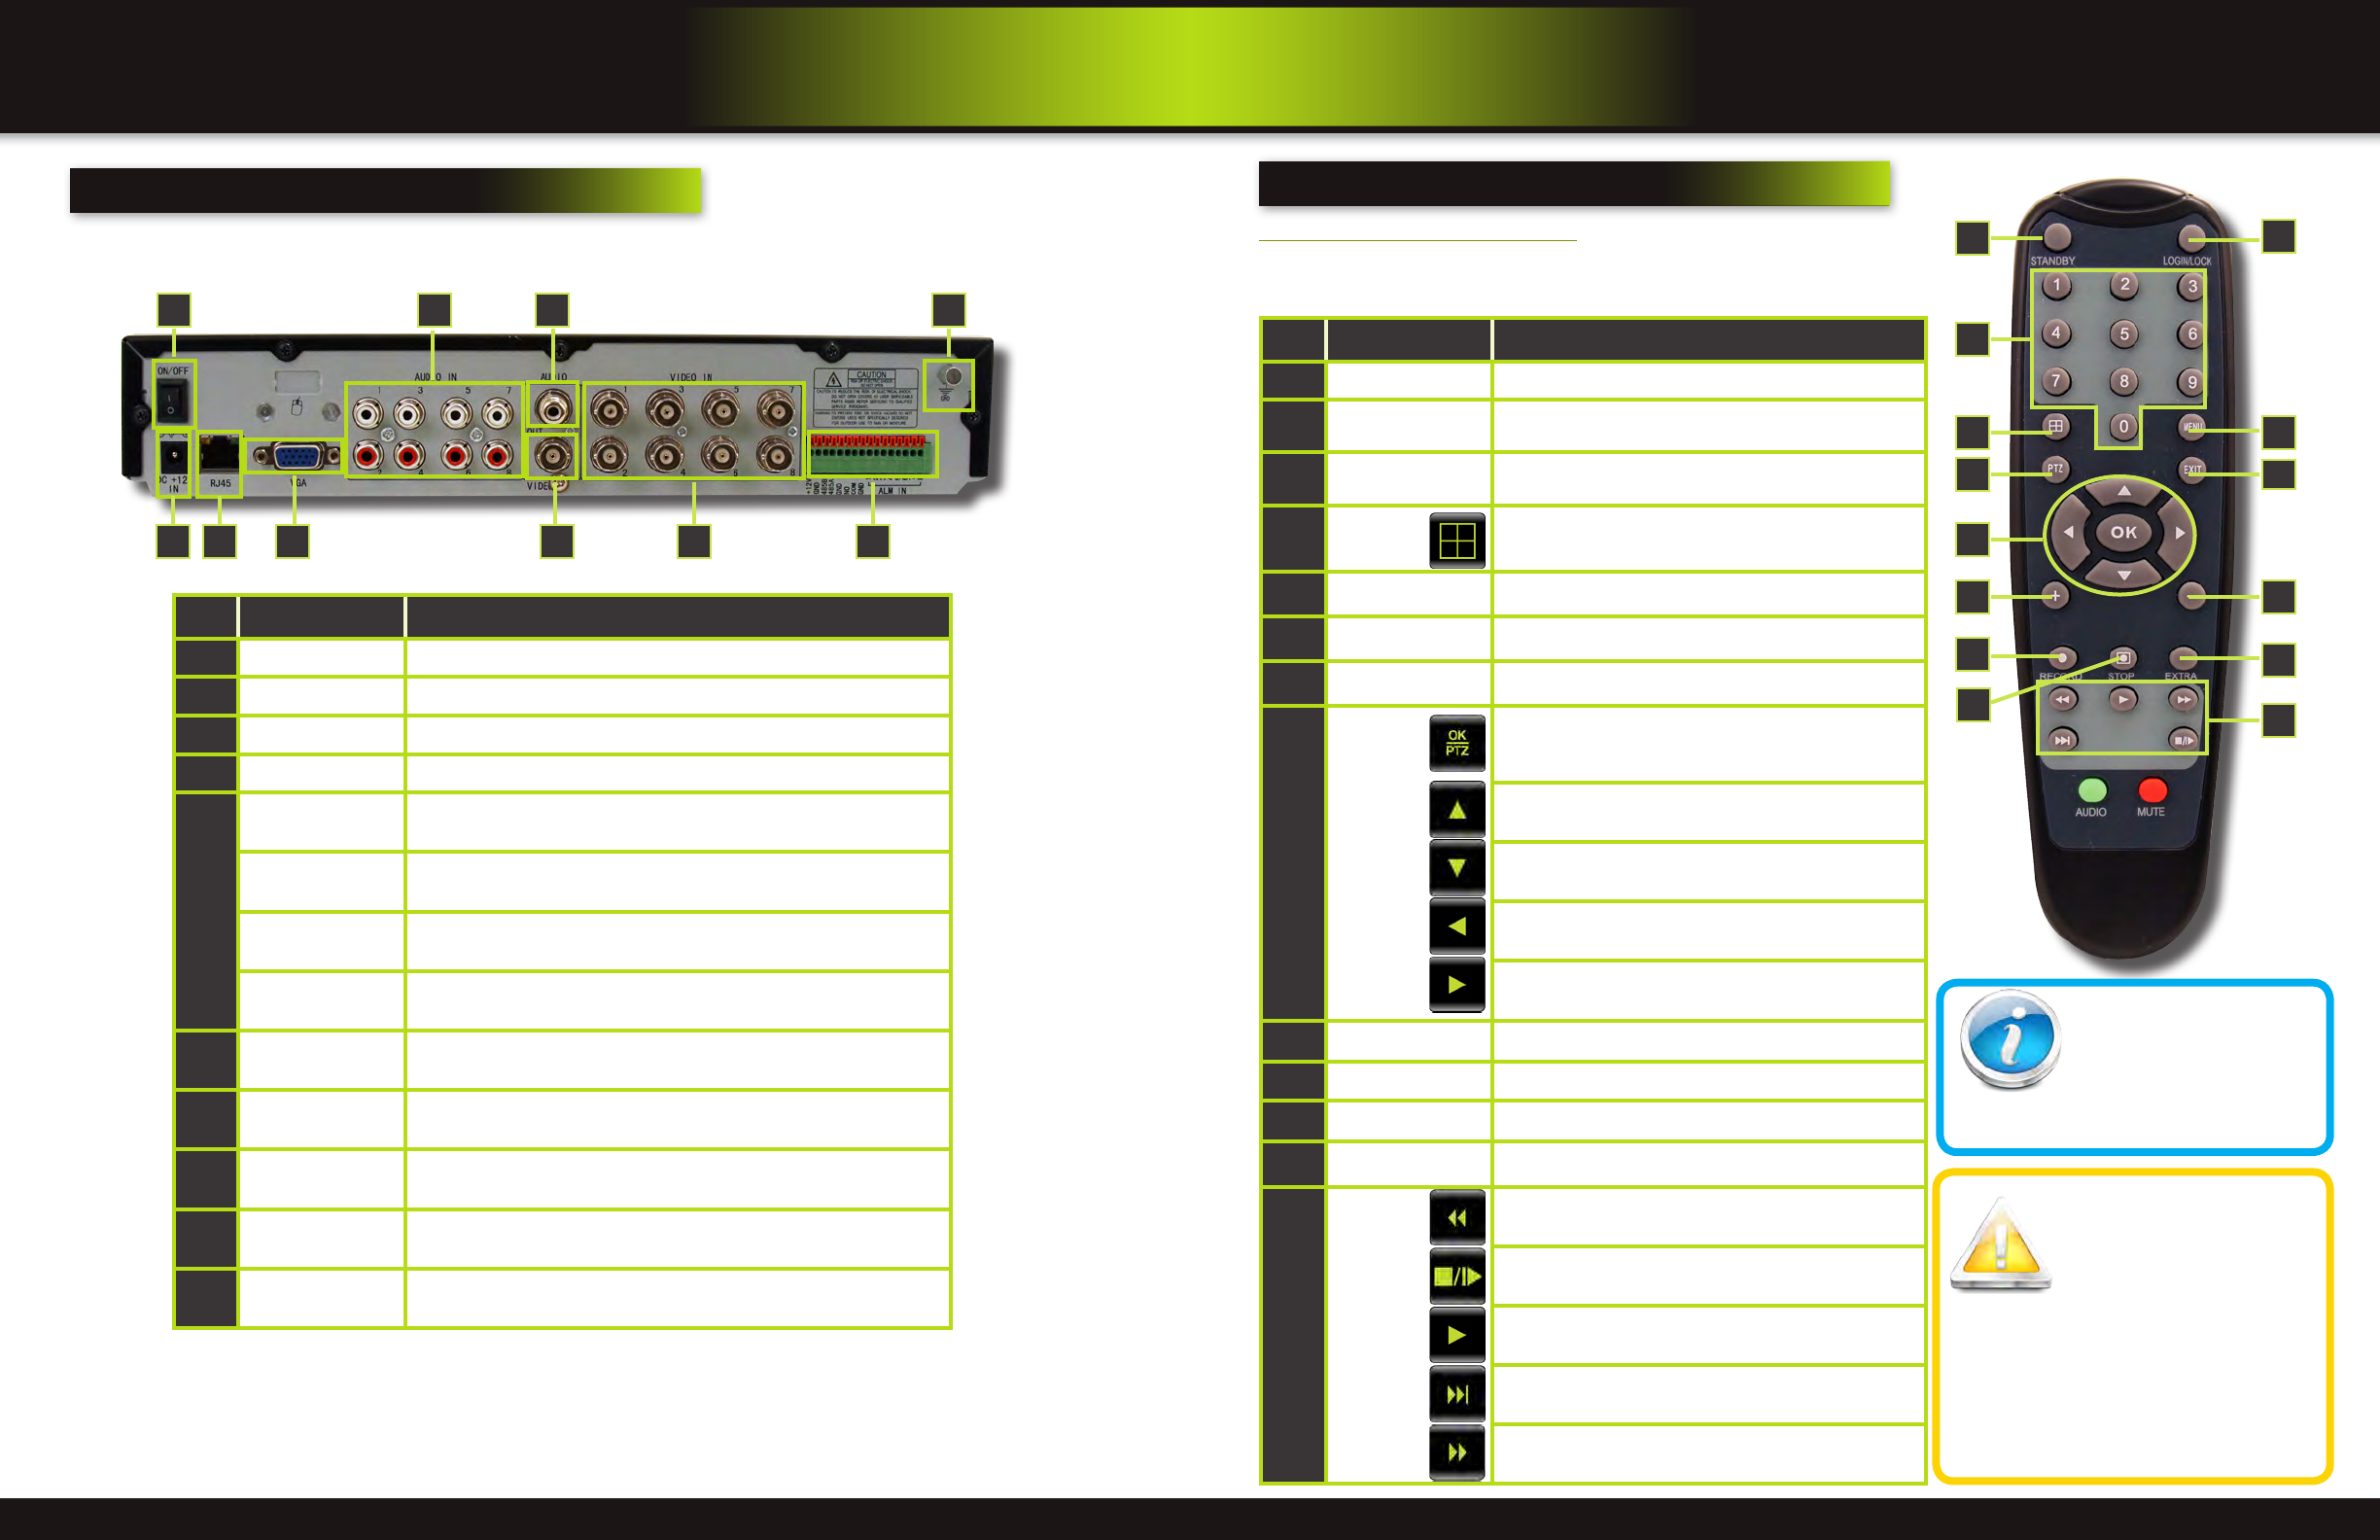
back Panel
Item Function Description
1
POWER Input DC 12V/5A power connection
2
Network For connecting RJ45 ethernet cable to PC or router
3
VGA Output For connecting to a VGA monitor
4
Video Ouput For connecting to a BNC monitor (800 x 600)
5
Alarm Input 8 alarm inputs
Alarm Output Output for alarm
RS485 For connecting PTZ cameras
+12V
Power supply for alarm block inputs, the current is 100mA (to prevent
short circuits)
6
Audio Input
For connecting audio signal from audio capable cameras or self powered
microphones (RCA jacks)
7
Audio Output For connecting audio signal to amplified speakers (RCA jacks)
8
Video Input For connecting video signal from cameras (BNC)
9
Power Switch Power On/Off
10
Ground Ground connection
product overview
DVR controls
21
76
543 8
9 10
remote control
Remote Control Operation
The remote control is the secondary input device for navigating the system’s
interface. In device operation, the OK key has the same function as “left click” of
the mouse.
Item Function Description
1
STANDBY Press to turn standby mode ON/OFF
2
LOGIN/LOCK
If “Security” has been enabled in the setup menu, press
to open the user password login screen or log off system.
3
Number/Channel
Buttons
While in menus, press buttons 0~9 to enter values; during
live viewing, press to view channels in full-screen
4
Window
Display
Press to switch between quad and split-screen displays
5
MENU Opens the main menu
6
PTZ Press to open the PTZ control window
7
EXIT Close menu windows
8
Navigation/
OK
In menus, press to confirm selections; in PTZ mode, press
to change the navigation buttons to control the connected
PTZ camera (not included)
Press to move cursor up; in PTZ mode, press to pan
camera up
Press to move cursor down; in PTZ mode, press to pan
camera down
Press to move cursor left; in PTZ mode, press to pan
camera left
Press to move cursor right; in PTZ mode, press to pan
camera right
9
+ / - In menus, press to adjust values
10
RECORD Press to start manual recording
11
STOP Press to stop manual recording
12
EXTRA For future use
13
Playback
Controls
Increase reverse playback speed 2X, 4X, 8X
Press to freeze playback to one frame, then press again to
advance frame-by-frame
Press to start playback
Press to slow playback speed by 1/2, 1/4, 1/8
Press to increase forward playback speed 2X, 4X, 8X
7
2
1
11
6
54
3
8
9
10
9
12
13
Remote Control
TIP: When using the remote
control to enter password
and camera titles, select the
field using the navigation
buttons, press OK, and then press the num-
ber buttons.
Battery Replacement -
Instructions for Use
Always purchase the correct
size and grade of battery most
suitable for intended use. Re-
place all batteries of a set at
the same time. Clean the battery contacts
and also those of the device prior to battery
installation. Ensure the batteries are installed
correctly with regard to polarity (+ and -). Re-
move batteries from equipment that is not to
be used for an extended period of time. Re-
move used batteries promptly.