


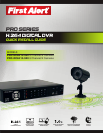
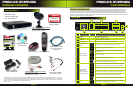
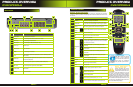


Page 10 Page 11
initial setup
Basic operation
initial setup
Basic operation
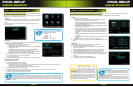
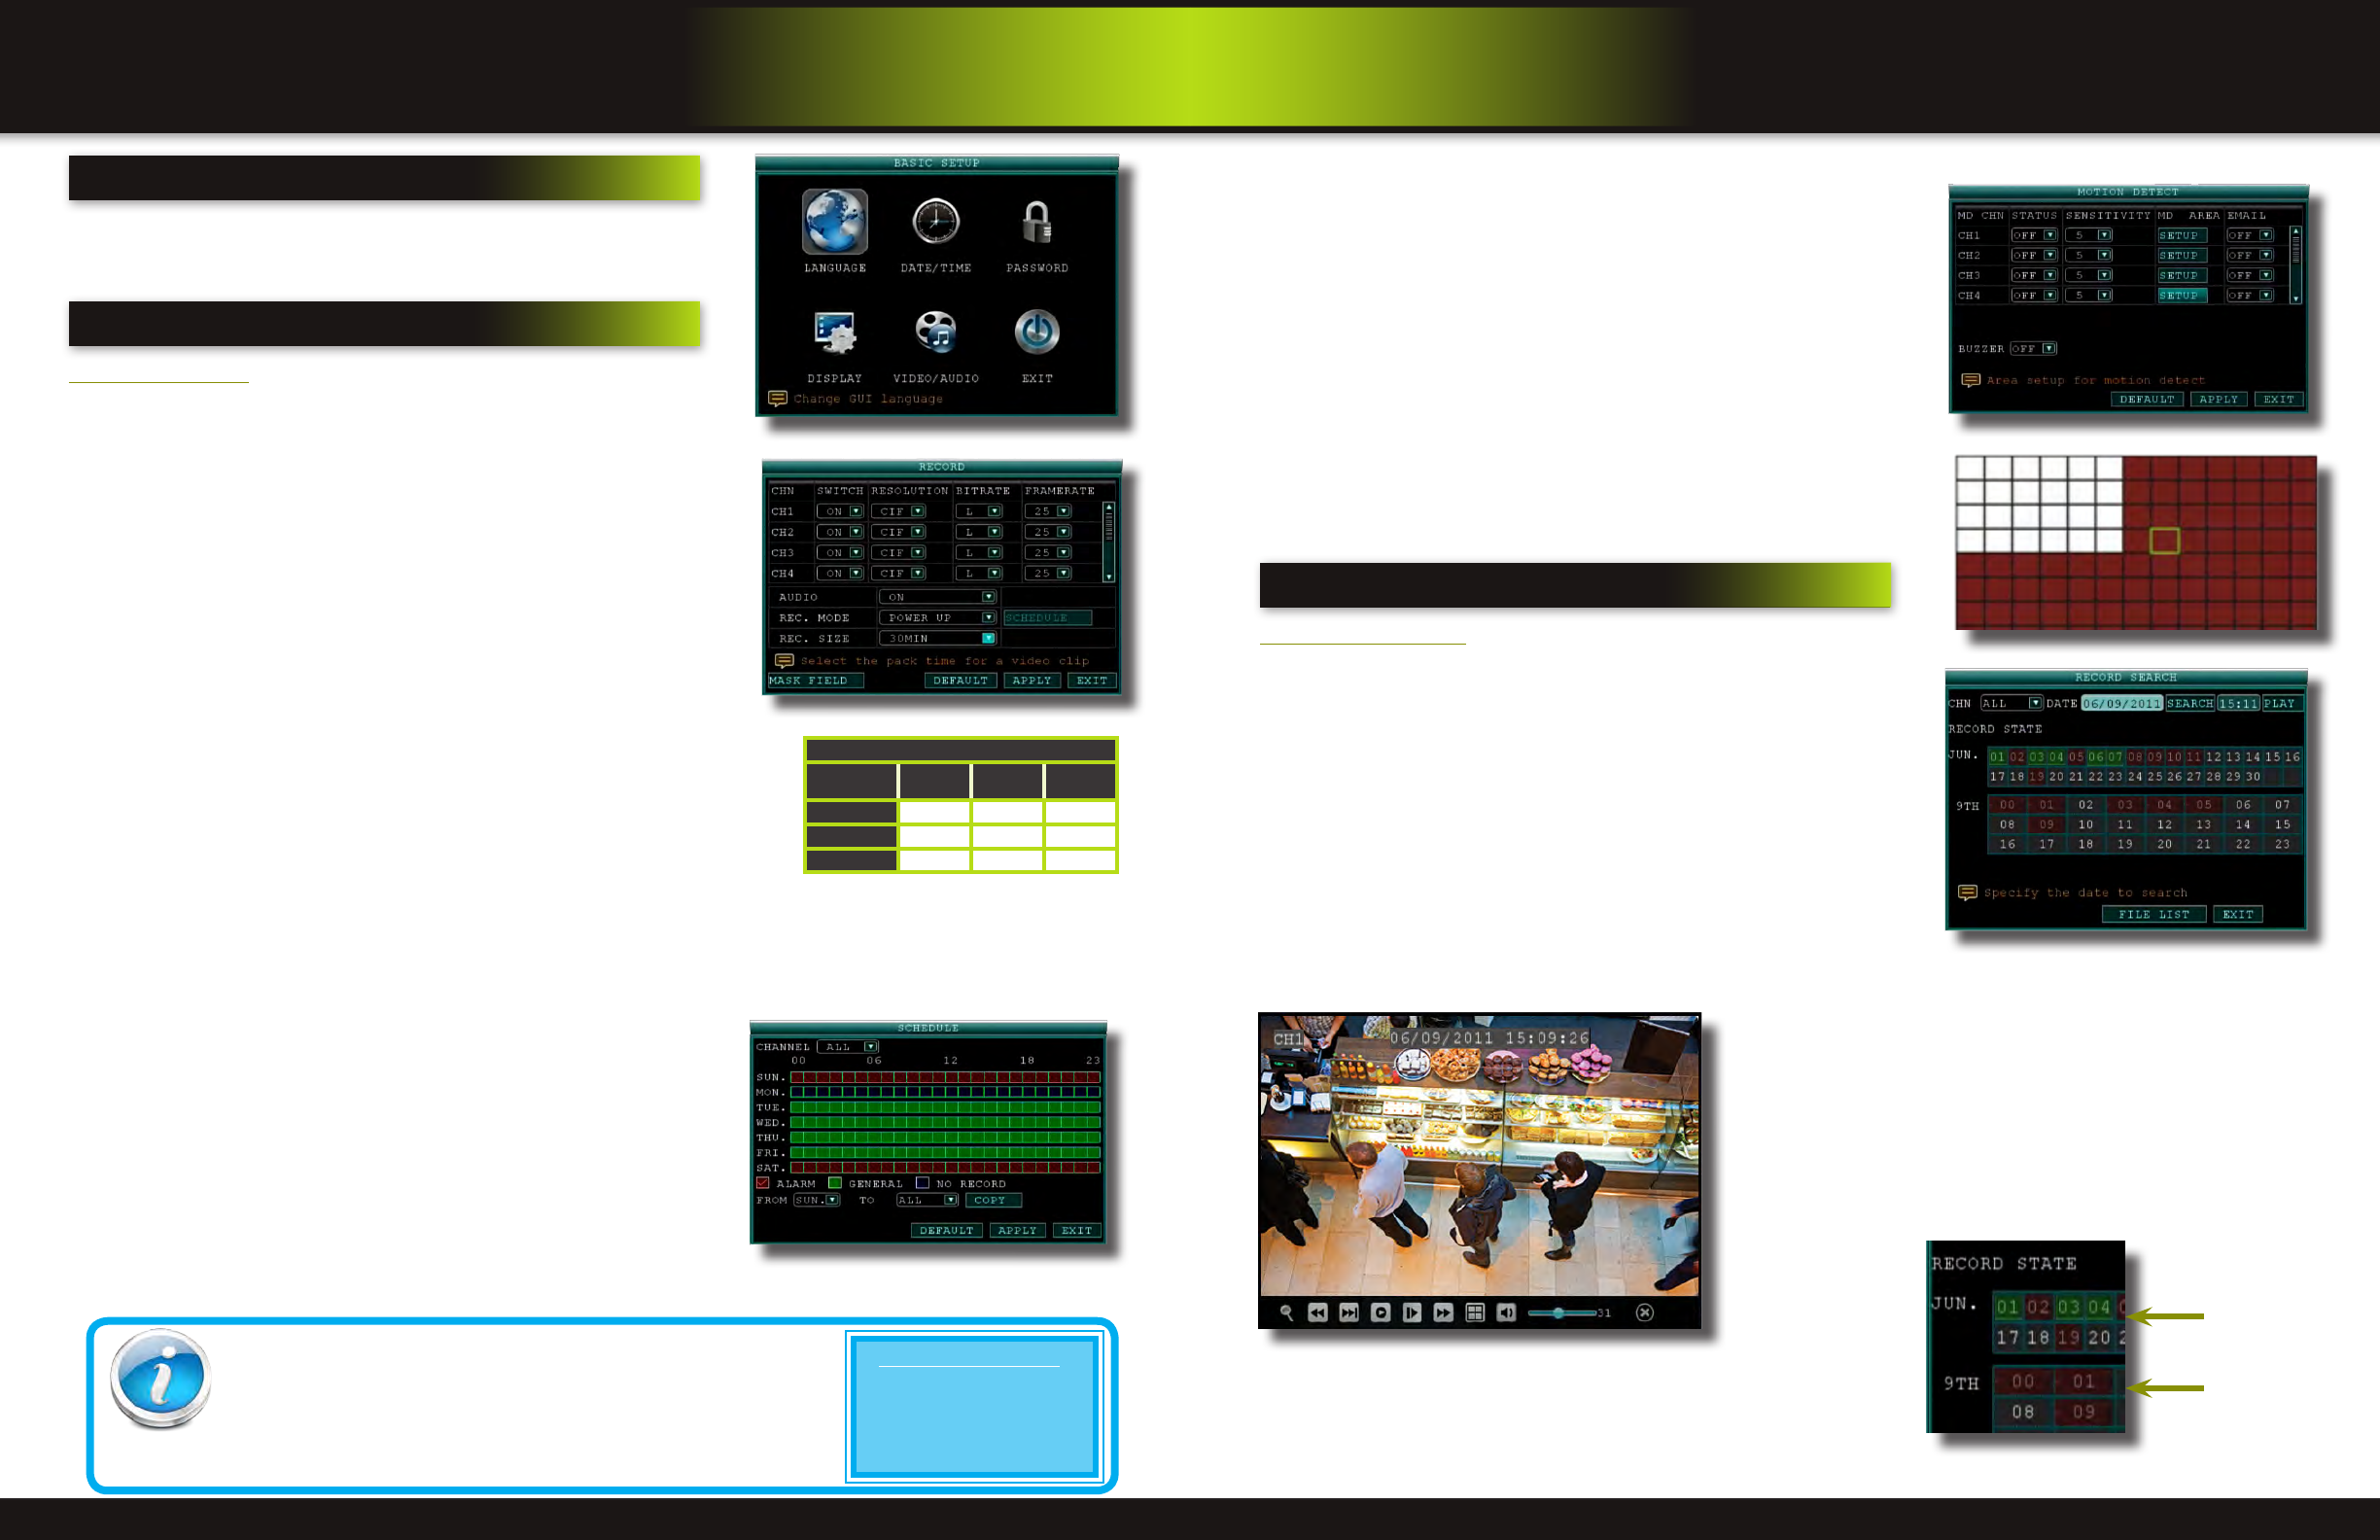
Motion Detect Setup
You can configure motion detection for each channel (Camera) connected to the
DVR. To configure motion detection:
1. From the Main Menu click ADVANCED. Then click MD (Motion Detect).
2. Under STATUS, select ON to enable motion detection for the desired chan-
nel. Scroll down for additional channels. Note: If in the RECORD screen a
Channel is set to OFF, MOTION is also disabled for that Channel
3. Under SENSITIVITY, select 1 through 8. The higher the number, the more
sensitive the motion detection.
4. Under MD AREA SETUP, click SETUP. The red motion grid appears over the
selected channel in full screen.
5. Click the blocks in the grid to enable/disable motion detection. Red=motion
detection enabled; Clear=motion detection disabled.
6. Right-click anywhere on the screen to return to the Motion Detection menu.
7. Click EMAIL, then select ON/OFF to turn on e-mail notification. E-mail must
be configured. See manual for details.
8. Click APPLY. Click CLOSE in the confirmation window.
9. Click EXIT in all menus until all windows are closed.
NOTE: You can disable the MD buzzer in the Alarm Setup menu.
step 7... playback
PLAYBACK Mode
View recorded video on the system through the Search Menu. To begin play-
back:
1. Right-click anywhere on the screen and select VIDEO SEARCH from the
Quick Access Menu. The Search Menu opens.
NOTE: When you first open the Search Menu, it displays the current month
and date.
2. Click PLAY to playback the last minute of recorded video (Quick Search) OR
Under CHN select a specific channel or select ALL.
3. Under DATE, enter a date using the Virtual Keyboard (mouse only).
4. Click SEARCH. Recorded events on the system appear in red (alarm events—
includes both alarm and motion events) and green (normal recording).
5. Click a date in the Month Grid to search for video files.
6. Click a time block in the Hour Grid to view the video. Playback begins.
7. Move the mouse slightly to display the on-screen play back controls. You
can also use the playback control with buttons on the remote control or front
panel of the system.
On-screen Playback Controls
To use the on-screen playback controls:
1. Click the VCR-like controls to play, pause, fast forward, rewind, and
slow down playback.
2. Drag the slider to adjust the volume (audio capable camera required,
not included). Select the box to mute the audio.
3. Click X to quit playback and return to the Search menu.
8. Under RECORD STATE, the system shows recorded events in a Month
Grid and a Time Grid. The selected day of the month will be outlined in
red. Green=normal recording; Red=alarm recording (includes both alarm
and motion events). Click a date in the month grid to view recorded video
files for that selected date in the hour grid.
Motion Detect Menu
Motion Detect Grid
Record/Search Menu
On-screen Playback Controls
Record State
Month Grid
Hour Grid
recording
RECORD Mode
Configure Recording Options:
In this Menu you have three recording options: POWER UP (Continuous), TIMER
RECORD (enables SCHEDULE menu) and ALARM (within SCHEDULE menu). By
default, the DVR is set to record continuously. Set parameters as follows:
1. From the Main Menu click RECORD. Under SWITCH, use the drop-down menus
and select ON/OFF to enable/disable recording from the selected channel. Note:
If SWITCH is set to OFF, then Motion Detect, Alarm and Manual Record are also
disabled for that channel.
2. Under RESOLUTION, select CIF, HD1, or D1.
NOTE: NTSC: @30fps, PAL: @25fps. Recording capabilities for both NTSC & PAL:
Channels 1 & 2: D1, HD1, CIF; Channels 3-8: HD1, CIF.
3. BITRATE (Kbps): See table for details.
4. FRAMERATE: Choose the recording frame rate 1-30, (fps – frames per second).
The lower the value, the less life-like and more jerky the recorded movements
will be. However, a lower frame rate uses less HDD space. Make your choice
depending on the precision with which you want to follow the events being
recorded. Frame-rate of each channel can be adjusted but is limited by the total
resources available. The total frame rate for all channels combined cannot exceed
420 (NTSC) fps. Note: Although the chipset is NTSC 480, part of the resources are
used for other internal functions and cannot be allocated to recording resources.
The ratios of D1, HD1 and CIF are as follows: 1 D1= 4 x CIF, 1 HD1 = 2 x CIF.
5. AUDIO, select ENABLE or DISABLE. If audio recording is enabled, the system will
record audio from connected audio capable cameras (not included). See caution state-
ment on audio recording in Video/Audio section.
6. REC. MODE, select POWER UP or TIMER RECORD. If you select POWER UP, the
system will record continuously when the system is powered on. If you select TIMER
RECORD, you have to set a recording schedule on the system.
7. REC. SIZE (Record Size), select 15MIN, 30MIN, 45MIN, or 60MIN.
NOTE: Record Size sets the file size for recorded video files on the system. Instead of recording data as one large file, the system
will divide the data into blocks of 15, 30, 45, or 60 minutes. This makes the recorded data easier to search
8. MASK FIELD lets you block a specific portion of a channel you do not want recorded or shown on the display screen. This can be
useful if you need to conceal a sensitive area being captured by the camera. See next section for details.
9. Click APPLY. Click OK in the REMARK window. Click EXIT.
Recording Schedule (TIMER RECORD)
You can program the DVR to record according to a customized recording schedule.
The Schedule Grid shows the days of the week and hour blocks 00~23. You can set
Alarm Recording (Red), General Recording (Green), or No Recording (Blue) to each
time block of each day. To set a recording schedule:
1. Open the Main Menu and click RECORD.
2. Under REC. MODE, select TIMER RECORD.
3. Click SCHEDULE. The Schedule menu opens.
4. Under CHANNEL, select specific channels or select ALL.
5. Below the grid, click either ALARM (red), GENERAL (Green), or NO RECORD
(Blue) and then click a time block on the desired day.
6. Use the FROM/TO drop-down menus to copy the schedule of one day to
another. For example, if you want your schedule for Monday to be the same on
Wednesday: under FROM select MON, under TO select WED, and then click COPY.
7. Click APPLY. Click OK in the REMARK window. Click EXIT.
Record Menu
Recording Schedule
CCTV Resolution
CCTV resolution is measured in vertical and horizontal pixel dimensions and typically
limited by the capabilities of both the camera and the recorder that you are using for
your CCTV surveillance installation. CCTV systems use an analog video signal. For
television specifications (which CCTV uses) the highest resolution that can be captured
and stored is 704 x 480 (NTSC for the United States) and 720 x 576 (PAL for Europe). This resolution
is known as D1 resolution. A high end CCTV recorder is capable of recording at up to D1 resolution.
CCTV Resolutions
D1: 704 x 480
HD1 (2CIF): 704 x 240
CIF: 352 x 240
QCIF: 176 x 120
Bitrate in Kbps
Image
Quality
Low Medium High
CIF
384 512 768
HD1
512 768 1024
D1
896 1024 1280
Basic Setup Menu
Basic Setup
Use the BASIC SETUP menu to configure language, date and time settings,
password setup, along with display, video and audio settings. You can also exit
the system through this menu. The Basic Setup menu contains the following
sub-menus: Language, Date/Time, Password, Display, Video/Audio and Exit.