AUDIO SYSTEM SET-UP - 18 -
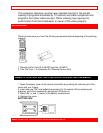
The S-Video connection is provided for high performance laser discs, VCRs, etc., that
have this feature. Use this connection in place of the standard video connection if your
device has this feature.
If your device has only one audio output (mono sound), connect it to the left audio jack
on the TV.
Refer to the operating guide of your other electronic equipment for additional
information on connecting your hook-up cables.
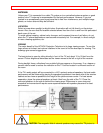
A single VCR can be used for VCR#1 and VCR#2, but note that a VCR cannot record
its own video or line output (INPUT: 1 in the example on pg. 13). Refer to your VCR
operating guide for more information on the "line" input-output connections.
AUDIO SYSTEM SET-UP
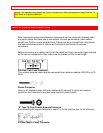
Match the numbers below to the diagram for speaker placement and refer to the table
for the surround sound requirements. (See page 43 for SURROUND
functions.)
2
ACTUALLY PAGE 42
The television's internal speakers.
The television's internal center channel speaker, which is on only when the television
is in SURROUND-DOLBY PRO LOGIC mode.
These speakers are connected to a separate audio amplifier. Use the "Audio to Hi-Fi"
output on the TV.
These speakers are connected to the Rear Speaker 8 Ohm output on the TV.
These speakers are controlled by a wireless speaker transmitter. Use the
"TRANSMITTER OUT" output on the TV.
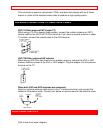
Click to see Audio System Set-Up
* If optional left and right speakers are connected (), the internal speakers () may be
turned off for better separation between left, center, and right channels. The center
channel audio will be heard from .
THE REMOTE CONTROL (CLU-951MP)
In addition to controlling all the functions on your HITACHI Projection TV, the new
remote is designed to operate different types of VCRs, CATV (Cable TV) converters


