Configuration, Startup, and Operation
of Recorder with Display
12/03 DR4300 Circular Chart Recorder Product Manual 77
4.3.3 How to Get Started
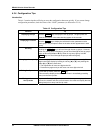
Read the configuration tips
Read Subsection 4.3.4 “Configuration Tips”. These tips will help you configure your recorder quickly and
easily.
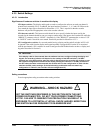
Set the hardware switches
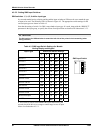
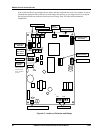
Refer to Subsection 4.3.5 “Switch Settings” for required hardware switch settings on the printed circuit
assembly associated with each pen. The hardware switches should be set before specifying values for
function parameters.
Install recorder
Connect the recorder to ac power as described in Section 2 so that you will be able to configure the unit
using the display.
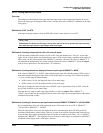
Become familiar with the configuration procedure
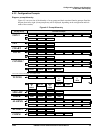
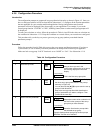
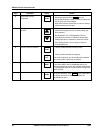
Read Subsection 4.3.6 “Configuration Procedure” to learn how to access the set up groups, and the
function parameters within each of these groups (shown in the prompt hierarchy in Figure 4-2).
Assign application-specific values to the set up parameters
The set up groups and function parameters are listed in this section in the order of their appearance on the
display. The list includes the name of the prompt, the range of setting or selections available, the definition
of each parameter, and the factory setting. It allows you to quickly find a parameter and determine the
appropriate value or selection for your application.
Complete configuration record sheet
Subsection 4.3.21 contains a “Configuration Record Sheet”. It is good practice to record your instrument’s
configuration for future reference.


