


4 EN
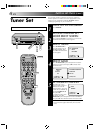
INSTALLING YOUR NEW RECORDER (cont.)
Tune The TV
To Your Video
Recorder
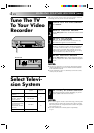
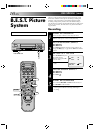
TURN ON THE RECORDER
1
Press OPERATE.
SELECT OUTPUT MODE
2
Set the TEST/System switch on the back of the recorder
to TEST.
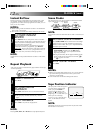
SET TV CHANNEL
3
Set your TV to the video channel (UHF channel 36).
Two white bars appear on screen vertically.
● Tune the TV until the bars are as clear as they can be.
● Your TV should be set to the channel designated for
use with a video recorder, or to a spare channel if
there is not a specified video channel on your TV.
● The audio signal may not be heard or may be noisy;
this is not due to any defect of the unit.
RESET OUTPUT MODE
4
Set the TEST/System switch to the appropriate position
(G or K). Refer to the chart in "Select Television System"
below.
NOTES:
●
If CH36 is occupied by a local station, adjust the RF output
channel adjustment screw to use another channel between
CH32 and CH40 instead.
●
If some interference noise is continually seen on the screen,
consult your JVC dealer.
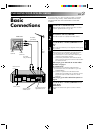
The video recorder sends picture and sound signals via the RF
connecting cable to your TV on UHF channel 36.
2
2
q
5
/
8
OPERATE
Back of VCR
RF
K
G
TEST
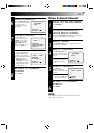
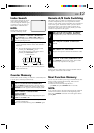
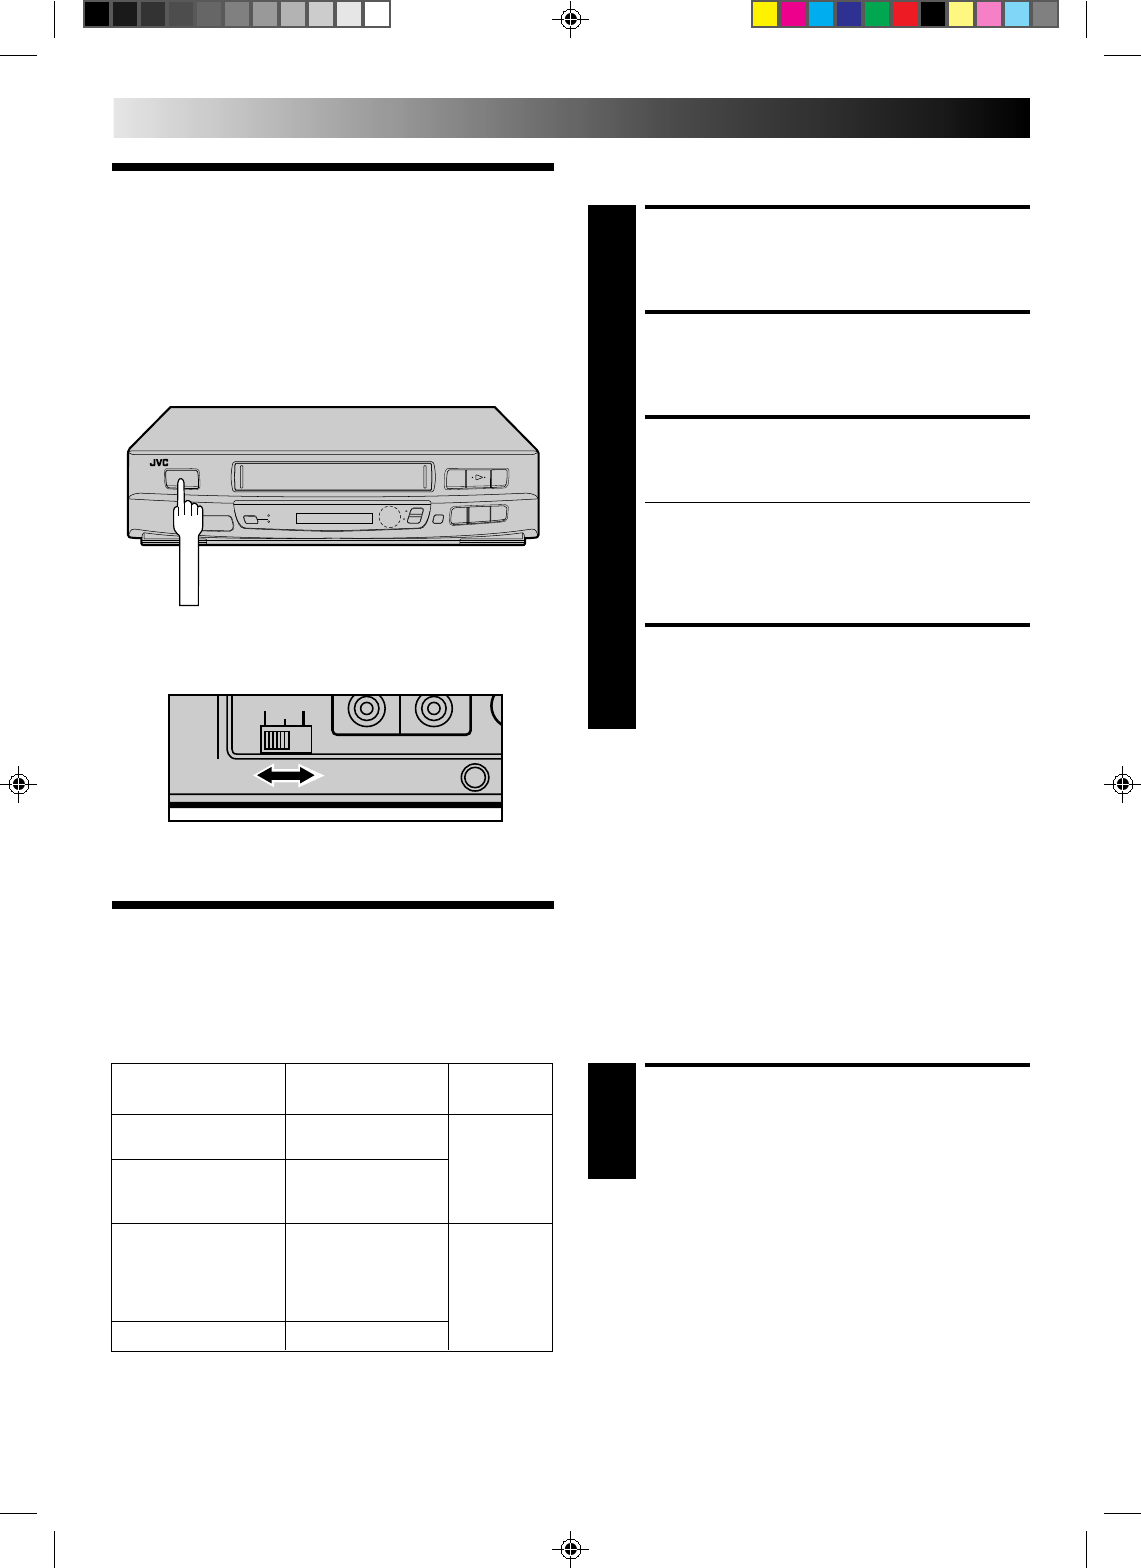
Select Televi-
sion System
SET TEST/SYSTEM SWITCH
1
Set to the appropriate position depending on your TV
system. (Refer to the chart on the left.)
NOTES:
●
If no colours appear on the screen when using a multi-system
television with its system select switch set to AUTO, change
the switch position to correspond to the recorder's RF system
select switch (G or K).
●
For more information on multi-system compatibility.
੬
p.22
Major countries Colour TV broadcast Switch
system position
China, Mongolia,
PAL D/K
Rumania
Bulgaria, Czech Rep.,
K
Slovakia, Hungary, SECAM D/K
Poland, Russia
Austria, Denmark,
Finland,Holland, Italy,
Norway, Spain, PAL B/G
G
Switzerland, Sweden,
Germany
Egypt SECAM B/G