Other Functions
BLUE BACK — ON/OFF
When this function is set to “ON”, the TV screen becomes all
blue in the following cases:
When receiving a channel not in use.
When stopping playback.
Press MENU on the remote. Press SET –/+ to select
“NO NOISE BACKGROUND”.
Press ENTER to select “ON”.
Press MENU to return to normal screen.
1
2
3
JVC TV Remote Control
This Remote can control some functions (TV POWER,
INPUT, TV CH –/+ and TV VOL –/+) of a remote
controllable JVC TV without setting.
NOTE:
• It’s not possible to operate a unit not equipped with a
remote sensor.
• This Remote can control a JVC TV only.
Editing
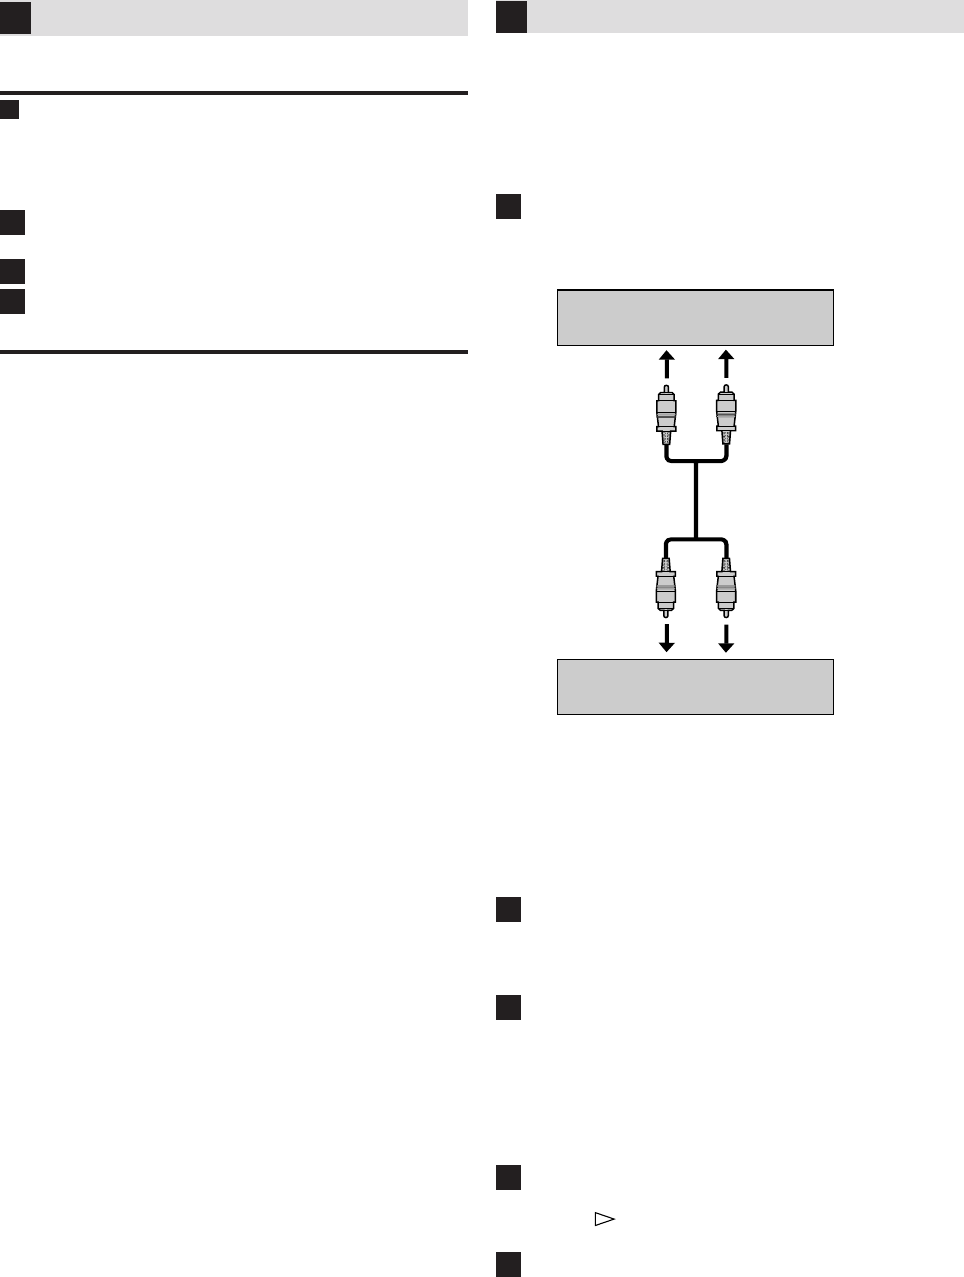
This VCR (for playback)
Another VCR (for recording)
To AUDIO/VIDEO OUT
To audio/video input
Audio/video cable
(not supplied)
You can use your VCR as the playback or recording VCR.
You can use a camcorder as the playback VCR and your VCR
as the recording VCR. Refer also to the other components’
instruction manuals for connection and its operations.
Make connections
Example: When using this VCR as the playback VCR
• When using this VCR as the recording VCR, connect this
VCR’s audio/video input connectors to the audio/video
output connectors on the other VCR. If the playback VCR
is monaural, connect the audio output connector on the
playback VCR to the left audio input connector on this
VCR.
Load cassettes
Insert the playback cassette into the playback VCR and the
cassette to be recorded on into the recording VCR.
Select input mode on recording VCR
Select the correct external input on the recording VCR.
On this VCR (when using this VCR as the recording VCR);
Select “L” — when connecting the other VCR to the audio/video
input connectors on the front panel.
Press O (AUX) or CH–/+ on the Remote [CH–/+ on the VCR].
Start playback
Press PLAY ( ) on the playback VCR.
Start recording
Press REC on the recording VCR.
1
2
3
4
5
4F12701AE 08-Back 30/1/03, 5:05 PM11


