


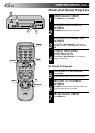
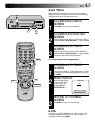
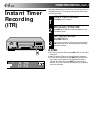

46 EN
2
2
q
5
/
8
6
EDITING (cont.)
Edit From A
Camcorder
You can use a camcorder as the player and your VCR as the
recorder.
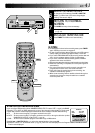
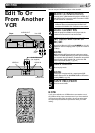
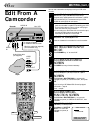
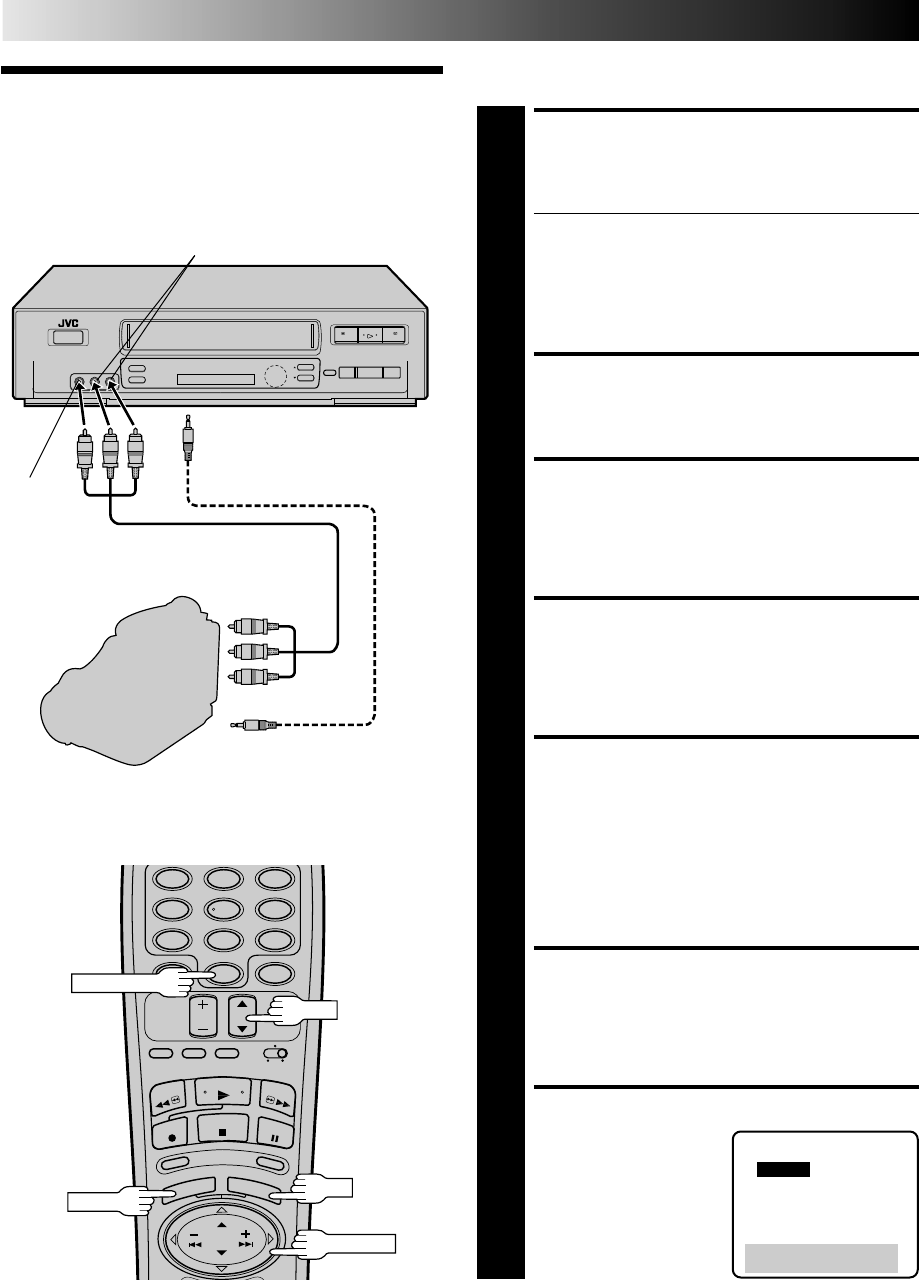
MAKE CONNECTIONS
1
Connect an AV cable between the camcorder’s VIDEO
OUT and AUDIO OUT connectors and your VCR’s
VIDEO IN and AUDIO IN connectors.
● When a Master Edit Control-equipped JVC camcorder is
used, the camcorder is capable of controlling your VCR.
The mini-plug cable is a mono 3.5 mm mini-plug to
mono 3.5 mm mini-plug connector.
● If connecting to a camcorder with a monaural output,
connect the audio output connector on the
camcorder to AUDIO IN L of the VCR.
LOAD A CASSETTE
2
Insert the cassette to be recorded on into the recorder.
SET RECORDER’S INPUT
MODE
3
Press NUMBER key “0” to set to AUX.
ACCESS MAIN MENU
SCREEN
4
Press MENU as many times as necessary.
ACCESS FUNCTION SET
SCREEN
5
Press CH5
∞
or SHUTTLE PLUS %fi to move the
highlight bar (arrow) to “FUNCTION SET”, then press
OK.
If you’re using a JVC Master Edit Control-equipped
camcorder — step 6
If not — step 9
ACCESS SPECIAL
FUNCTION SCREEN
6
Press CH5
∞
or SHUTTLE PLUS %fi to move the
highlight bar (arrow) to “SPECIAL FUNCTION”, then
press OK.
SELECT MODE
7
Press CH5
∞
or SHUTTLE
PLUS %fi to move the
highlight bar (arrow) to
“PAUSE”.
Mini-plug cable (not supplied)
(JVC camcorder only)
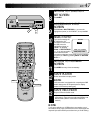
SPECIAL FUNCTION
=PAUSE
AV COMPU-LINK
PRESS (5,∞) TO SELECT
PRESS (MENU) TO END
Recorder Your VCR
To rear panel PAUSE/
AV COMPU LINK connector
Player
AUDIO OUT
VIDEO
OUT
AUDIO IN
VIDEO
IN
Audio/Video cable
(not supplied)
Camcorder
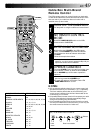
EDIT
12
45
3
6
8
0
7
9
NUMBER "0"
CH
SHUTTLE PLUS
OK
MENU