14 EN
12 3
45
0
6
7 8 9
1
2
4
3
–
+
Tuner
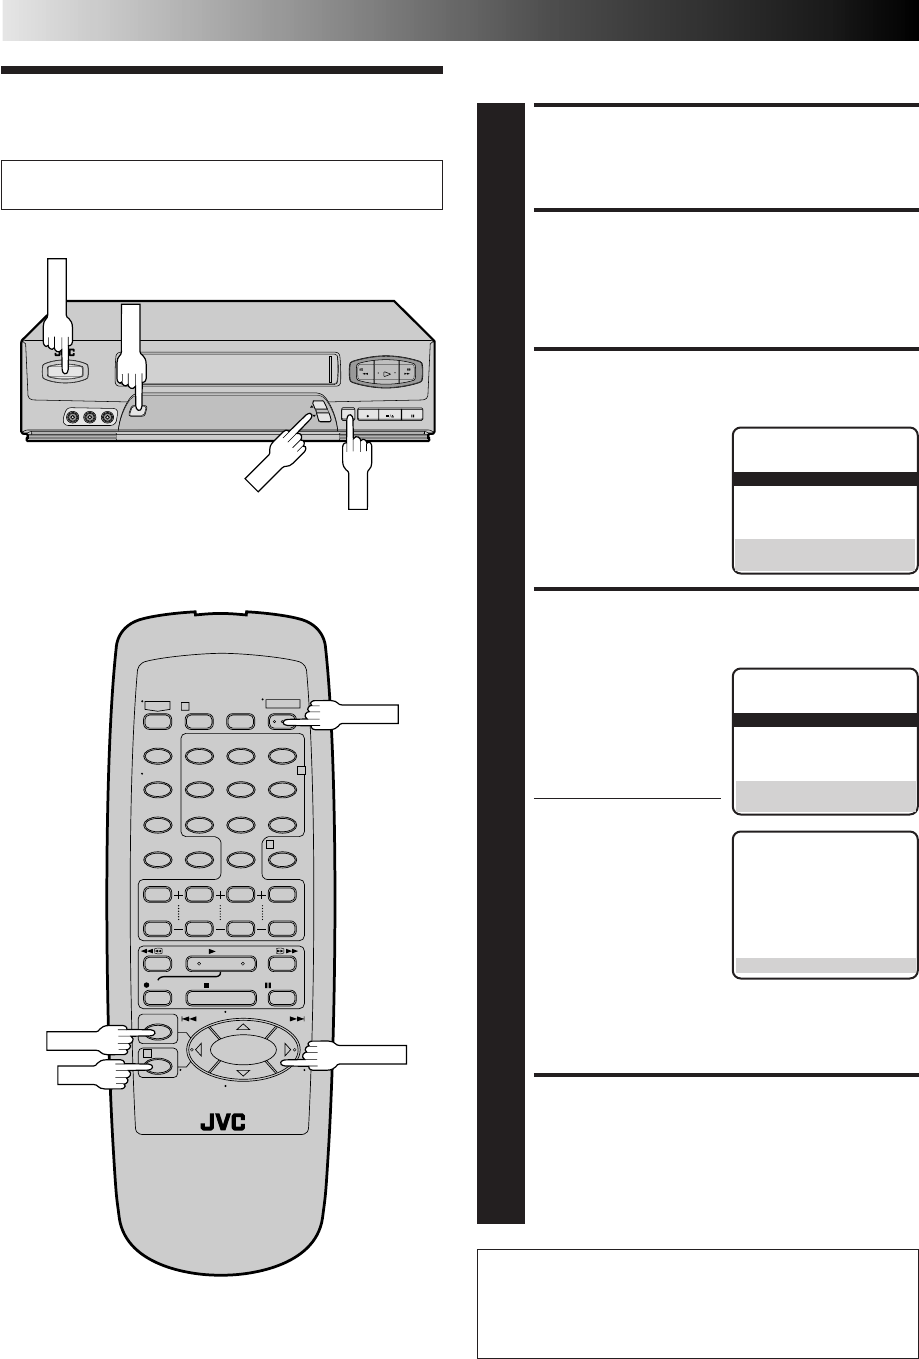
Set Receivable Channels
TURN ON THE VCR
1
Press POWER.
ACCESS MAIN MENU
SCREEN
2
Press MENU.
ACCESS TUNER SET
SCREEN
3
Move the highlight bar
(arrow) to "TUNER SET" by
pressing CH
5
∞ or
SHUTTLE PLUS
%
fi, then
press OK or SHUTTLE
PLUS .
PERFORM AUTO CHANNEL
SET
4
Move the highlight bar
(arrow) to "AUTO
CHANNEL SET" by
pressing CH5
∞
or
SHUTTLE PLUS%
fi
, then
press OK or SHUTTLE
PLUS .
● Receivable channels in
your area are
automatically assigned to
the CH
5
∞ (+/–) buttons,
and non-receivable
channels are skipped.
NOTES:
●
At the end of Auto
Channel Set, “SCAN
COMPLETED” appears on screen.
●
If the scan was unsuccessful, “SCAN COMPLETED
-NO SIGNAL-” appears on screen. Check the
connections and start again.
RETURN TO NORMAL
SCREEN
5
Press MENU.
INITIAL SETTINGS (cont.)
%
%
Turn on the TV and select the VCR channel 3 or 4 (or AV
mode).
MAIN MENU
FUNCTION SET
=TUNER SET
INITIAL SET
PRESS (5,∞), THEN (OK)
PRESS (MENU) TO END
AUTO CHANNEL SET
SCANNING...
PRESS (MENU) TO END
TUNER SET
BAND CATV
=AUTO CHANNEL SET
MANUAL CHANNEL SET
SELECT WITH (5,∞) AND (OK)
PRESS (MENU) TO END
INFORMATION
The VCR detects the band (TV or CATV) and selects the
correct band automatically during Auto Channel Set.
The selected band will be displayed on the right side of
"BAND" on the Tuner Set screen.
CH
MENU
OK
POWER
POWER
SHUTTLE PLUS
MENU
OK


