10
IR REMOTE/OSD
ON SCREEN DISPLAY (OSD)
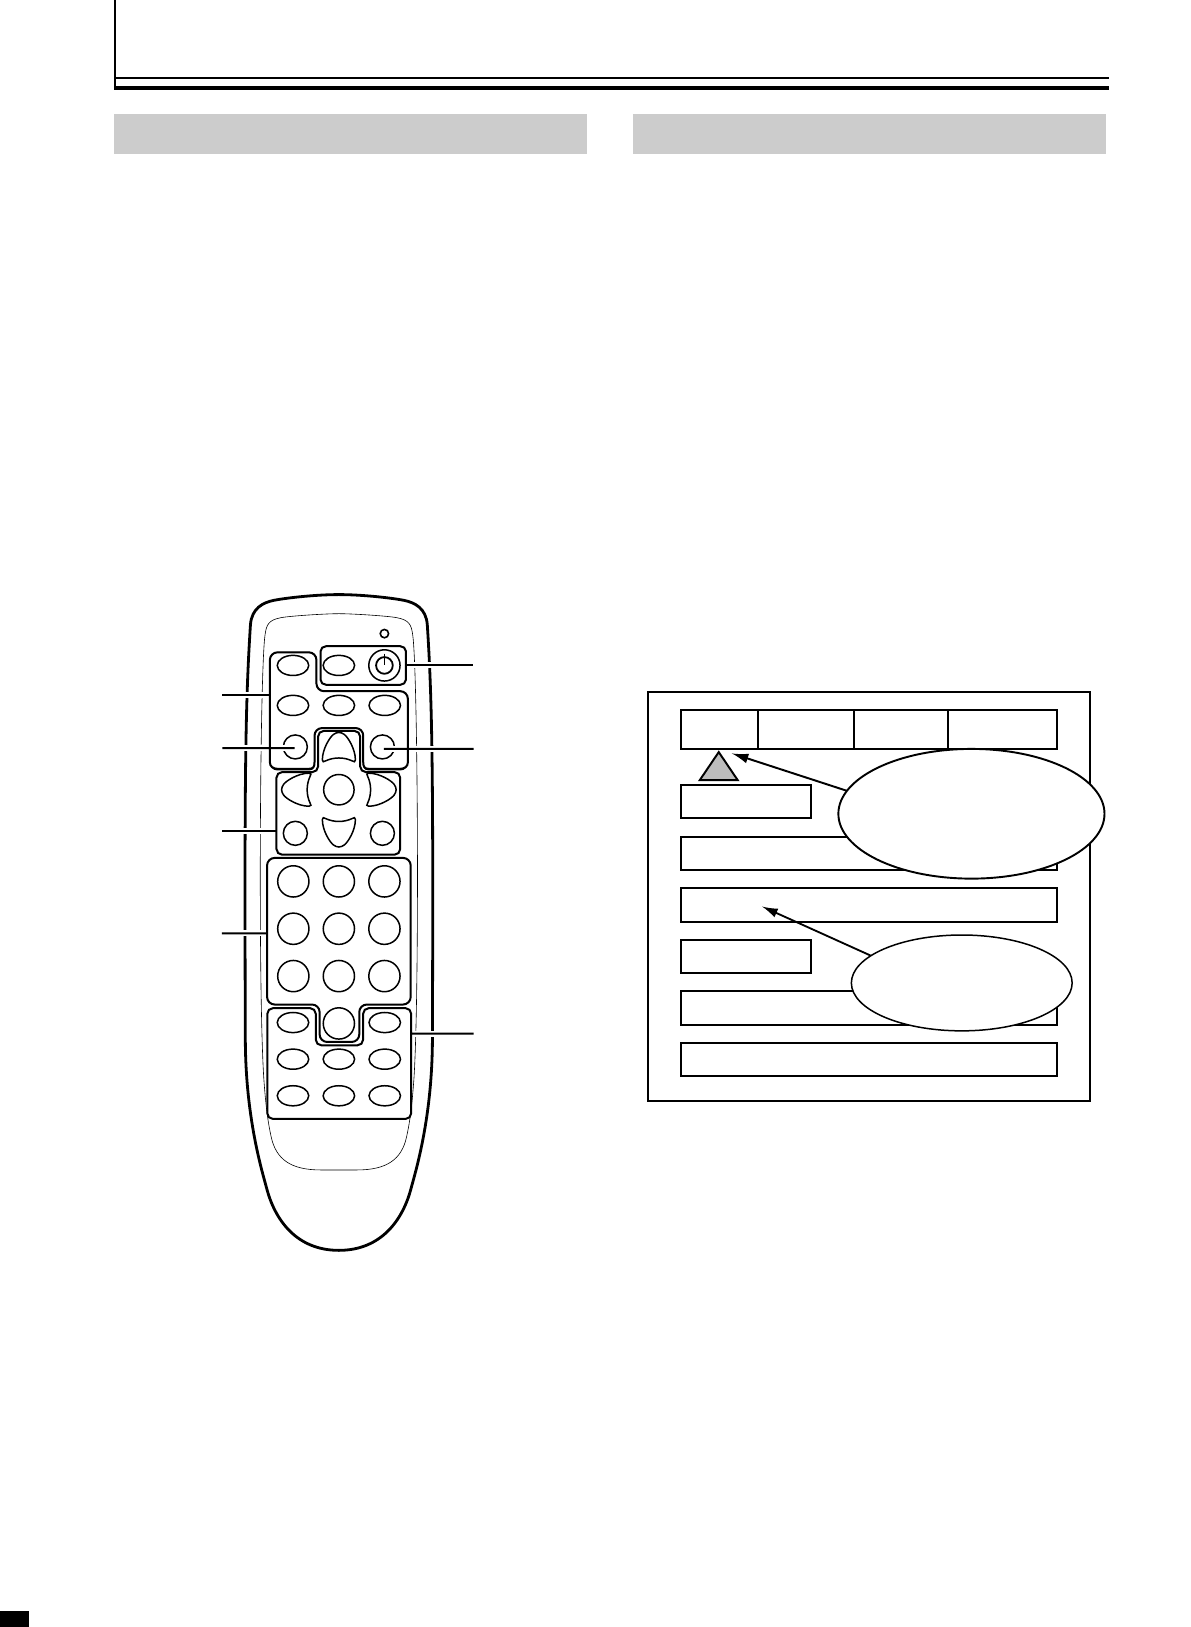
Accessing the OSD
1. Press Menu button to bring up main Index.
2. Use Function Up/Down Keys until the triangle
at the top of the OSD turns yellow.
3. Use the Left/Right keys to move to the next menu
page. A list of available Functions will appear.
4. Press Function Up/Down keys to select an
adjustment.
5. Use Value Left/Right keys to adjust.
The main menu drops away and a single line
menu appears.
6. Use the Function keys to return to the drop down
menu.
7. Press Menu at any time to cancel OSD
● Unused inputs can be deactivated for simpler operation of
the processor. See the Setup instructions for details.
The OSD consists of four menu tabs:
Input - Picture - Display - Patterns
IR REMOTE AND OSD OPERATION
This unit is now shipped with a simplified remote control that
allows for direct access to most commands used to control
the processor.
Adjustments can be made three different ways:
1. Press the Menu button to activate the OSD and use the
Function and Value keys to make changes. Press Menu
again to remove OSD.
2. Press the direct access key (Brightness, etc.) and then
adjust using the left/right value keys.
3. Press the direct access key and then enter a three digit
number (i.e. 040 for 40).
4. For direct access to the RGB input:
Press DVI + 1
(allow about one second between commands)
OFF
DVD
MENU
BRIGHTNESS CONTRAST
COLOR DETAIL
ANAMORPHIC
TINT
4:3 LETTERBOX
VIDEO
S-VIDEO DVI/RGB YCrCb
PASS/TX
PROFILE
1 2 3
4 5 6
7 8 9
0
STORE
INPUT PICTURE
INPUTS DVD
ASPECT ANAMORPHIC
PROFILE
RECALL
PATTERNS
DISPLAY
STORE
FORMATS
F 1 2 3 4
1 2 3 4
Press the Function UP/Down
keys until the triangle turns Yellow.
Press the Value Left/Right keys to
cycle to the Menu tabs.
Use the Value Left/Right
keys to change selection
or values.
Navigate
Menus
Adjust Picture
Turn unit
On/Off
Select Inputs
Enter
Numbers
DVD button
not active
Press to
toggle
between
pass-
through and
pass-
through
transcode
