


EN 5
Video
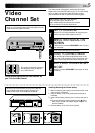
Channel Set
Video Channel (RF Output Channel) is the channel on
which your TV receives picture and sound signals from the
video recorder through the RF cable.
23
q
5
/
8
The video recorder is designed to send picture and sound
signals via the connected RF cable to your TV on UHF channel
36; if you want to change this Video Channel to another
channel between 32 and 40, perform the following steps.
Before starting, make sure of the following:
● The recorder's power should be off.
● No cassette should be inserted in the recorder.
● The connected TV's power should be on.
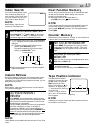
SET TV CHANNEL
1
Set your TV to a channel between 32 and 40 that you
want to use as the Video Channel on the TV.
BRING TEST SIGNAL ON
SCREEN
2
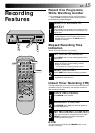
Hold down the recorder's STOP/EJECT button for more
than 5 seconds.
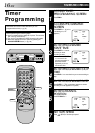
● Two vertical bars appear on the screen.
TUNE YOUR RECORDER
3
Turn the RF output channel adjustment screw on the
rear panel of the recorder by using a screwdriver until
the two vertical bars become as clear as they can be.
EXIT VIDEO CHANNEL SET
MODE
4
Press the recorder's STOP/EJECT button again to finish
the setting.
TEST SIGNAL
To view picture signals from the video recorder, set
your TV to the Video Channel.
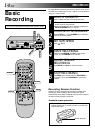
Installing/Removing the lithium battery
1
Make sure that the power plug is connected to an AC outlet
and turn off the VCR power.
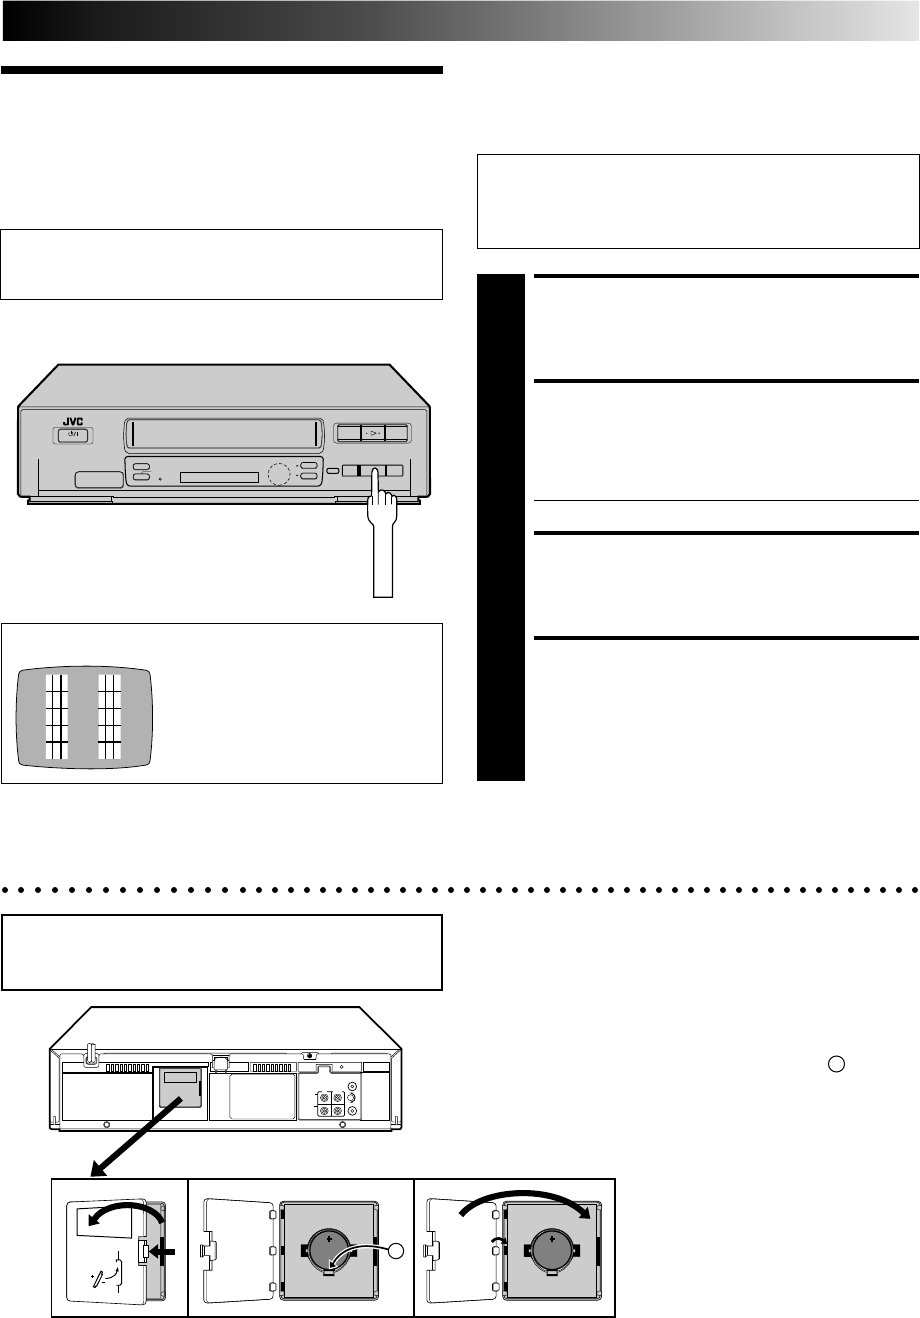
2 Open the battery cover while pressing the release tab as
illustrated.
3 Insert a lithium battery with the plus (+) side up and push it
in.
● To remove the lithium battery, press the latch A down-
ward using a pointed non-metallic object, then pull out
the lithium battery.
4 Close the battery cover until it clicks in place.
Be sure to connect the power plug to an AC outlet first
before installing the lithium battery; otherwise, the
battery's service life will be drastically shortened.
A
STOP/EJECT
The channel on which the screen to
the left appear clearly in step 3 is
your Video Channel.